FRONT DOOR SPEAKER INSTALLATION
-
INSTALL FRONT NO. 1 SPEAKER ASSEMBLY
-
Using an air riveter or hand riveter, install the front No. 1 speaker assembly with 3 new rivets.
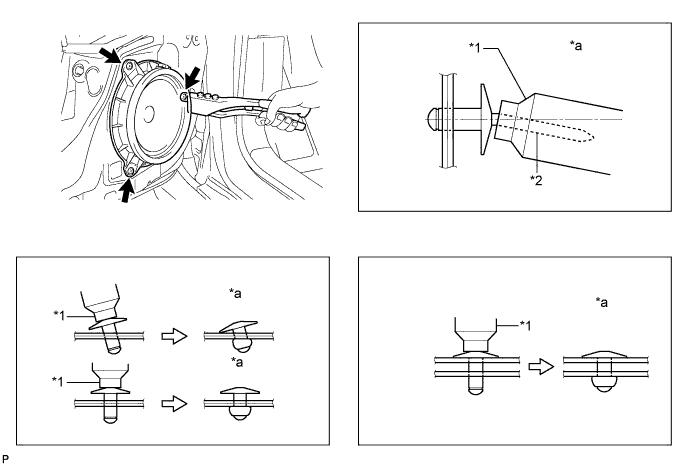
Text in Illustration *1 Riveter *2 Mandrel *a INCORRECT - - Note
-
Do not pry the rivet with the riveter, as this will cause damage to the riveter and mandrel.
-
Confirm that the rivet is seated properly against the moulding. Do not tilt the riveter when installing the rivet to the moulding. Do not leave any space between the rivet head and moulding.
-
Do not leave any space between the moulding and door frame. Firmly hold the 2 items together while installing the rivet.
Tech Tips
If the rivet cannot be cut, pull it once and cut it.
-
-
Connect the connector.
-
-
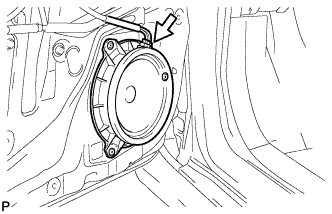
INSTALL FRONT NO. 2 SPEAKER ASSEMBLY
-
Engage the 3 claws and install the front No. 2 speaker assembly.
-
-
INSTALL FRONT DOOR TRIM BOARD SUB-ASSEMBLY
-
Connect each connector.
-
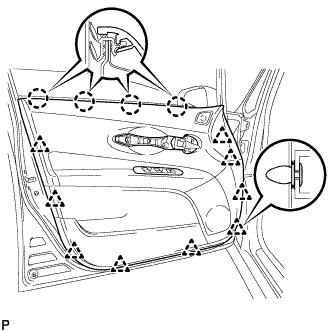
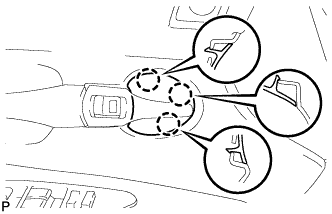
Engage the front door trim board with the 4 claws on the front door inner glass weatherstrip.
-
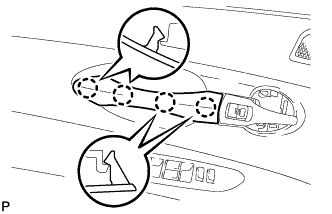
Engage the 9 clips and install the front door trim board to the front door panel.
-
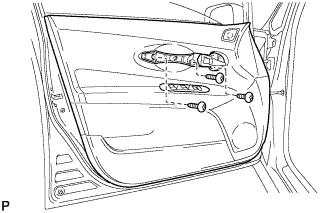
Install the 3 screws.
-
-
INSTALL DOOR ASSIST GRIP COVER
-
Engage the 4 claws and install the door assist grip cover.
-
-
INSTALL FRONT DOOR INSIDE HANDLE BEZEL
-
Engage the 3 claws and install the front door inside handle bezel.
-