UPPER INSTRUMENT PANEL REASSEMBLY
-
INSTALL NO. 1 INSTRUMENT PANEL CUSHION (for LHD)
-
Remove the release paper from the No. 1 instrument panel cushion (when using a new cushion).
-
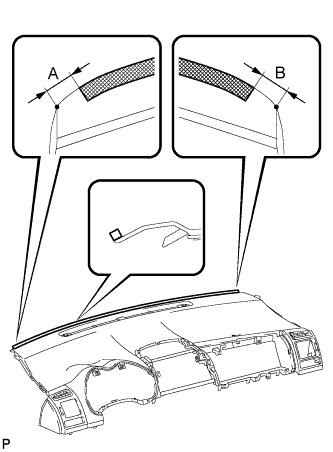
Install the No. 1 instrument panel cushion as shown in the illustration.
Area Measurement A 5 to 15 mm (0.197 to 0.590 in.) B 5 to 15 mm (0.197 to 0.590 in.)
-
-
INSTALL NO. 1 INSTRUMENT PANEL CUSHION (for RHD)
-
Remove the release paper from the No. 1 instrument panel cushion (when using a new cushion).
-
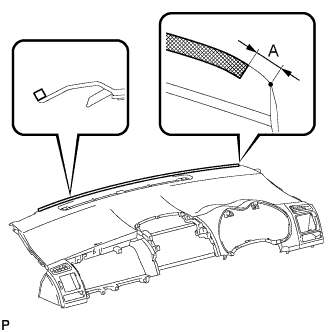
Install the No. 1 instrument panel cushion as shown in the illustration.
Area Measurement A 5 to 15 mm (0.197 to 0.590 in.)
-
-
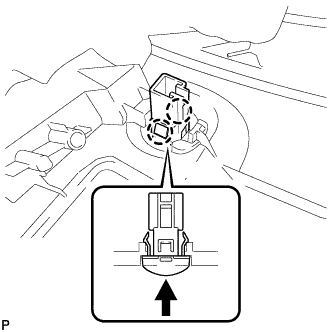
INSTALL SOLAR SENSOR
-
When using a new upper instrument panel sub-assembly:
-
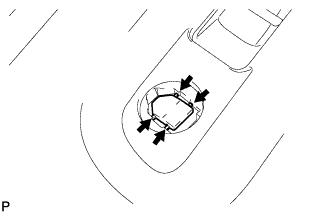
Cut off the runner portions indicated in the illustration.
-
-
Engage the 2 claws and install the solar sensor.
-
-
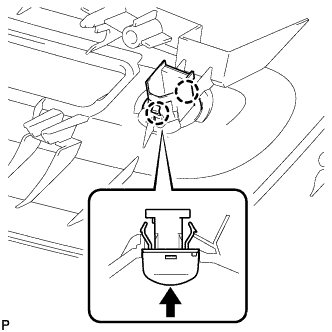
INSTALL AUTOMATIC LIGHT CONTROL SENSOR (w/ Automatic Light Control or Daytime Running Light Control)
-
When using a new upper instrument panel sub-assembly:
-
Cut off the runner portions indicated in the illustration.
-
-
Engage the 2 claws and install the automatic light control sensor.
-
-
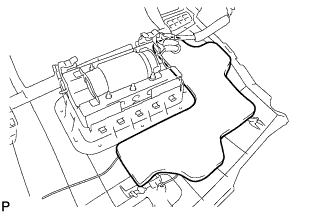
INSTALL NO. 2 INSTRUMENT PANEL WIRE (w/ Automatic Light Control or Daytime Running Light Control)
-
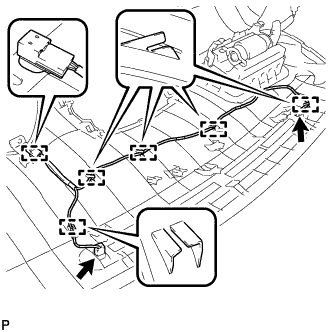
Engage the 6 clamps and install the No. 2 instrument panel wire.
-
Connect each connector.
-
-
INSTALL NAVIGATION ANTENNA ASSEMBLY (w/ Navigation System)
-
Install the navigation antenna assembly with the 2 screws.
-
Engage the 3 clamps.
-
-
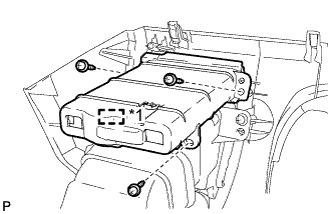
INSTALL FRONT PASSENGER AIRBAG ASSEMBLY
-
Engage the 5 hooks.
-
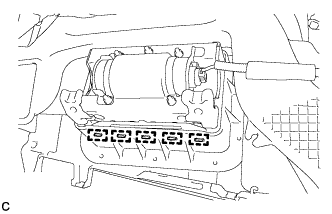
Engage the 5 hooks to install the front passenger airbag assembly on the instrument panel.
-
-
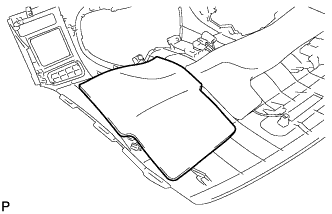
INSTALL NO. 4 INSTRUMENT PANEL CUSHION
-
Remove the release paper from the No. 4 instrument panel cushion (when using a new cushion).
-
Install the No. 4 instrument panel cushion.
-
-
INSTALL NO. 3 INSTRUMENT PANEL CUSHION
-
Remove the release paper from the No. 3 instrument panel cushion (when using a new cushion).
-
Install the No. 3 instrument panel cushion.
-
-
INSTALL NO. 2 INSTRUMENT PANEL CUSHION
-
Remove the release paper on the No. 2 instrument panel cushion (when using a new cushion).
-
Install the No. 2 instrument panel cushion.
-
-
INSTALL INSTRUMENT PANEL NO. 2 REGISTER ASSEMBLY
-
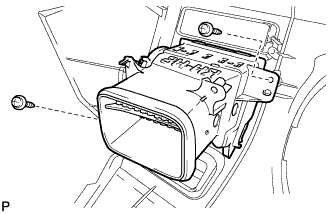
Install the instrument panel No. 2 register assembly with the 2 screws <C> or <D>.
-
-
INSTALL INSTRUMENT PANEL NO. 1 REGISTER ASSEMBLY
-
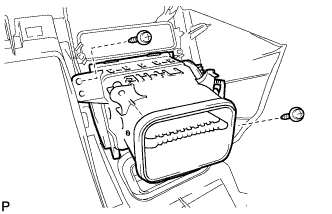
Install the instrument panel No. 1 register assembly with the 2 screws <C> or <D>.
-
-
INSTALL NO. 1 HEATER TO REGISTER DUCT
-
Install the No. 1 heater to register duct with the 2 screws <C> or <D>.
-
-
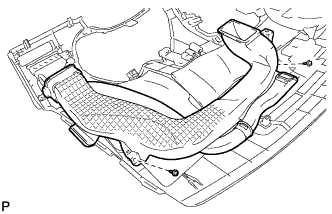
INSTALL NO. 3 HEATER TO REGISTER DUCT
-
Install the No. 3 heater to register duct with the 2 screws <C> or <D>.
-
-
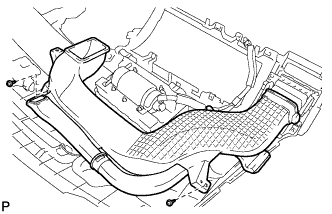
INSTALL NO. 2 HEATER TO REGISTER DUCT
-
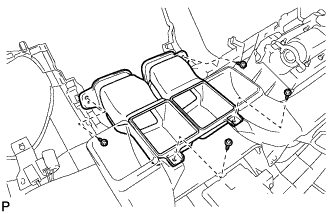
Install the No. 2 heater to register duct with the 4 screws <C> or <D>.
-
-
INSTALL DEFROSTER NOZZLE ASSEMBLY
-
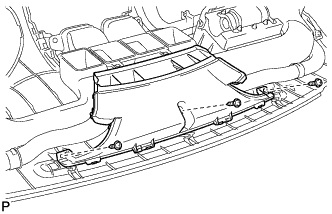
Install the defroster nozzle assembly with the 3 screws <C> or <D>.
-
-
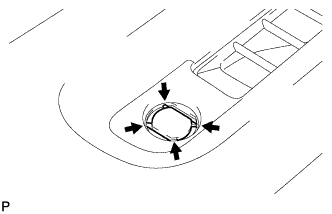
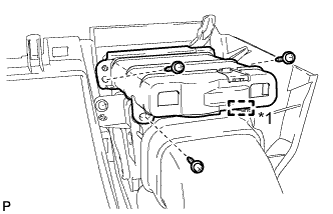
INSTALL INSTRUMENT PANEL CUP HOLDER (for Driver Side)
-
Text in Illustration *1 Pin Engage the pin.
Note
Be sure to engage the pin firmly.
-
Install the instrument panel cup holder with the 3 screws <C> or <D>.
-
-
INSTALL INSTRUMENT PANEL CUP HOLDER (for Front Passenger Side)
-
Text in Illustration *1 Pin Engage the pin.
Note
Be sure to engage the pin firmly.
-
Install the instrument panel cup holder with the 3 screws <C> or <D>.
-