ULTRASONIC SENSOR REMOVAL
-
REMOVE REAR BUMPER ASSEMBLY
-
REMOVE NO. 1 ULTRASONIC SENSOR
-
for Corner Side:
-
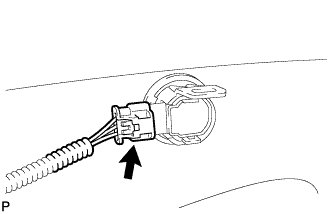
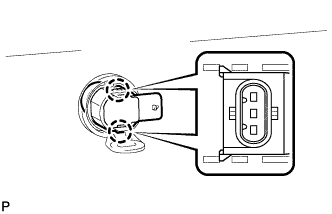
Disconnect the connector.
Tech Tips
The illustration is for the LH side. The RH side is the opposite of the LH side.
-
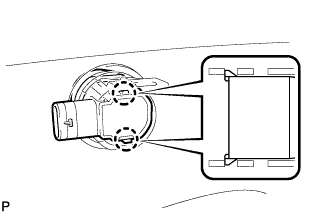
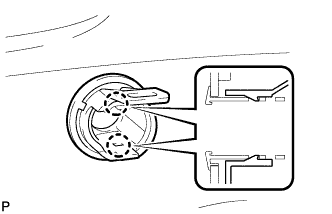
Disengage the 2 claws and remove the No. 1 ultrasonic sensor.
Tech Tips
The illustration is for the LH side. The RH side is the opposite of the LH side.
-
-
for Center Side:
-
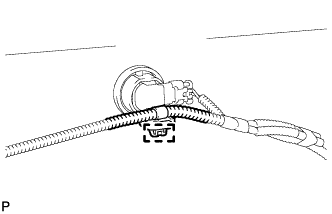
Disengage the clamp.
Tech Tips
Use the same procedure for the RH side and LH side.
-
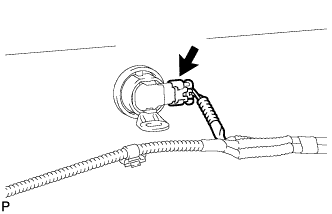
Disconnect the connector.
Tech Tips
Use the same procedure for the RH side and LH side.
-
Disengage the 2 claws and remove the No. 1 ultrasonic sensor.
Tech Tips
Use the same procedure for the RH side and LH side.
-
-
-
REMOVE ULTRASONIC SENSOR CLIP
-
for Corner Side:
-
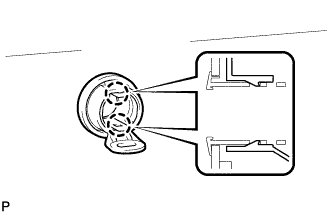
Disengage the 2 claws and remove the ultrasonic sensor clip.
Tech Tips
The illustration is for the LH side. The RH side is the opposite of the LH side.
-
-
for Center Side:
-
Disengage the 2 claws and remove the ultrasonic sensor clip.
Tech Tips
Use the same procedure for the RH side and LH side.
-
-
-
REMOVE NO. 1 ULTRASONIC SENSOR RETAINER
-
for Corner Side:
-
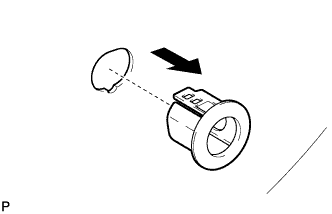
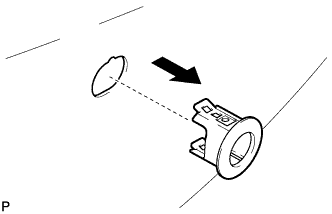
Remove the No. 1 ultrasonic sensor retainer as shown in the illustration.
Tech Tips
The illustration is for the LH side. The RH side is the opposite of the LH side.
-
-
for Center Side:
-
Remove the No. 1 ultrasonic sensor retainer as shown in the illustration.
Tech Tips
Use the same procedure for the RH side and LH side.
-
-