FRONT BLOWER MOTOR REMOVAL

-
PRECAUTION (w/ Solar Ventilation System)
Make sure to turn off the solar ventilation switch to prevent the blower motor from operating unexpectedly.
-
REMOVE NO. 2 INSTRUMENT PANEL UNDER COVER SUB-ASSEMBLY
-
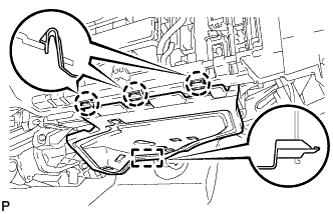
Disengage the 3 claws and guide.
-
Disconnect each connector and remove the No. 2 instrument panel under cover sub-assembly.
-
-
REMOVE FRONT BLOWER MOTOR SUB-ASSEMBLY (w/o Solar Ventilation System)
-
w/o PTC Heater:
-
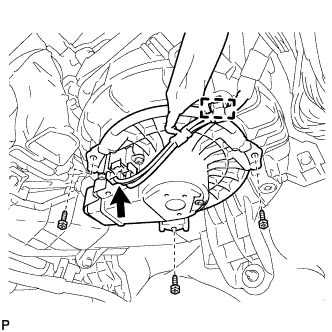
Disengage the clamp.
-
Disconnect the connector.
-
Remove the 3 screws and front blower motor sub-assembly.
Note
Do not remove the front blower motor subassembly if it has been damaged or impacted.
-
-
w/ PTC Heater:
-
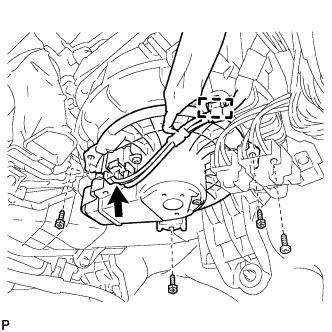
Remove the quick heater connector screw.
-
Disengage the clamp and disconnect the connector.
-
Remove the 3 screws and front blower motor sub-assembly.
Note
Do not remove the front blower motor subassembly if it has been damaged or impacted.
-
-
-
REMOVE FRONT BLOWER MOTOR SUB-ASSEMBLY (w/ Solar Ventilation System)
-
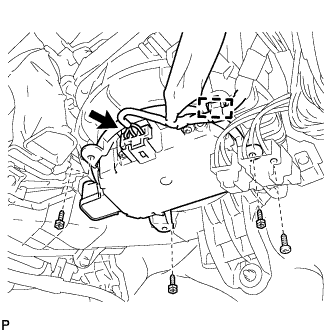
Remove the quick heater connector screw.
-
Disengage the clamp and disconnect the connector.
-
Remove the 3 screws and front blower motor sub-assembly.
Note
Do not remove the front blower motor subassembly if it has been damaged or impacted.
-