BACK DOOR OPENER SWITCH REMOVAL
-
REMOVE BACK DOOR TRIM BOARD ASSEMBLY
-
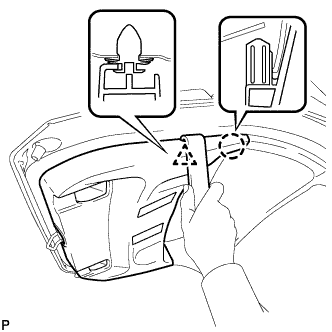
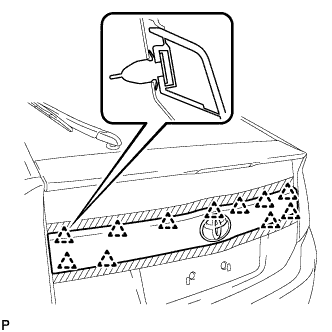
Using a moulding remover, disengage the clip and claw.
-
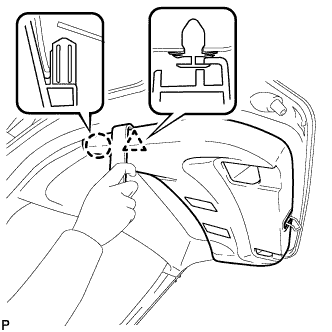
Using a moulding remover, disengage the clip and claw.
-
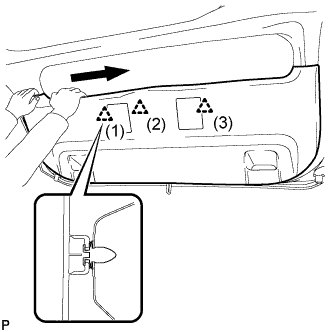
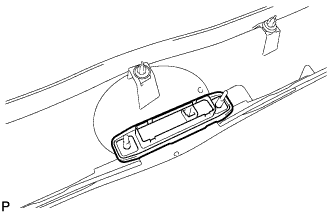
Disengage the 3 clips in the order shown in the illustration.
-
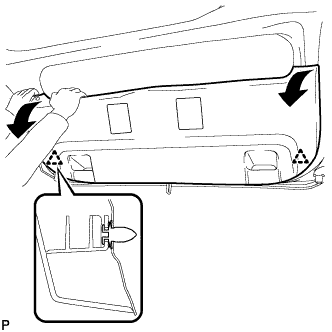
Disengage the 2 clips by pulling the back door trim board assembly in the direction indicated by the arrows in the illustration.
-
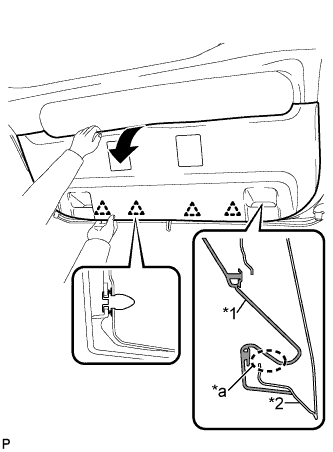
Text in Illustration *1 Back Door Trim Board Assembly *2 Back Door Panel *a The portion that may be damaged due to interference Remove the back door trim board assembly by pulling it in the direction indicated by the arrow in the illustration to disengage the 4 clips.
Note
Make sure to pull the back door trim board assembly in the direction indicated by the arrow in the illustration. If the back door trim board assembly is removed from the lower part, the door pull handle mounting area may interfere with the back door panel, resulting in damage to the back door trim board assembly.
-
-
REMOVE BACK DOOR OUTSIDE GARNISH SUB-ASSEMBLY
-
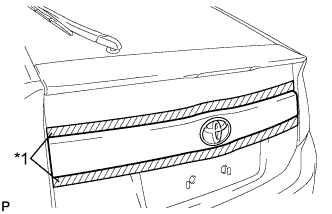
Text in Illustration *1 Protective Tape Put protective tape around the back door outside garnish sub-assembly.
-
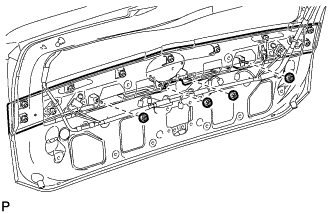
Remove the 4 nuts.
-
Disengage the 11 clips and remove the back door outside garnish sub-assembly.
-
Remove the 11 clips (back door outside garnish clip) from the back door outside garnish sub-assembly.
-
Remove the 4 gaskets from the back door outside garnish sub-assembly.
-
-
REMOVE BACK DOOR OPENER SWITCH ASSEMBLY
-
Remove the back door opener switch assembly.
-