ELECTRICAL KEY OSCILLATOR (for Rear Floor) REMOVAL
-
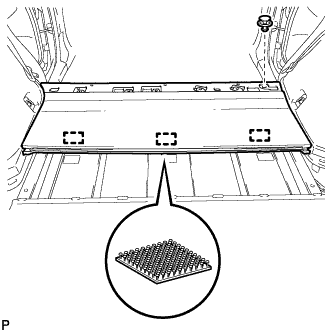
REMOVE REAR NO. 2 FLOOR BOARD
-
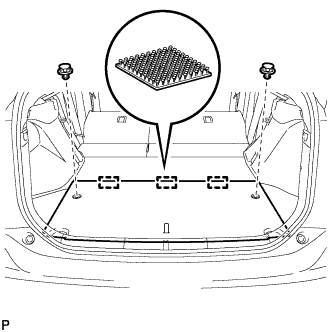
Using a clip remover, remove the 2 clips.
-
Disengage the 3 fasteners and remove the rear No. 2 floor board.
-
-
REMOVE REAR NO. 2 FLOOR BOARD SUB-ASSEMBLY
-
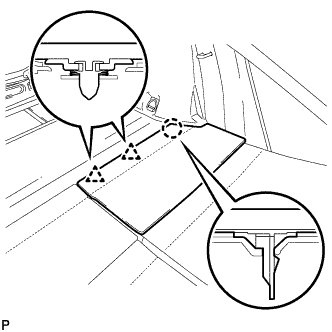
Disengage the claw and 2 clips, and remove the rear No. 2 floor board sub-assembly.
-
-
REMOVE REAR NO. 1 FLOOR BOARD SUB-ASSEMBLY
-
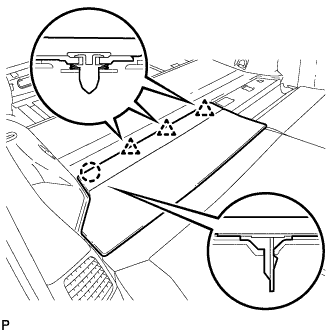
Disengage the claw and 3 clips, and remove the rear No. 1 floor board sub-assembly.
-
-
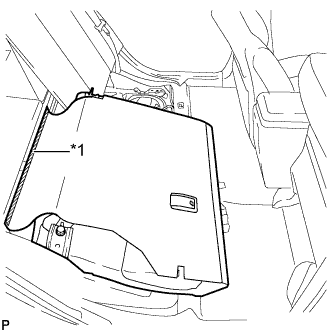
REMOVE REAR NO. 1 FLOOR BOARD
-
Fold the rear seatback assembly LH forward.
-
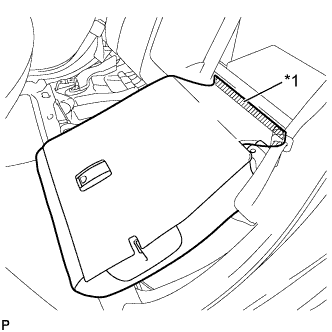
Text in Illustration *1 Fastener Disengage the fastener.
-
Fold the rear seatback assembly LH forward.
-
Text in Illustration *1 Fastener Disengage the fastener.
-
Using a clip remover, remove the clip.
-
Disengage the 3 fasteners and remove the rear No. 1 floor board.
-
-
REMOVE NO. 3 INDOOR ELECTRICAL KEY ANTENNA ASSEMBLY
-
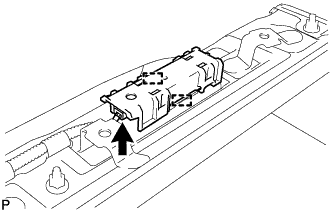
Disengage the 2 clamps.
-
Disconnect the connector and remove the No. 3 indoor electrical key antenna assembly.
Note
Be careful when removing the No. 3 indoor electrical key antenna assembly. If the No. 3 indoor electrical key antenna assembly is dropped, replace it with a new one.
-