FUEL LID LOCK CONTROL REMOVAL

-
REMOVE FRONT SEAT ASSEMBLY LH
-
for Manual Seat:
-
for Power Seat:
-
-
REMOVE FRONT SEAT ASSEMBLY RH
Tech Tips
Use the same procedure described for the LH side.
-
REMOVE REAR NO. 1 SEAT ASSEMBLY LH
-
REMOVE REAR NO. 1 SEAT ASSEMBLY RH
-
REMOVE REAR NO. 2 SEAT ASSEMBLY LH
-
REMOVE CONSOLE BOX ASSEMBLY
-
REMOVE FRONT DOOR SCUFF PLATE LH
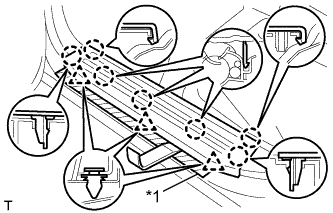
Text in Illustration *1 Protective Tape
-
Put protective tape around the front door scuff plate.
-
Using a moulding remover, detach the 7 claws and 3 clips and remove the front door scuff plate.
-
-
REMOVE COWL SIDE TRIM BOARD LH
-
Remove the part of the front door opening trim attached to the cowl side trim board.
-
Remove the clip.
-
Detach the 2 clips and remove the cowl side trim board.
-
-
REMOVE REAR DOOR SCUFF PLATE LH
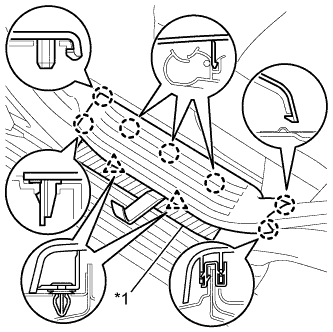
Text in Illustration *1 Protective Tape
-
Put protective tape around the rear door scuff plate.
-
Using a moulding remover, detach the 7 claws and 2 clips and remove the rear door scuff plate.
-
-
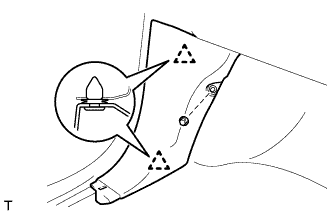
REMOVE LOWER CENTER PILLAR GARNISH LH
-
Detach the 2 claws and remove the outer lap belt anchor cover.
-

Remove the bolt and disconnect the front seat outer belt floor anchor.
-
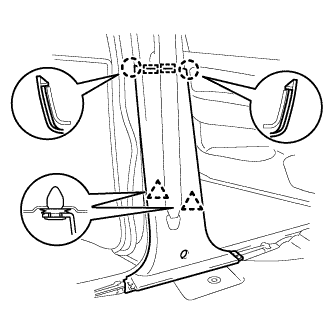
Remove the part of the front door opening trim and rear door opening trim weatherstrip attached to the lower center pillar garnish.
-
Detach the 2 claws, 2 guides and 2 clips and remove the lower center pillar garnish.
-
-
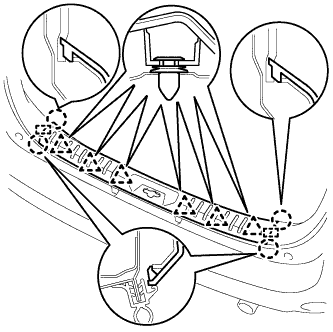
REMOVE BACK DOOR SCUFF PLATE
-
Detach the 4 claws, 2 guides and 6 clips and remove the back door scuff plate.
-
-
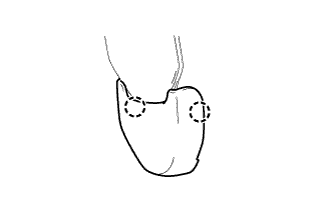
REMOVE QUARTER TRIM HOOK

Tech Tips
Use the same procedure for both quarter trim hooks.
-
Remove the screw and quarter trim hook.
-
-
REMOVE QUARTER INSIDE TRIM BOARD LH
-
Detach the 2 claws and remove the outer lap belt anchor cover.
Tech Tips
Use the same procedure for both outer lap belt anchor covers.
-
Remove the bolt and disconnect the rear No. 1 seat outer belt floor anchor.
-
Remove the bolt and disconnect the rear No. 2 seat outer belt floor anchor.
-
Remove the part of the rear door opening trim weatherstrip attached to the quarter inside trim board.
-
Using a clip remover, remove the clip.
-
Detach the 7 claws and 10 clips.
-
Disconnect the power point socket connector and remove the quarter inside trim board.
-
-
REMOVE FRONT FLOOR CARPET ASSEMBLY
-
Partially remove the floor carpet.
Tech Tips
It is not necessary to fully remove the floor carpet. Partially remove it so that the lock control cable can be removed in a later step.
-
-
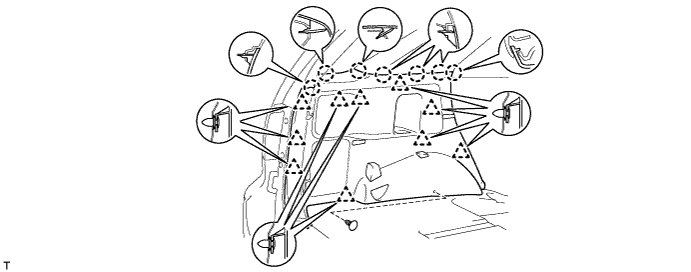
REMOVE FUEL LID LOCK CONTROL CABLE SUB-ASSEMBLY
-
Remove the fuel lid lock open lever.
-
Remove the tape and detach the cable from each of the clamps shown in the illustration.
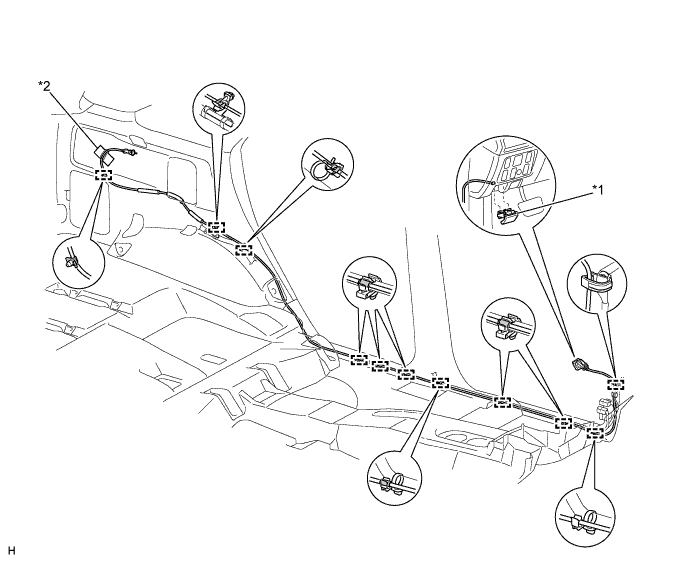
Text in Illustration *1 Fuel Lid Lock Open Lever *2 Tape -
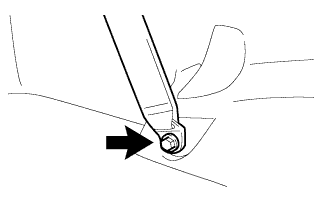
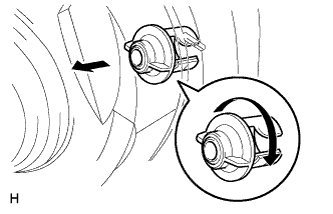
Turn the fuel filler opening lid lock retainer counterclockwise and remove the fuel lid lock control cable from the fuel filler opening lid lock retainer.
-
-
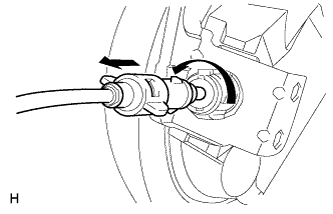
REMOVE FUEL FILLER OPENING LID LOCK RETAINER
-
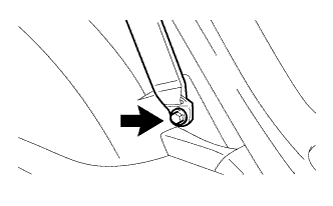
Turn the fuel filler opening lid lock retainer clockwise and remove the fuel filler opening lid lock retainer as shown in the illustration.
-