HEADLIGHT ASSEMBLY (for HID Headlight) DISASSEMBLY

CAUTION:
Make sure that the headlight control ECU sub-assembly LH is not connected or hot before disassembling the headlight control ECU sub-assembly.
Tech Tips
-
Use the same procedure for the RH and LH sides.
-
The procedure listed below is for the LH side.
-
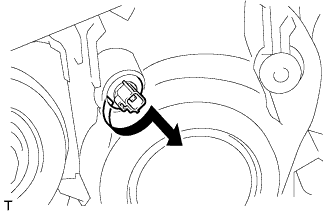
REMOVE HEADLIGHT CONTROL ECU SUB-ASSEMBLY LH
-
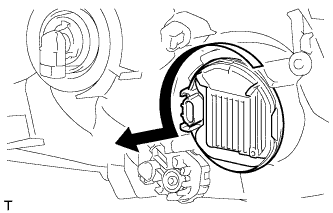
Turn the headlight control ECU sub-assembly LH in the direction indicated by the arrow in the illustration and remove the headlight control ECU sub-assembly LH.
Note
Make sure that the headlight control ECU sub-assembly LH is not connected or hot before removing the headlight control ECU sub-assembly LH.
-
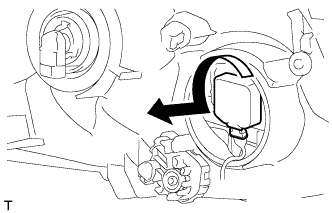
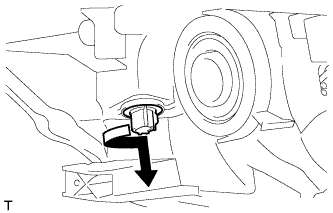
Turn the headlight control ECU sub-assembly LH socket in the direction indicated by the arrow in the illustration and disconnect the headlight control ECU sub-assembly LH socket.
Note
Do not pull the headlight control ECU sub-assembly LH while the socket is connected.
-
-
REMOVE DISCHARGE HEADLIGHT BULB
-
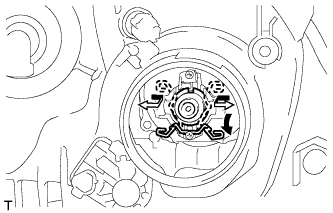
Release the set spring lock as shown in the illustration and remove the discharge headlight bulb.
-
-
REMOVE NO. 2 HEADLIGHT BULB
-
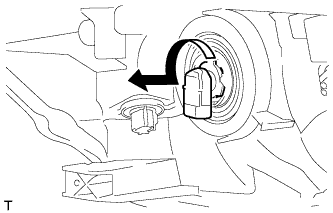
Turn the No. 2 headlight bulb in the direction indicated by the arrow in the illustration and remove the No. 2 headlight bulb from the headlight unit LH.
-
-
REMOVE CLEARANCE LIGHT SOCKET
-
Turn the clearance light socket in the direction indicated by the arrow in the illustration and remove the clearance light socket.
-
-
REMOVE CLEARANCE LIGHT BULB
-
Remove the clearance light bulb from the clearance light socket.
-
-
REMOVE FRONT TURN SIGNAL LIGHT SOCKET
-
Turn the front turn signal light socket in the direction indicated by the arrow in the illustration and remove the front turn signal light socket.
-
-
REMOVE FRONT TURN SIGNAL LIGHT BULB
-
Remove the front turn signal light bulb from the front turn signal socket.
-
-
REMOVE HEADLIGHT BRACKET LH
-
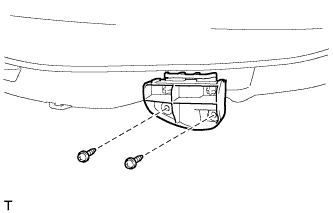
Remove the 2 screws and headlight bracket LH.
-