RADIATOR REMOVAL
PROCEDURE
-
PRECAUTION
Note
After turning the ignition switch off, waiting time may be required before disconnecting the cable from the negative (-) auxiliary battery terminal. Therefore, make sure to read the disconnecting the cable from the negative (-) auxiliary battery terminal notice before proceeding with work Click here.
-
DISCONNECT CABLE FROM NEGATIVE AUXILIARY BATTERY TERMINAL
-
REMOVE FRONT BUMPER ASSEMBLY
-
REMOVE ENGINE UNDER COVER LH
-
REMOVE ENGINE UNDER COVER RH
-
DRAIN COOLANT (for Inverter)
-
DRAIN COOLANT (for Engine)
-
REMOVE RADIATOR SUPPORT OPENING COVER
-
Using a clip remover, remove the 4 clips and the radiator support opening cover.
-
-
REMOVE NO. 1 RADIATOR SIDE AIR SEAL
Tech Tips
Use the same procedure as for the No. 2 Radiator Side Air Seal Click here.
-
REMOVE AIR CLEANER CAP SUB-ASSEMBLY
-
REMOVE AIR CLEANER CASE SUB-ASSEMBLY
-
REMOVE HEADLIGHT UNIT LH
-
REMOVE AIRBAG SENSOR BRACKET
-
REMOVE AIRBAG SENSOR ASSEMBLY
-
SEPARATE HOOD LOCK ASSEMBLY
-
Disengage the 2 clamps and disconnect the hood lock control cable assembly from the upper radiator support.
-
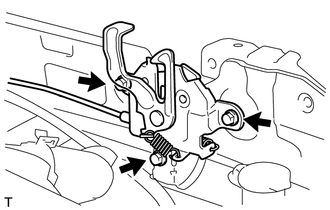
Remove the 3 bolts and the hood lock assembly.
-
-
DISCONNECT NO. 1 RADIATOR HOSE
-
Disconnect the reserve tank hose.
-
Disconnect the No. 1 radiator hose.
-
-
DISCONNECT NO. 2 RADIATOR HOSE
-
Disconnect the No. 2 radiator hose.
-
-
DISCONNECT OUTLET NO. 1 HYBRID WATER PUMP HOSE
-
Disengage the 3 clamps and disconnect the outlet No. 1 hybrid water pump hose.
-
-
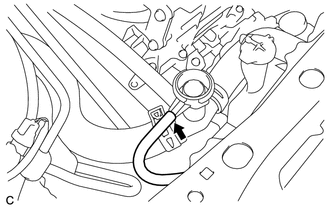
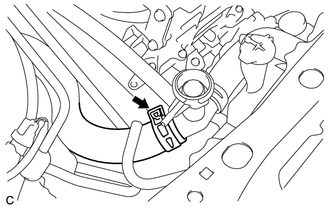
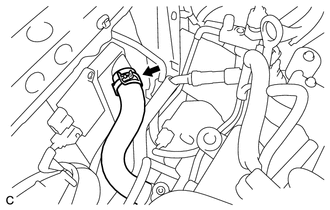
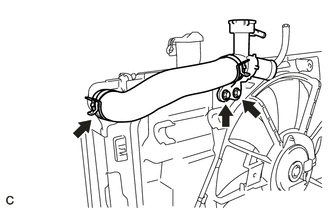
DISCONNECT NO. 1 INVERTER COOLING HOSE ASSEMBLY
-
Disengage the lower clamp and disconnect the No. 1 inverter cooling hose assembly.
Note
-
Because the upper clamp cannot be unlocked, cut through the thin part of the hinge to remove the clamp.
-
Make sure not to damage the HV hose and reserve tank.
-
Once this clamp has been removed, it does not need to be reinstalled.
-
In general, this clamp does not need to be removed. The only situation where it is necessary to remove the clamp is when replacing the HV hose, fan assembly or motor.
-
-
-
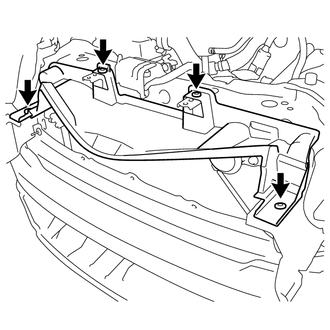
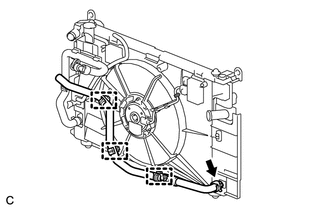
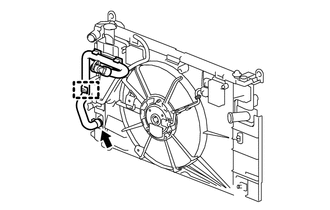
REMOVE UPPER RADIATOR SUPPORT SUB-ASSEMBLY
-

Disconnect the horn connector.
-
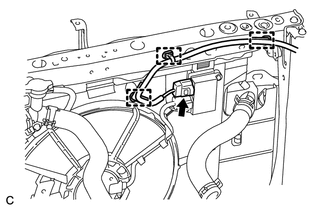
Disengage the 3 clamps and disconnect the cooling fan ECU connector.
-
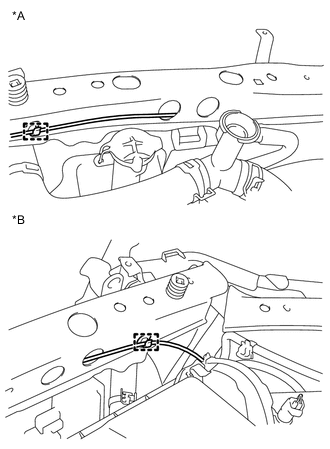
Text in Illustration *A for LHD *B for RHD Disengage the clamp of hood lock control cable.
-
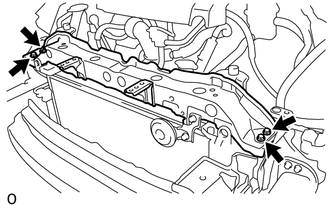
Remove the 4 bolts and upper radiator support sub-assembly.
-
Remove the 2 radiator support cushions.
-
-
REMOVE NO. 2 FAN SHROUD
-
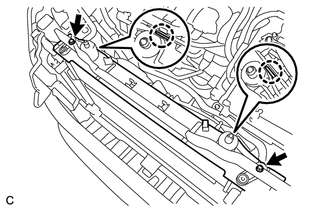
Remove the 2 bolts, disengage the 2 claws and remove the No. 2 fan shroud.
-
-
REMOVE RADIATOR ASSEMBLY
-
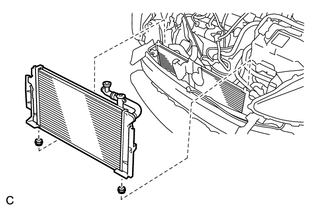
Remove the radiator assembly with the fan shroud.
Note
Do not apply any excessive force to the cooler condenser assembly or pipe when removing the radiator assembly.
-
Remove the 2 lower radiator supports.
-
Remove the 2 bolts and clip with the No. 3 radiator hose.
-

Disengage the 2 claws and remove the fan shroud.
-