MULTI-DISPLAY REMOVAL

-
REMOVE CENTER INSTRUMENT CLUSTER FINISH PANEL
-
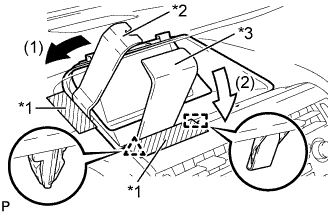
Text in Illustration *1 Protective Tape *2 Moulding Remover B *3 Moulding Remover D Apply protective tape to the areas shown in the illustration.
-
Insert moulding remover B and D as shown in the illustration.
-
Pull down moulding remover B in direction (1). With moulding remover B being pulled down, pull down moulding remover D in direction (2) to disengage the clip and guide.
-
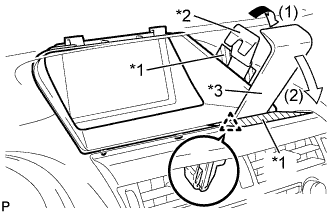
Text in Illustration *1 Protective Tape *2 Moulding Remover B *3 Moulding Remover D Apply protective tape to the areas shown in the illustration.
-
Insert moulding remover B and D as shown in the illustration.
-
Pull down moulding remover B in direction (1). With moulding remover B being pulled down, pull down moulding remover D in direction (2) to disengage the clip.
-
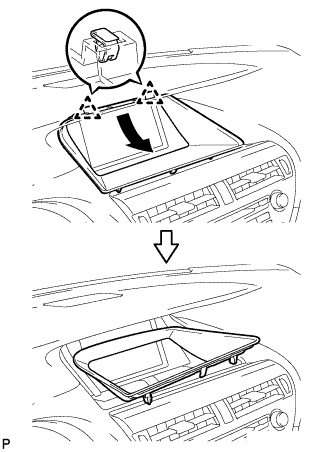
Disengage the 2 clips and remove the center instrument cluster finish panel as shown in the illustration.
-
-
REMOVE MULTI-DISPLAY ASSEMBLY
-
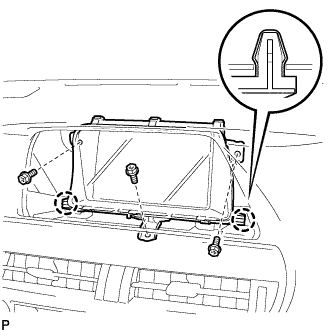
Remove the 3 bolts.
-
Disengage the 2 claws and remove the multi-display assembly.
-