REAR SEAT OUTER BELT ASSEMBLY REMOVAL

Tech Tips
The procedure described below is for the RH side. Use the same procedure for both the RH and LH sides, unless otherwise specified.
-
REMOVE REAR SEAT ASSEMBLY
-
Remove the rear seat assembly Click here.
-
-
REMOVE FRONT DOOR SCUFF PLATE RH

-
Disengage the 9 claws and remove the front door scuff plate.
-
-
REMOVE FRONT DOOR OPENING TRIM WEATHERSTRIP RH
-
Remove the front door opening trim weatherstrip to the extent that the side No. 1 trim assembly RH can be removed.
-
-
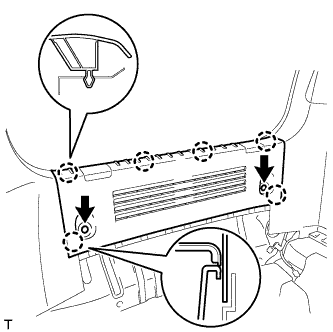
REMOVE REAR DECK TRIM COVER
-
Remove the 2 clips.
-
Disengage the 6 claws and remove the rear deck trim cover.
-
-
REMOVE BACK DOOR WEATHERSTRIP
-
Remove the back door weatherstrip to the extent that the side No. 1 trim assembly RH can be removed.
-
-
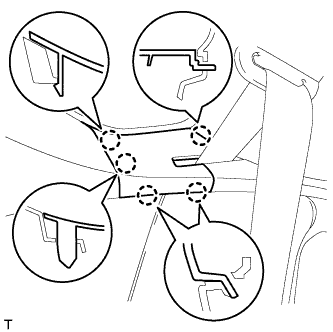
REMOVE DECK TRIM SIDE BELT HOLE COVER RH
-
Disengage the 5 claws and remove the deck trim side belt hole cover.
-
-
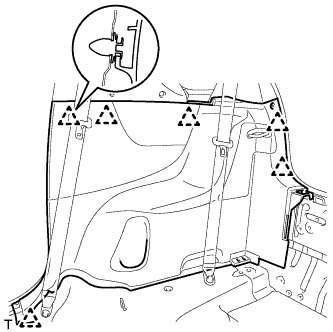
REMOVE NO. 1 SIDE TRIM ASSEMBLY RH
-
Disengage the 6 clips and remove the side No. 1 trim.
-
-
REMOVE REAR SEAT OUTER BELT ASSEMBLY
-
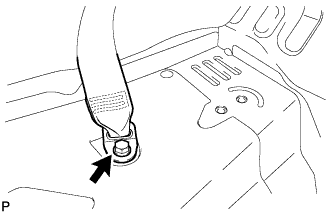
Remove the bolt.
-
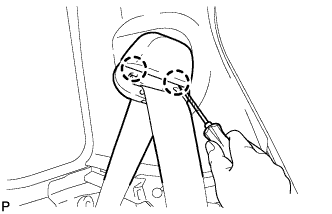
Using a screwdriver with its tip wrapped in protective tape, disengage the 2 claws and separate the seat belt anchor cover cap.
-
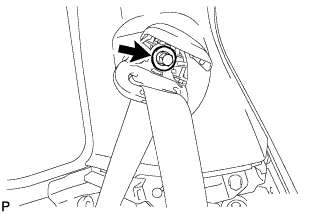
Remove the bolt and the through anchor.
-
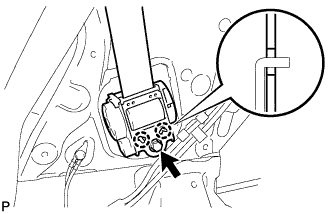
Remove the 2 bolts, the 2 hooks and the retractor.
-