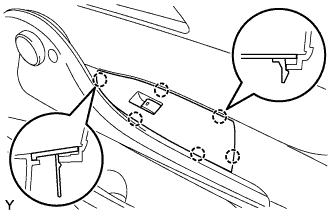
SIDE AIRBAG SENSOR (for Front) INSTALLATION

CAUTION:
Some of these service operations affect the SRS airbag system. Read the precautionary notices concerning the SRS airbag system before servicing Click here.
Tech Tips
The procedure described below is for the RH side. Use the same procedure for both the RH and LH sides, unless otherwise specified.
-
INSTALL SIDE AIRBAG SENSOR
-
Confirm that the ignition switch off.
-
Confirm that the cable is disconnected from the battery negative (-) terminal.
CAUTION:
Wait at least 90 seconds after disconnecting the cable from the negative (-) battery terminal to disable the SRS system.
-
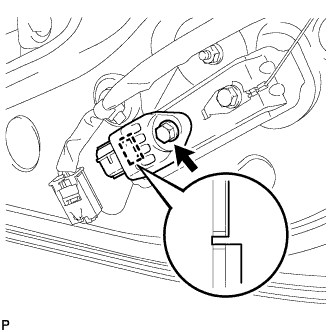
Engage the guide and install the airbag sensor with the bolt.
- Torque:
- 9.0 N*m { 92 kgf*cm, 80 in.*lbf }
Note
-
Do not use a side airbag sensor that has been dropped.
-
Do not subject the side airbag sensor to any impact or force.
-
Confirm that there is no looseness by shaking the side airbag sensor.
-
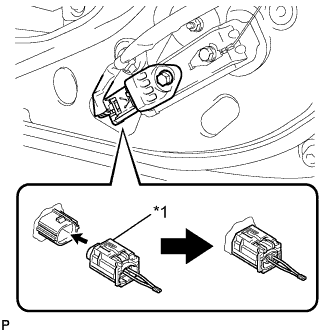
Text in Illustration *1 Outer Housing Connect the airbag connector.
-
-
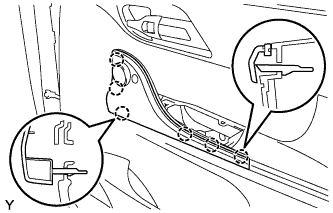
INSTALL FRONT DOOR TRIM BOARD SUB-ASSEMBLY RH
-

Connect the front door lock remote control cable and the front door inside locking cable.
-

Engage the 6 claws and 10 clips and install the front door trim board.
-
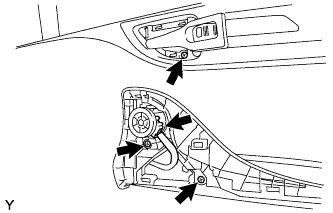
Tighten the 3 screws.
-
Connect the connector.
-
-
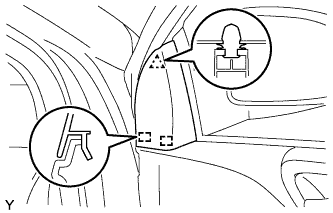
INSTALL DOOR ASSIST GRIP COVER RH
-
Engage the 6 claws and install the door assist grip cover.
-
-
INSTALL FRONT DOOR INSIDE HANDLE BEZEL RH
-

Engage the 4 claws and install the front door inside handle bezel.
-
-
INSTALL FRONT ARMREST BASE UPPER PANEL RH
-
Connect the connector.
-
Engage the 6 claws and install the front armrest base upper panel.
-
-
INSTALL FRONT DOOR LOWER FRAME BRACKET GARNISH RH
-
Engage the 2 guides and the clip and install the front door lower frame bracket garnish.
-
-
CONNECT CABLE TO NEGATIVE BATTERY TERMINAL
- Torque:
- 5.4 N*m { 55 kgf*cm, 48 in.*lbf }
-
INSPECT SRS WARNING LIGHT
-
Inspect the SRS warning light Click here.
-