FRONT AIRBAG SENSOR REMOVAL

CAUTION:
Some of these service operations affect the SRS airbag system. Read the precautionary notices concerning the SRS airbag system before servicing Click here.
-
DISCONNECT CABLE FROM NEGATIVE BATTERY TERMINAL
CAUTION:
Wait at least 90 seconds after disconnecting the cable from the negative (-) battery terminal to disable the SRS system.
-
REMOVE AIR CLEANER CAP SUB-ASSEMBLY (for 1ND-TV)
-
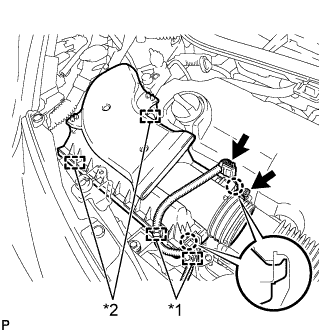
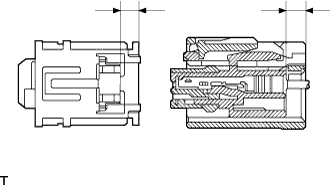
Text in Illustration *1 Wire harness clamp *2 Clamp Disconnect the connector and 2 wire harness clamps.
-
Loosen the hose clamp and separate the air cleaner hose.
-
Disengage the 2 clamps and 2 claws and remove the air cleaner cap.
-
-
REMOVE AIR CLEANER FILTER ELEMENT SUB-ASSEMBLY (for 1ND-TV)
-
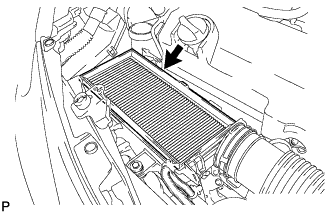
Remove the air cleaner filter element.
-
-
REMOVE AIR CLEANER CASE SUB-ASSEMBLY (for 1ND-TV)
-
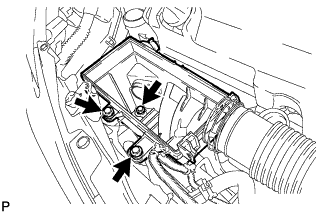
Remove the 3 bolts and the air cleaner case.
-
-
REMOVE FRONT WHEEL OPENING EXTENSION PAD LH
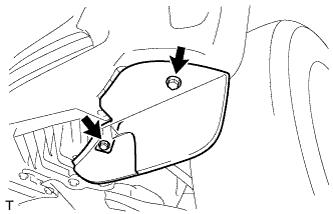
-
Remove the 2 screws and front wheel opening extension pad.
-
-
REMOVE FRONT WHEEL OPENING EXTENSION PAD RH
-
Remove the 2 screws and front wheel opening extension pad.
-
-
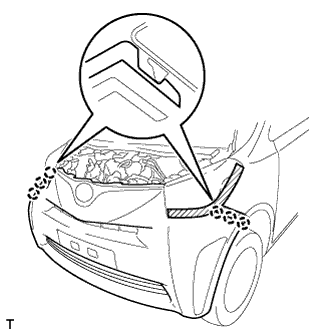
REMOVE FRONT BUMPER COVER
-
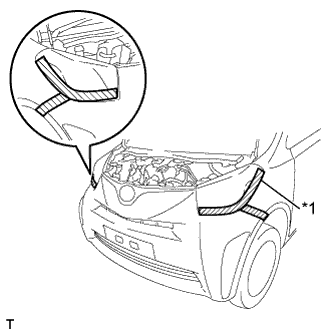
Apply protective tape, as shown in the illustration.
Text in Illustration *1 Protective tape -
Using a screwdriver, remove the 2 pin hold clips.
Tech Tips
Use the same procedure for the RH and LH sides.
-
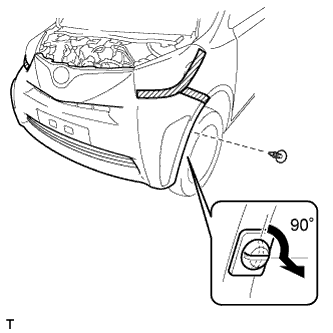
Remove the 5 clips.
-
Remove the 4 screws.
-
Disengage the 6 claws and remove the front bumper cover.
-
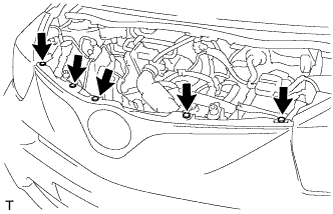
Disconnect the connectors.
Tech Tips
If the vehicle is equipped with fog lights, disconnect the connector.
-
-
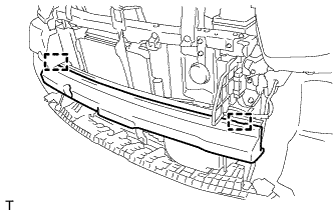
REMOVE UPPER RADIATOR SUPPORT ABSORBER
-
Disengage the 7 claws and remove the radiator support absorber.
-
-
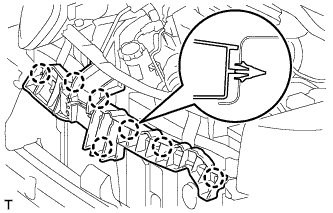
REMOVE FRONT BUMPER ENERGY ABSORBER
-
Remove the front bumper energy absorber.
-
-
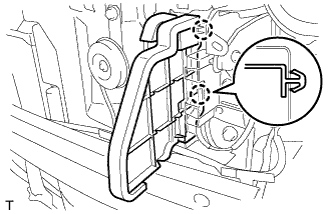
REMOVE NO. 2 RADIATOR SIDE AIR SEAL
-
Disengage the 2 claws and remove the radiator side air seal.
-
-
REMOVE NO. 1 RADIATOR SIDE AIR SEAL
Tech Tips
Use the same procedure as for the No. 1 side.
-
REMOVE FRONT AIRBAG SENSOR LH
CAUTION:
Confirm that the negative battery terminal is disconnected before performing the operation. Even an impact to only the airbag sensor will cause the airbag to deploy.
-

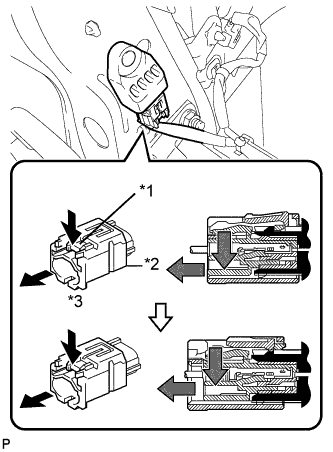
Disconnect the airbag connector.
Note
-
Do not disconnect the airbag connector by pulling the wire harness.
-
Release the lock without holding the upper side of CPA.
Text in Illustration *1 Housing *2 CPA *3 Primary Locked State
-
While pushing the housing, slide only the CPA backward (from its provisionally locked state).
-
Detach the connector while pushing the housing in the provisionally locked state.
-
After detaching the connector, confirm that the CPA protrudes beyond the rear of the housing.
-
-
Remove the bolt and remove the front airbag sensor.
-
-
REMOVE FRONT AIRBAG SENSOR RH
CAUTION:
Confirm that the negative battery terminal is disconnected before performing the operation. Even an impact to only the airbag sensor will cause the airbag to deploy.
-
Disconnect the airbag connector.
Note
-
Do not disconnect the airbag connector by pulling the wire harness.
-
Release the lock without holding the upper side of CPA.
Text in Illustration *1 Housing *2 CPA *3 Primary Locked State
-
While pushing the housing, slide only the CPA backward (from its provisionally locked state).
-
Detach the connector while pushing the housing in the provisionally locked state.
-
After detaching the connector, confirm that the CPA protrudes beyond the rear of the housing.
-
-
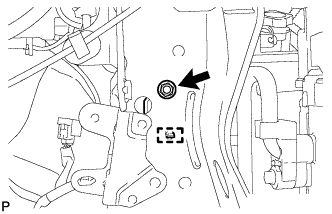
Remove the nut and remove the front airbag sensor.
-