VACUUM PUMP (for 1ND-TV) REMOVAL

-
REMOVE AIR CLEANER CAP SUB-ASSEMBLY
-
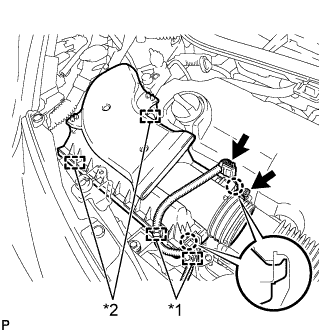
Text in Illustration *1 Wire harness clamp *2 Clamp Disconnect the connector and 2 wire harness clamps.
-
Loosen the hose clamp and separate the air cleaner hose.
-
Disengage the 2 clamps and 2 claws and remove the air cleaner cap.
-
-
REMOVE AIR CLEANER FILTER ELEMENT SUB-ASSEMBLY
-
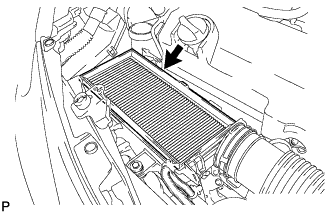
Remove the air cleaner filter element.
-
-
REMOVE AIR CLEANER CASE SUB-ASSEMBLY
-
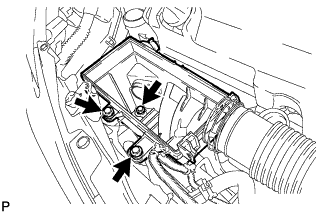
Remove the 3 bolts and the air cleaner case.
-
-
REMOVE ENGINE COVER ASSEMBLY
-
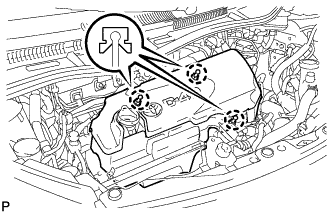
Disengage the 3 claws and remove the engine cover.
-
-
SEPARATE ENGINE WIRE
-
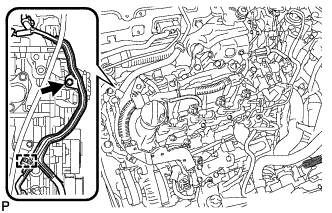
Disconnect the wire harness clamp and bolt shown in the illustration.
-
-
REMOVE ENGINE MOUNTING INSULATOR SUB-ASSEMBLY RH
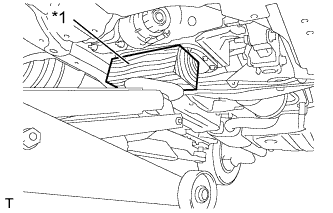
Text in Illustration *1 Wooden Block
-
Support the engine with a jack and a wooden block, as shown in the illustration.
-
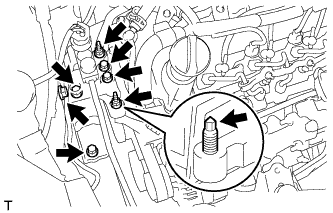
Remove the 5 bolts and 2 nuts.
-
Remove the stud bolt from the engine mounting bracket.
-
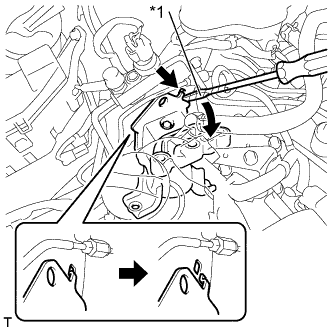
Text in Illustration *1 Protective Tape Using a screwdriver with its tip wrapped in protective tape, disengage the claw and remove the engine mounting insulator.
-
-
REMOVE VACUUM PUMP ASSEMBLY
-
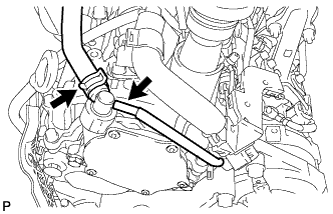
Slide the clip and disconnect the 2 vacuum hoses.
-
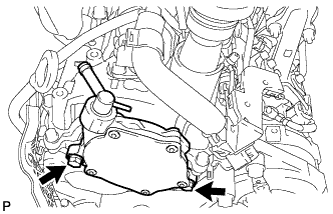
Remove the 2 bolts and vacuum pump assembly.
-
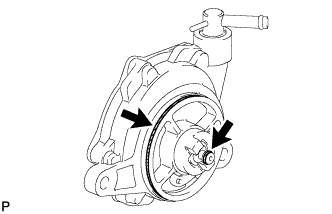
Remove the 2 O-rings from the vacuum pump assembly.
-