ECM INSTALLATION

-
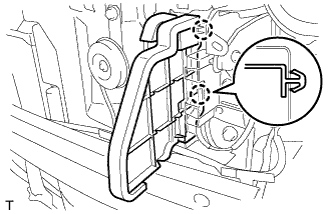
INSTALL ECU BRACKET

-
Install the ECU bracket with the 2 screws.
- Torque:
- 3.0 N*m { 31 kgf*cm, 29 in.*lbf }
-
-
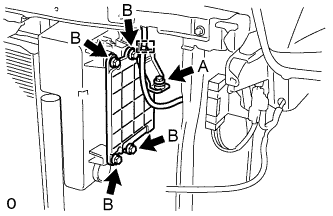
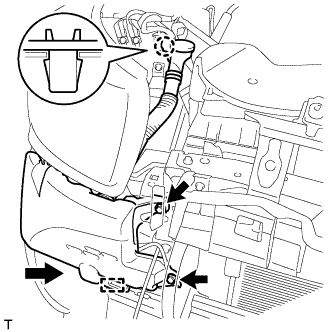
INSTALL ECM
-
Install the ECM with the 5 bolts.
- Torque:
- Bolt A
- 13 N*m { 127 kgf*cm, 10 ft.*lbf }
- Bolt B
- 8.0 N*m { 82 kgf*cm, 71 in.*lbf }
-
Install the wire harness to the ECU bracket.
-
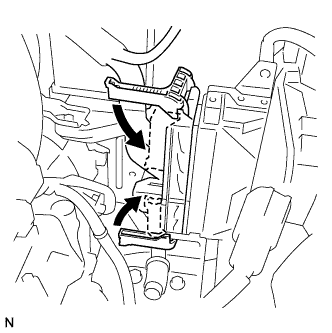
Pull down the lever to engage the lock and connect the 2 connectors to the ECM.
-
-
INSTALL NO. 1 AIR CLEANER INLET
-
Engage the 2 claws and install the No. 1 air cleaner inlet.
-
-
INSTALL NO. 1 RADIATOR LOWER AIR DEFLECTOR
-
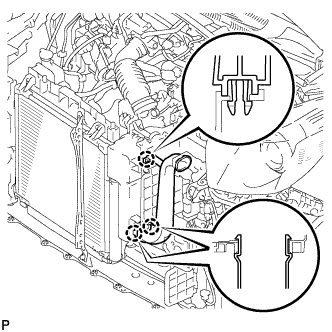
Insert the 2 guides and install the radiator air deflector.
-
Install the 2 clips.
-
-
INSTALL HIGH PITCHED HORN ASSEMBLY
-
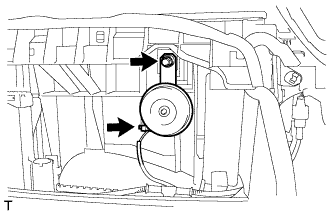
Install the high pitched horn assembly with the bolt.
- Torque:
- 20 N*m { 199 kgf*cm, 14 ft.*lbf }
-
Connect the connector.
-
-
INSTALL AIR CLEANER FILTER ELEMENT SUB-ASSEMBLY
-
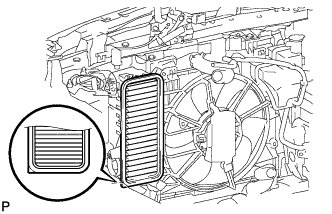
Install the air cleaner filter element as shown in the illustration.
-
-
INSTALL AIR CLEANER CAP SUB-ASSEMBLY
-
Align the 2 hinges with the guides on the case and engage them in the grooves.
-
Install the air cleaner cap with the 2 clamps.
-
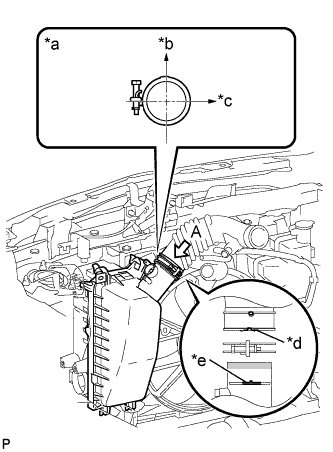
Text in Illustration *a View A *b Upper Side *c Front Side *d Recession *e Protrusion Connect the air cleaner hose as shown in the illustration.
Tech Tips
The clamp should contact the air cleaner hose stopper.
-
-
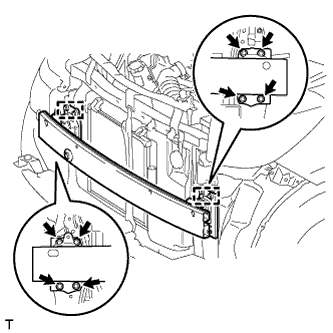
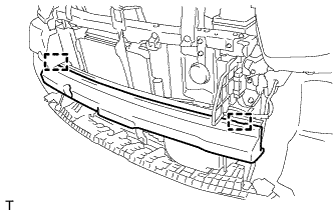
INSTALL FRONT BUMPER REINFORCEMENT SUB-ASSEMBLY
-
Engage the 2 guides and install the front bumper reinforcement
-
Tighten the 8 bolts.
- Torque:
- 40 N*m { 408 kgf*cm, 30 ft.*lbf }
-
Engage the 5 clamps.
-
-
INSTALL WINDSHIELD WASHER JAR ASSEMBLY
-
Connect the connectors.
-
Connect the washer hose.
-
Engage the guide and install the windshield washer jar.
-
Engage the claw.
-
Tighten the 2 bolts.
- Torque:
- 5.5 N*m { 56 kgf*cm, 49 in.*lbf }
-
-
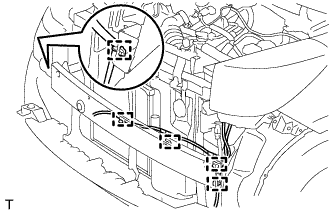
INSTALL RADIATOR SUPPORT EXTENSION LH

-
Engage the 2 claws and install the radiator support extension.
-
-
INSTALL RADIATOR SUPPORT EXTENSION RH
Tech Tips
Use the same procedure as for the LH side.
-
INSTALL NO. 2 RADIATOR SIDE AIR SEAL
-
Engage the 2 claws and install the radiator side air seal.
-
-
INSTALL NO. 1 RADIATOR SIDE AIR SEAL
Tech Tips
Use the same procedure as for the LH side.
-
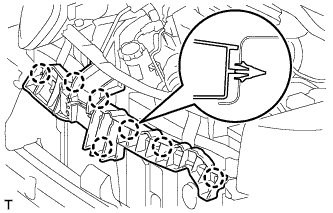
INSTALL FRONT BUMPER ENERGY ABSORBER
-
Engage the 2 guide and install the front bumper energy absorber.
-
-
INSTALL RADIATOR SUPPORT ABSORBER UPPER
-
Engage the 7 claws and install the radiator support upper absorber.
-
-
INSTALL FRONT BUMPER COVER
-
Install the front bumper cover Click here.
-