AIR CONDITIONING PANEL (for Automatic Air Conditioning System) DISASSEMBLY

Note
When disassembling the air conditioning panel, eliminate static electricity by touching the vehicle body to prevent the components from being damaged.
-
REMOVE AIR CONDITIONING PANEL SUB-ASSEMBLY

-
Remove the 6 screws.
-
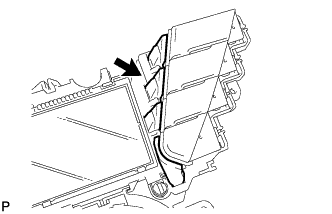
Disengage the claw and remove the air conditioning panel sub-assembly.
-
-
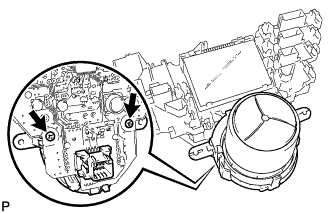
REMOVE CENTER CLUSTER MODULE CIRCUIT

-
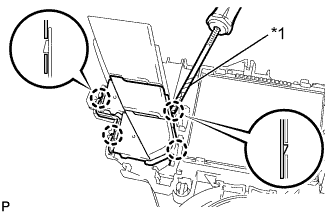
Remove the 4 screws and the center cluster module circuit.
-
-
REMOVE NO. 2 HEATER CONTROL KNOB
-
Remove the lens.
-
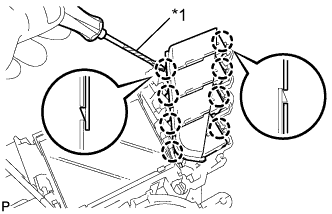
Text in Illustration *1 Protective tape Using a screwdriver with its tip wrapped in protective tape, disengage the 8 claws and remove the No. 2 heater control knob.
-
Remove the lens.
-
Text in Illustration *1 Protective tape Using a screwdriver with its tip wrapped in protective tape, disengage the 4 claws and remove the No. 2 heater control knob.
-

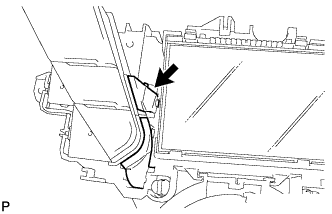
Text in Illustration *1 Protective tape Using a screwdriver with its tip wrapped in protective tape, disengage the claw and remove the No. 2 heater control knob.
-
-
REMOVE HEATER CONTROL KNOB
-
Remove the 2 screws and heater control knob.
-