LUGGAGE COMPARTMENT DOOR ADJUSTMENT

Tech Tips
-
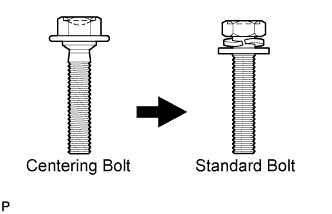
Centering bolts are used to mount the door hinge to the vehicle body and door. The door cannot be adjusted with the centering bolts on. Substitute the centering bolts with standard bolts (with washers) when making adjustments.
-
A bolt without a torque specification is shown in the standard bolt chart Click here.
-
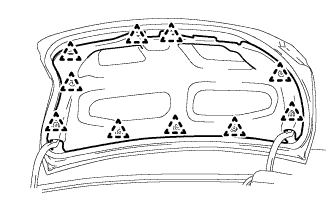
INSPECT LUGGAGE COMPARTMENT DOOR PANEL SUB-ASSEMBLY
-
Check that the clearance measurements of areas A to D are within the standard range.
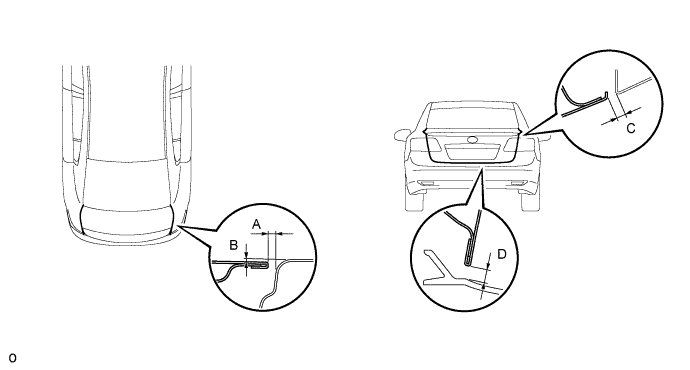
Standard Area Specified Condition Area Specified Condition A 2.5 to 6.5 mm (0.0984 to 0.256 in.) C 2.9 to 5.9 mm (0.114 to 0.232 in.) B -2.0 to 2.0 mm (-0.0787 to 0.0787 in.) D 4.5 to 7.5 mm (0.177 to 0.295 in.)
-
-
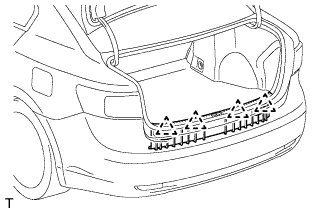
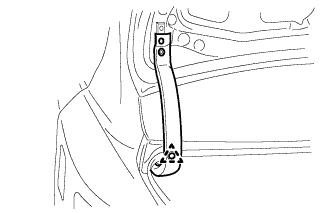
REMOVE ROPE HOOK ASSEMBLY
-
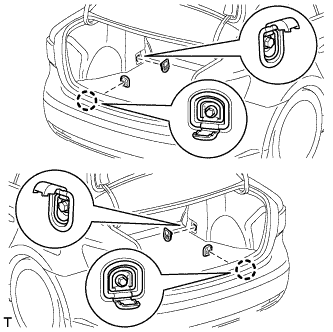
Remove the 4 bolts and 4 rope hooks.
-
-
REMOVE REAR FLOOR FINISH PLATE
-
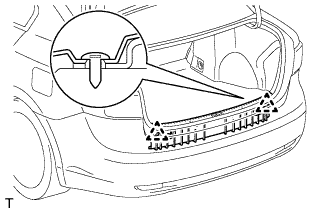
Remove the 2 clips.
-
Detach the 4 clips and remove the finish plate.
-
-
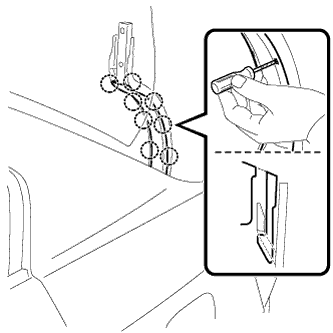
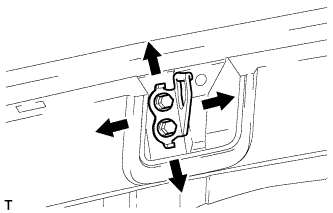
REMOVE BACK DOOR ASSIST GRIP
-
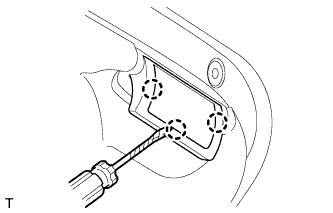
Using a screwdriver, detach the 3 claws.
Tech Tips
Tape the screwdriver tip before use.
-
Remove the 2 screws and assist grip.
-
-
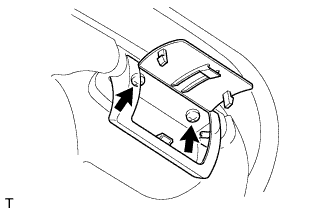
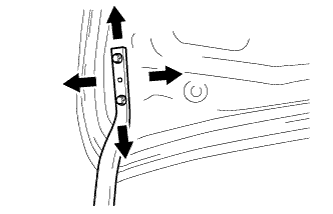
REMOVE DOOR ASSIST GRIP
-
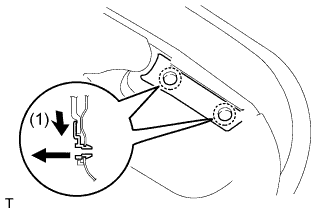
Pull the assist grip in the direction shown by the arrow labeled (1) to disconnect the grip.
-
Pull out the assist grip to remove it.
-
-
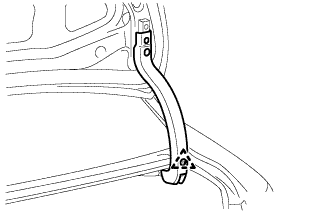
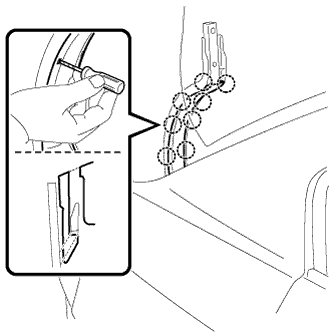
REMOVE BACK DOOR TRIM COVER
-
Using a clip remover, remove the 10 clips and cover.
-
-
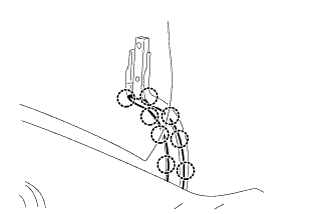
REMOVE NO. 3 WIRING HARNESS PROTECTOR
-
Using a clip remover, remove the clip.
-
Using a screwdriver, detach the 8 claws and remove the No. 13 wiring harness protector and No. 3 wiring harness protector.
Tech Tips
Tape the screwdriver tip before use.
-
-
REMOVE NO. 2 WIRING HARNESS PROTECTOR
-
Detach the claw and remove the cable lever.
-
Using a clip remover, remove the clip and protector.
-
Using a screwdriver, detach the 8 claws and remove the No. 12 wiring harness protector and No. 2 wiring harness protector.
Tech Tips
Tape the screwdriver tip before use.
-
-
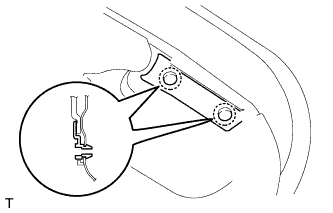
ADJUST LUGGAGE COMPARTMENT DOOR PANEL SUB-ASSEMBLY
-
Horizontally and vertically adjust the door position by loosening the door side hinge bolts.
-
Tighten the door side hinge bolts after the adjustment.
- Torque:
- 7.5 N*m { 76 kgf*cm, 66 in.*lbf }
-
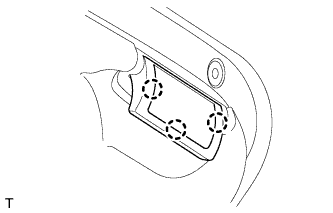
Remove the rear floor finish plate.
-
Adjust the striker position by slightly loosening the striker mounting screws and hitting the striker with a plastic-faced hammer.
-
Tighten the striker mounting screws after the adjustment.
- Torque:
- 5.5 N*m { 56 kgf*cm, 49 in.*lbf }
-
-
INSTALL NO. 2 WIRING HARNESS PROTECTOR
-

Attach the 8 claws to install the No. 12 wiring harness protector and No. 2 wiring harness protector.
-
Install the protector with the clip.
-
Attach the claw to install the cable lever.
-
-
INSTALL NO. 3 WIRING HARNESS PROTECTOR
-
Attach the 8 claws to install the No. 13 wiring harness protector and No. 3 wiring harness protector.
-
Install the protector with the clip.
-
-
INSTALL BACK DOOR TRIM COVER
-
Attach the 10 clips to install the cover.
-
-
INSTALL DOOR ASSIST GRIP
-
Attach the 2 claws to install the door assist grip.
-
-
INSTALL BACK DOOR ASSIST GRIP
-
Install the assist grip with the 2 screws.
-
Attach the 3 claws to install the cover.
-
-
INSTALL REAR FLOOR FINISH PLATE
-
Attach the 4 clips to install the rear floor finish plate.
-
Install the 2 clips.
-
-
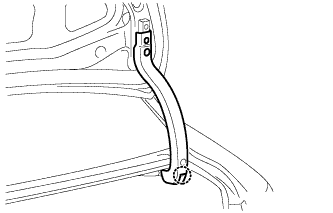
INSTALL ROPE HOOK ASSEMBLY
-
Install the 4 rope hooks with the 4 bolts.
- Torque:
- 7.8 N*m { 80 kgf*cm, 69 in.*lbf }
-