FRONT SEATBACK HEATER (for Manual Seat) INSTALLATION

CAUTION:
Wear protective gloves. Sharp areas on the parts may injure your hands.
Tech Tips
-
Use the same procedure for RHD and LHD vehicles.
-
The procedure listed below is for LHD vehicles.
-
Use the same procedure for the RH and LH sides.
-
The procedure listed below is for the LH side.
-
INSTALL FRONT SEATBACK HEATER ASSEMBLY
Note
When replacing either the front seatback heater assembly or separate type front seatback pad due to a malfunction, be sure to replace both of them with new parts.
-
Remove the peeling paper from a new front seatback heater assembly.
-
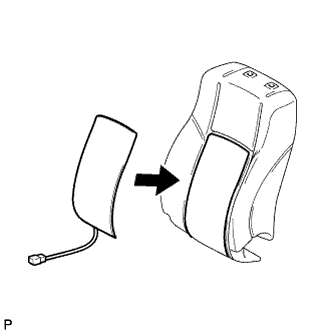
Install the front seatback heater assembly to a new separate type front seatback pad.
-
-
INSTALL SEPARATE TYPE FRONT SEATBACK PAD
-
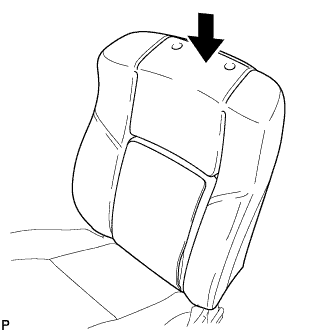
Install the separate type front seatback pad.
-
Connect the connector.
-
-
INSTALL SEPARATE TYPE FRONT SEATBACK COVER
-
Attach the 2 hooks.
-
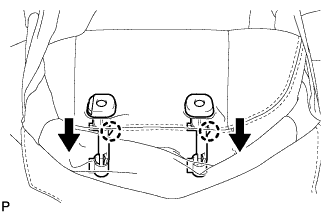
Attach the 2 claws to install the 2 front seat headrest supports.
-
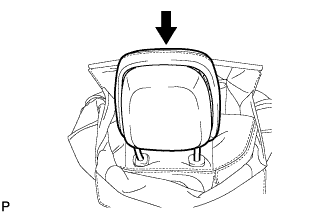
Install the front seat headrest assembly.
Note
Push in the front seat headrest assembly until the headrest lock engages.
-
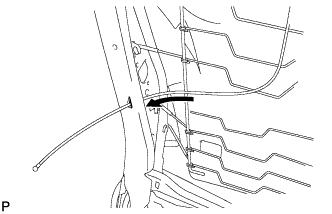
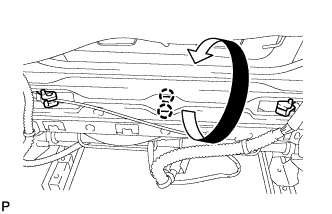
Pass the cable through the hole of the seatback frame.
-
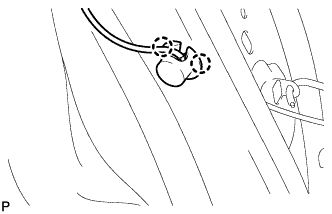
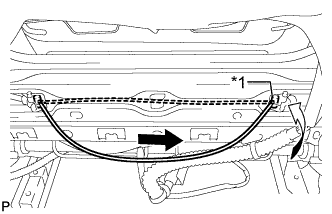
Attach the 2 claws to install the clip.
-
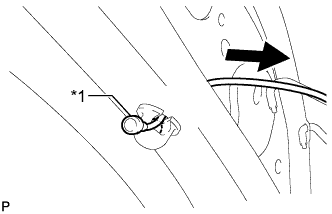
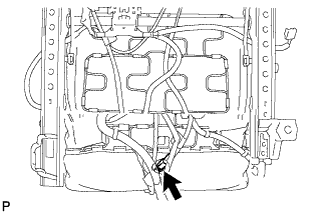
Text in Illustration *1 Cable End Pull the cable through the clip until the cable end reaches the clip.
-
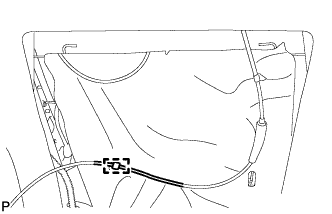
Install a new cable tie.
-
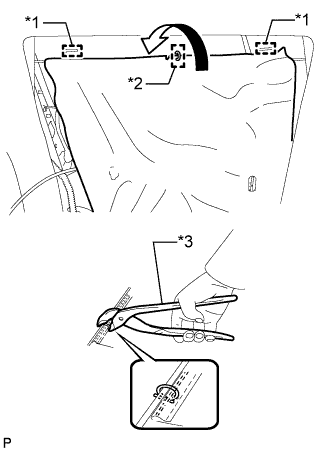
Text in Illustration *1 Hook *2 Hog Ring *3 Hog Ring Pliers Attach the 2 hooks to close the seatback mat.
-
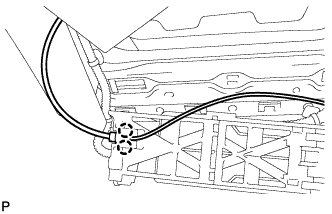
Attach the 2 claws to connect the cable to the active headrest lower unit.
-
Using hog ring pliers, install a new hog ring.
-
Attach the 2 claws to install the active headrest lower unit.
-
Text in Illustration *1 Cable End 
Pull Pull the cable and connect the cable end to the active headrest lower unit.
-
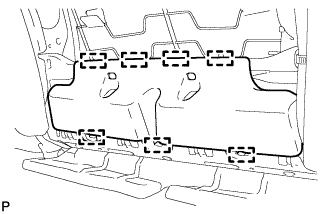
Attach the 7 hooks to install the actuator shield.
-
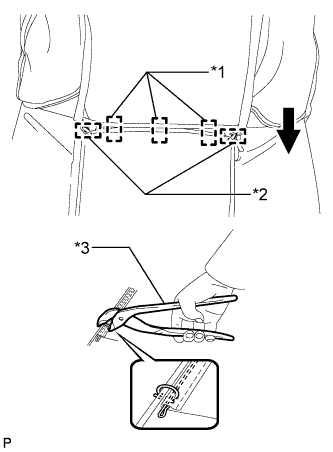
Text in Illustration *1 Hook *2 Hog Ring *3 Hog Ring Pliers Attach the 3 hooks.
-
Using hog ring pliers, install the upper part of the separate type front seatback cover to the separate type front seatback pad with new hog rings.
Note
-
Be careful not to damage the cover.
-
When installing the hog rings, avoid wrinkling the cover.
-
-
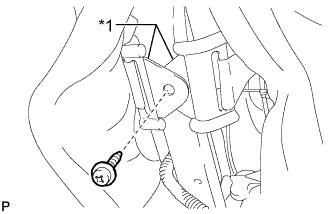
Text in Illustration *1 Seatback Cover Bracket Attach the seatback cover bracket with the screw.
Note
After the separate type front seatback cover is installed, make sure the seatback cover bracket is not twisted.
-
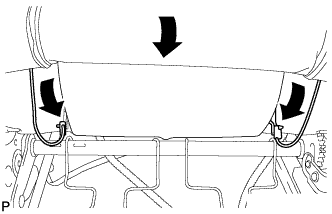
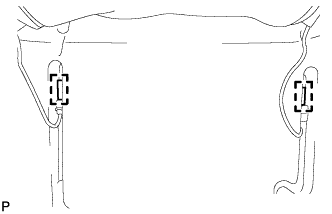
Pass the 2 straps through the 2 holes of the separate type front seatback pad to the backside.
-
Attach the 2 hooks to connect the 2 straps.
-
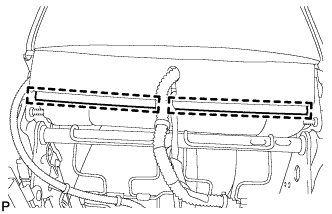
Attach the 2 hooks at the bottom of the separate type front seatback cover.
-
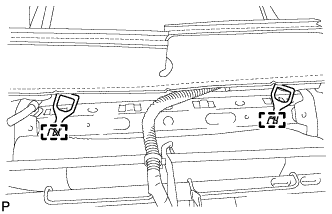
Attach the 2 hooks.
-
-
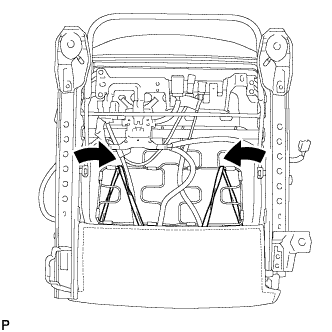
INSTALL FRONT SEAT INNER CUSHION SHIELD LH
-
Text in Illustration *1 Hook *2 Wire Harness Clamp Attach the wire harness clamp and hook to install the front seat inner cushion shield LH.
-
Install the 2 screws.
-
-
INSTALL FRONT SEAT CUSHION SHIELD LH
-

w/ Lumbar Support:
Connect the connector.
-
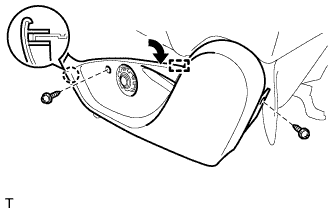
Attach the claw and hook to install the front seat cushion shield LH.
-
Install the 2 screws.
-
Attach the 2 rubber bands.
-
-
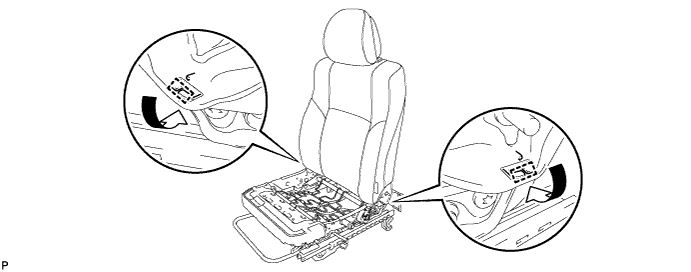
INSTALL RECLINING ADJUSTER RELEASE HANDLE LH
-
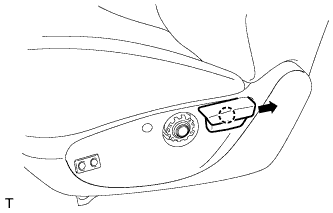
Attach the claw to install the reclining adjuster release handle LH.
-
-
INSTALL VERTICAL ADJUSTING HANDLE LH (for Driver Side)
-
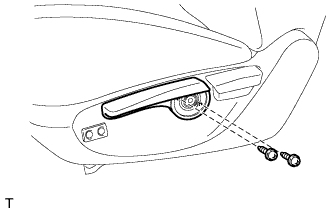
Install the vertical adjusting handle LH with the 2 screws.
-
-
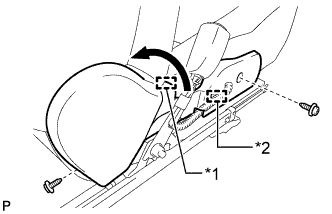
INSTALL VERTICAL SEAT ADJUSTER KNOB CAP (for Driver Side)
-
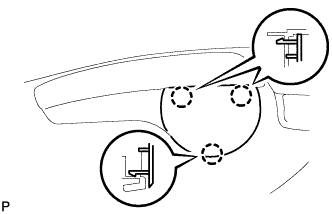
Attach the 3 claws to install the vertical seat adjuster knob cap.
-
-
INSTALL FRONT SEAT ASSEMBLY
-
CHECK SRS WARNING LIGHT
-
INSPECT FRONT SEAT ASSEMBLY
-
Check the seat heater operation.
-
Turn the ignition switch to ON.
-
Operate the seat heater switch on.
-
Wait 5 minutes or more and confirm that the seat surface becomes warm.
-
-
w/ Lumbar Support:
Check the lumbar support operation.
-
Operate the lumbar front power seat switch and check that the lumbar support moves in both directions.
-
-