FRONT POWER SEAT MOTOR ASSEMBLY (for Reclining) INSTALLATION

Note
Wear protective gloves. Sharp areas on the parts may injure your hands.
Tech Tips
-
Use the same procedure for RHD and LHD vehicles.
-
The procedure listed below is for LHD vehicles.
-
Use the same procedure for the RH and LH sides.
-
The procedure listed below is for the LH side.
-
INSTALL POWER SEAT MOTOR ASSEMBLY (for Reclining)
-
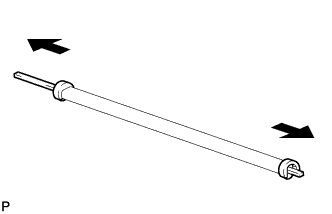
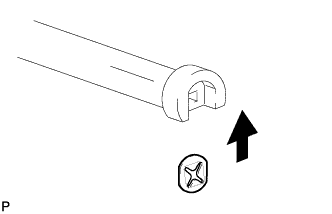
Remove the 2 holders together with the 2 inner reclining rods.
-
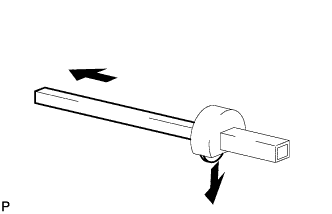
Remove the inner reclining rod and push nut.
-

Remove the inner reclining rod and push nut.
-
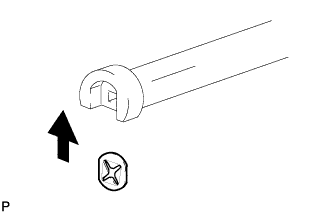
Install the 2 holders.
-
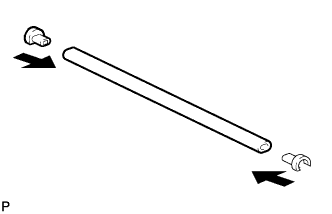
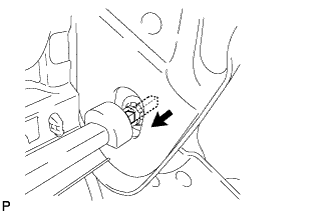
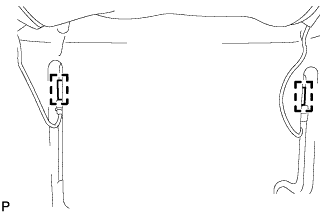
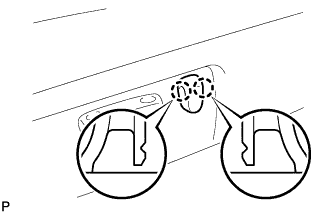
Install the push nut.
Note
Make sure the direction of the push nut is as shown in the illustration.
-
Install the push nut.
Note
Make sure the direction of the push nut is as shown in the illustration.
-
Clean the threads of the bolt for the power seat motor with non-residue solvent.
-
Apply adhesive to the threads of the bolt for the power seat motor.
Adhesive Toyota Genuine Adhesive 1324, Three Bond 1324 or equivalent -

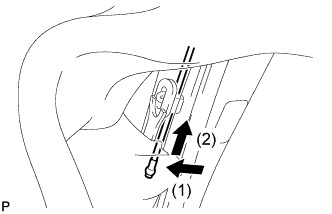
Temporarily install the power seat motor with the bolt.
-
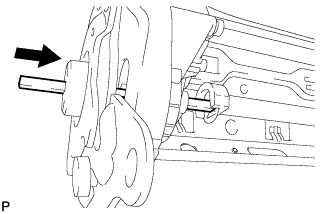
Temporarily install the inner reclining rod.
-
Temporarily install the inner reclining rod.
-
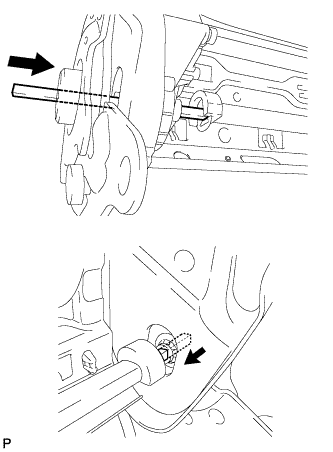
Push in the 2 inner reclining rods in alternating passes to install them
Note
Make sure that the holder does not interfere with the motor or front seatback assembly.
-
Tighten the bolt.
- Torque:
- 5.0 N*m { 51 kgf*cm, 44 in.*lbf }
-
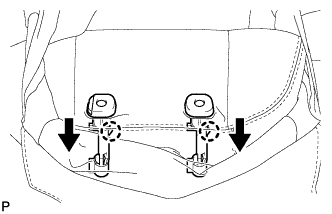
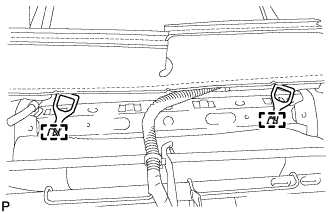
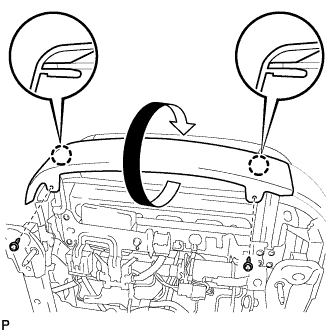
Attach the 8 hooks to install the seatback spring.
-
for Driver Side:
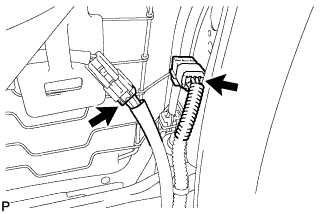
Connect the connectors.
-
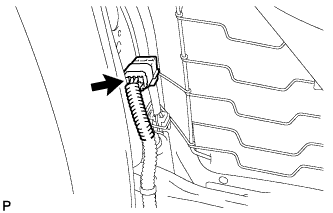
for Passenger Side:
Connect the connector.
-
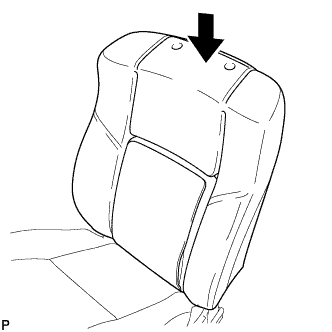
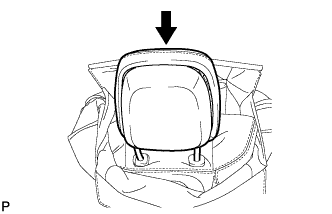
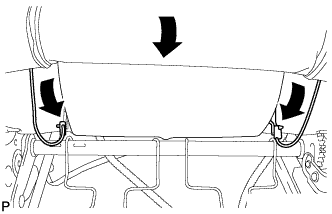
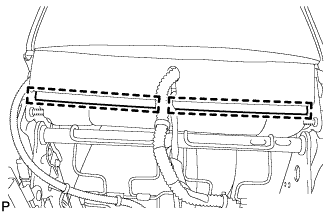
Install the seatback pad.
-
-
INSTALL SEPARATE TYPE FRONT SEATBACK COVER
-
Attach the 2 hooks.
-
Attach the 2 claws to install the 2 headrest supports.
-
Install the front seat headrest.
-
Connect the wire in the order shown in the illustration.
-
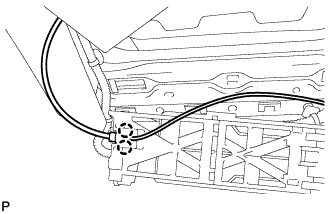
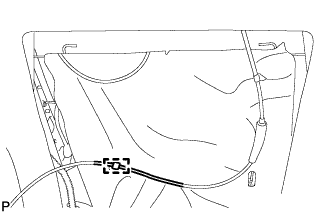
Attach the 2 claws to attach the wire.
-
Attach the 2 claws to install the active headrest lower unit.
-
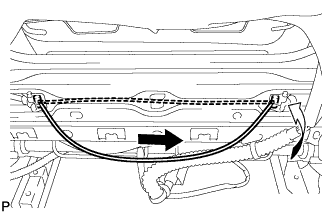
Pull the wire and connect the end of the wire to the active headrest lower unit.
-
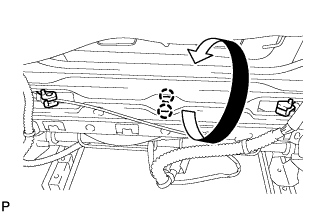
Install a new cable tie.
-
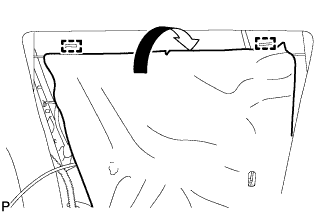
Attach the 2 hooks and close the seatback mat.
-
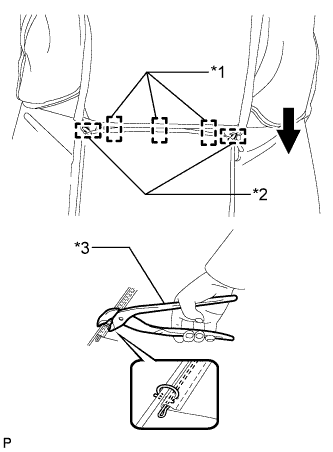
Text in Illustration *1 Hook *2 Hog Ring *3 Hog Ring Pliers Attach the 3 hooks.
-
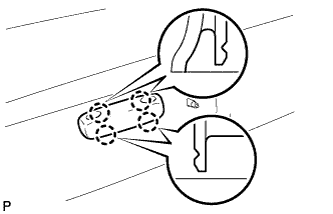
Using hog ring pliers, install the upper part of the seatback cover to the seatback pad with new hog rings.
Note
-
Be careful not to damage the cover.
-
When installing the hog rings, avoid wrinkling the cover.
-
-
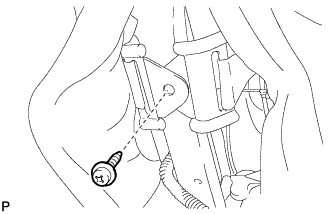
Attach the seatback cover bracket with the screw.
-
Pass the 2 straps through the separate type front seatback pad holes to the backside.
-
Attach the 2 hooks to connect the 2 straps.
-
Attach the 2 hooks at the bottom of the seatback cover
-
Attach the 4 hooks to install the cover.
-
-
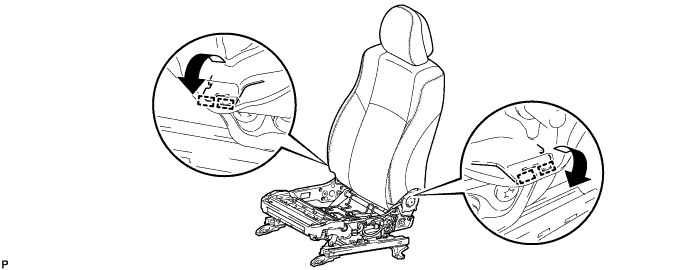
INSTALL FRONT SEAT INNER CUSHION SHIELD LH
-
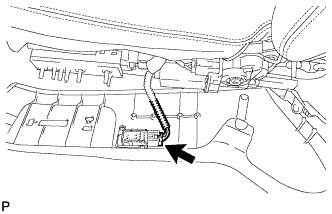
Text in Illustration *1 Hook *2 Wire Harness Clamp Attach the wire harness clamp.
-
Attach the hook to install the cushion shield.
-
Install the 2 screws.
-
-
INSTALL FRONT SEAT CUSHION SHIELD LH WITH FRONT SEAT NO. 1 INNER CUSHION SHIELD LH
-
for Driver Side:
Connect the connector.
-
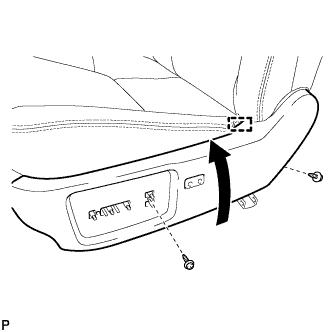
Attach the hook to install the front seat cushion shield LH with front seat inner No. 1 cushion shield.
-
Install the 2 screws.
-
Attach the 2 claws and install the 2 screws.
-
-
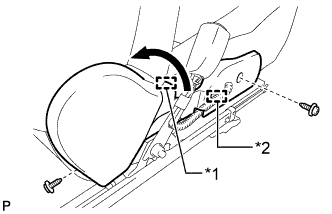
INSTALL SLIDE AND VERTICAL POWER SEAT SWITCH KNOB
-
Attach the 4 claws to install the knob.
-
-
INSTALL RECLINING POWER SEAT SWITCH KNOB
-
Attach the 2 claws to install the knob.
-
-
INSTALL FRONT SEAT ASSEMBLY
-
Install the front seat assembly Click here.
-
-
CHECK SRS WARNING LIGHT
-
Check the SRS warning light Click here.
-
-
INSPECT FRONT SEAT ASSEMBLY
-
Check the front seat assembly Click here.
-
Check the seat heater operation.
-
Turn the ignition switch to ON.
-
Operate the seat heater switch on.
-
Wait 5 minutes or more and confirm that the seat surface becomes warm.
-
-