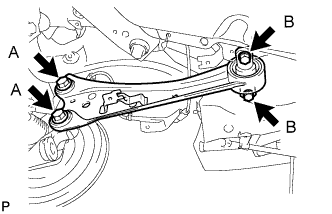
REAR TRAILING ARM INSTALLATION

-
INSTALL REAR TRAILING ARM ASSEMBLY
-
Install the trailing arm to the axle carrier and suspension member with the 4 bolts.
- Torque:
- for bolt A
- 200 N*m { 2039 kgf*cm, 148 ft.*lbf }
- for bolt B
- 90 N*m { 918 kgf*cm, 66 ft.*lbf }
-
-
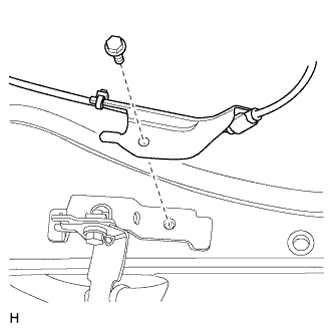
TEMPORARILY INSTALL REAR NO. 1 SUSPENSION ARM ASSEMBLY LH
-
for Turnbuckle Type:
-
Temporarily install the rear No. 1 suspension arm to the suspension member with the bolt and nut.
-
-
for Cam Type:
-

Using the rear suspension toe adjust cam sub-assembly, No. 2 camber adjust cam and nut, temporarily install the rear No. 1 suspension arm assembly to the rear suspension member sub-assembly.
Note
-
Insert the rear suspension toe adjust cam sub-assembly from the rear of the vehicle.
-
Hold the rear suspension toe adjust cam sub-assembly while rotating the nut.
-
-
-
-
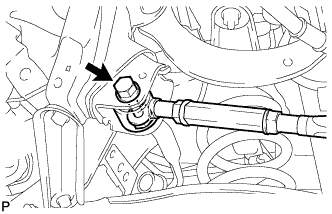
CONNECT PARKING BRAKE CABLE
-
Install the clamp to the trailing arm RH with the bolt.
- Torque:
- 6.0 N*m { 61 kgf*cm, 53 in.*lbf }
-
Install the clamp to the trailing arm LH with the bolt.
- Torque:
- 6.0 N*m { 61 kgf*cm, 53 in.*lbf }
-
Install the casing cap with the 2 nuts.
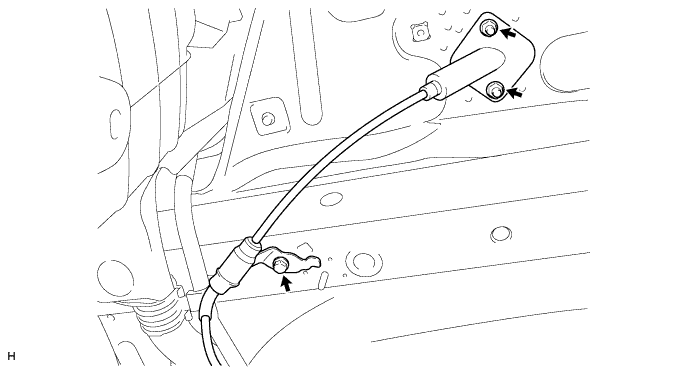
- Torque:
- 9.0 N*m { 92 kgf*cm, 80 in.*lbf }
Note
Be careful not to damage the casing cap gasket when installing the casing cap.
-
Install the clamp with the bolt.
- Torque:
- 6.0 N*m { 61 kgf*cm, 53 in.*lbf }
-
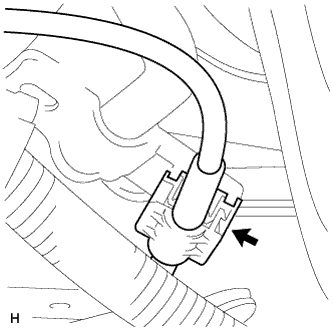
Install a new clamp.
Note
Make sure that the clamp contacts the clamp ring on the cable.
-
-
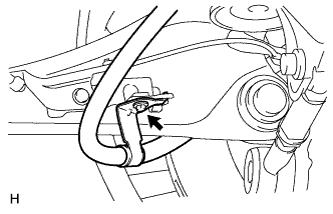
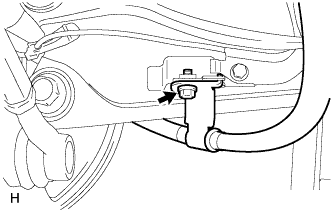
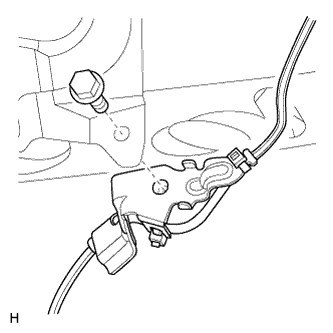
CONNECT SKID CONTROL SENSOR WIRE
Note
To prevent interference with other parts, do not twist the painted line areas of the sensor wire when installing it.
-
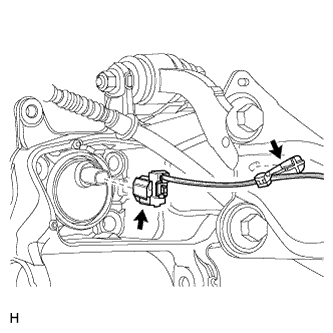
Connect the skid control sensor wire connector to the skid control sensor.
-
Attach the sensor clamp.
Note
Do not twist the sensor wire when installing the clamp.
-
Install the sensor clamp with the bolt.
- Torque:
- 8.5 N*m { 87 kgf*cm, 75 in.*lbf }
Note
Do not twist the sensor wire when installing the clamp.
-
Install the sensor clamp with the bolt.
- Torque:
- 8.5 N*m { 87 kgf*cm, 75 in.*lbf }
Note
Do not twist the sensor wire when installing the clamp.
-
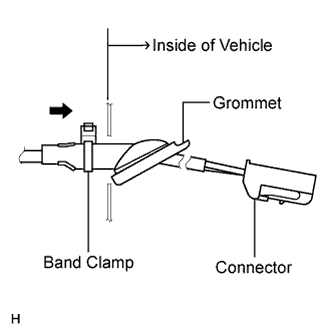
Insert the connector and grommet into the inside of the vehicle through the hole in the wheel house.
Note
Make sure the band clamp remains on the outside of the vehicle.
-
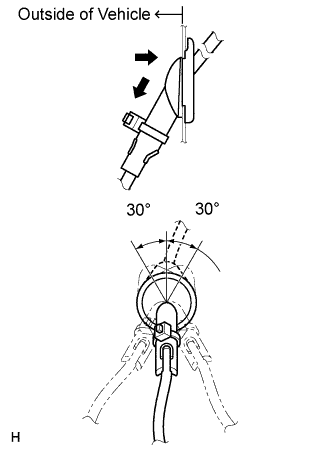
Hold the grommet and pull it toward the outside of the vehicle. Then fix the grommet in place so that it is not tilted.
Note
-
When pulling out the grommet, do not grip the sensor wire.
-
Fix the grommet in place within the range shown in the illustration.
-
-
Connect the skid control sensor wire connector to the vehicle side connector on the rear floor.
-
-
STABILIZE SUSPENSION
-
Install the rear wheel.
- Torque:
- 103 N*m { 1050 kgf*cm, 76 ft.*lbf }
-
Lower the vehicle and bounce it up and down several times to stabilize the rear suspension.
-
Remove the rear wheel.
-
-
TIGHTEN REAR NO. 1 SUSPENSION ARM ASSEMBLY LH
-
for Turnbuckle Type:
-
Tighten the bolt and nut of the rear No. 1 suspension arm.
- Torque:
- 90 N*m { 918 kgf*cm, 66 ft.*lbf }
Note
Since a stopper nut is used, tighten the bolt.
-
-
Cam Type:
-
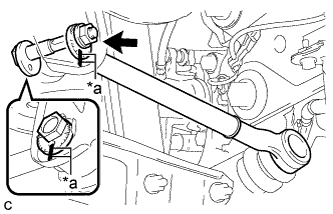
Text in Illustration *a Matchmarks Align the matchmarks on the No. 2 camber adjust cam, rear suspension toe adjust cam sub-assembly and rear suspension member sub-assembly.
-
Fully tighten the nut to install the rear No. 1 suspension arm assembly.
- Torque:
- 100 N*m { 1020 kgf*cm, 74 ft.*lbf }
Note
Hold the rear suspension toe adjust cam sub-assembly while rotating the nut.
-
-
-
INSTALL REAR WHEEL
- Torque:
- 103 N*m { 1050 kgf*cm, 76 ft.*lbf }
-
INSPECT AND ADJUST REAR WHEEL ALIGNMENT
-
Inspect and adjust the rear wheel alignment Click here.
-
-
ADJUST HEADLIGHT ASSEMBLY
-
for Halogen Headlight:
Adjust the headlight assembly Click here.
-
for HID Headlight:
Adjust the headlight assembly Click here.
-