MANUAL TRANSAXLE ASSEMBLY REMOVAL

-
REMOVE ENGINE ASSEMBLY WITH TRANSAXLE
-
Remove the engine assembly with transaxle Click here.
-
-
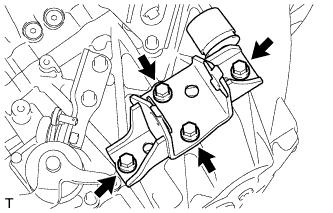
REMOVE REAR ENGINE MOUNTING INSULATOR
-
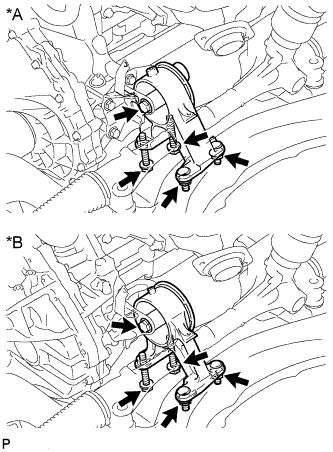
Text in Illustration *A for Manual Transaxle *B for Automatic Transaxle Remove the 3 bolts, 2 nuts and rear engine mounting insulator.
-
-
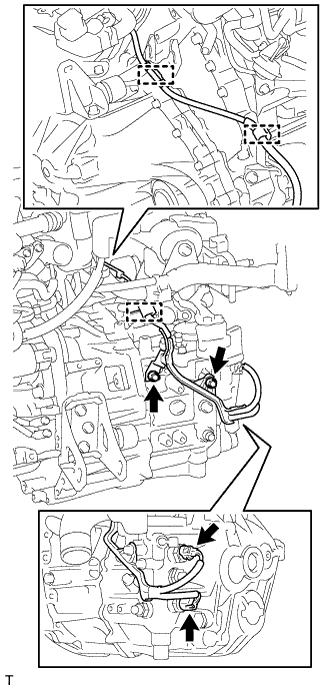
REMOVE NO. 1 AIR TUBE
-
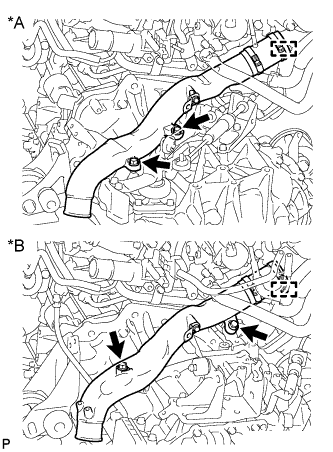
Text in Illustration *A for Manual Transaxle *B for Automatic Transaxle Loosen the hose clamp, and remove the 2 bolts and No. 1 air tube.
-
-
REMOVE STARTER ASSEMBLY
-
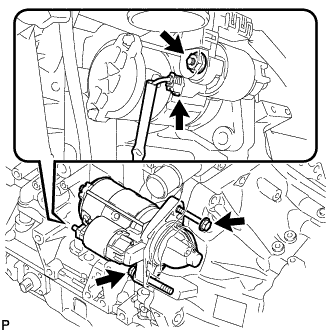
Disconnect the starter connector.
-
Open the terminal cap, remove the nut and disconnect the starter wire.
-
Remove the 2 bolts and starter.
-
-
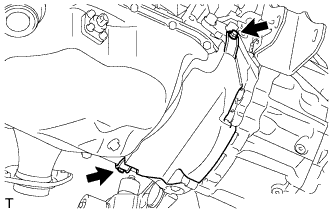
REMOVE AIR TUBE SUPPORT
-
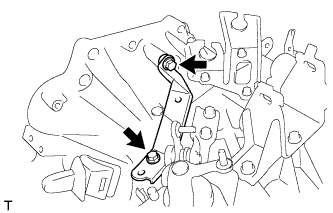
Remove the 2 bolts and air tube support.
-
-
REMOVE ENGINE WIRE
-
Disconnect the back-up light switch connector and neutral position switch connector, remove the 2 bolts, detach the 3 clamps and remove the engine wire from the manual transaxle.
-
-
REMOVE OIL PAN INSULATOR
-
Remove the 2 bolts and oil pan insulator.
-
-
REMOVE STIFFENER PLATE LH
-
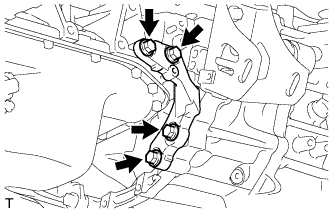
Remove the 4 bolts and stiffener plate LH.
-
-
REMOVE STIFFENER PLATE RH
-
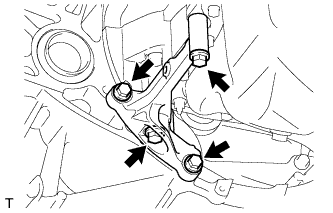
Remove the 4 bolts and stiffener plate RH.
-
-
REMOVE MANUAL TRANSAXLE ASSEMBLY
-

Remove the 5 bolts and manual transaxle assembly from the engine.
-
-
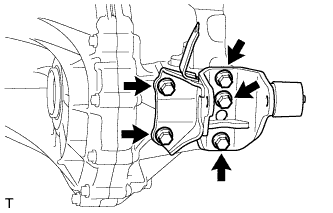
REMOVE ENGINE MOUNTING BRACKET LH
-
Remove the 4 bolts and engine mounting bracket LH.
-
-
REMOVE FRONT ENGINE MOUNTING BRACKET
-
Remove the 3 bolts and front engine mounting bracket.
-
-
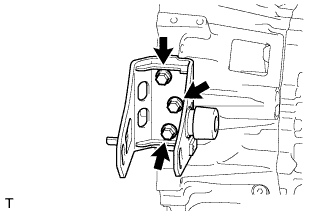
REMOVE REAR ENGINE MOUNTING BRACKET
-
Remove the 5 bolts and rear engine mounting bracket.
-