ECM REMOVAL
CAUTION / NOTICE / HINT
Note
-
After turning the engine switch off, waiting time may be required before disconnecting the cable from the negative (-) battery terminal. Therefore, make sure to read the disconnecting the cable from the negative (-) battery terminal notices before proceeding with work.
-
If the ECM has been struck or dropped, replace it.
-
Perform Vehicle Identification Number (VIN) registration when replacing the ECM.
-
w/ Canister Pump Module:
-
w/o Canister Pump Module:
PROCEDURE
-
DISCONNECT CABLE FROM NEGATIVE BATTERY TERMINAL
Note
When disconnecting the cable, some systems need to be initialized after the cable is reconnected.
-
REMOVE ENGINE ROOM ECU COVER
Note
-
Remove all water on and around the engine room ECU cover.
-
Perform the inspection indoors to avoid rain.
-
Be sure to prevent water intrusion to the ECM (connectors and screw parts).
-
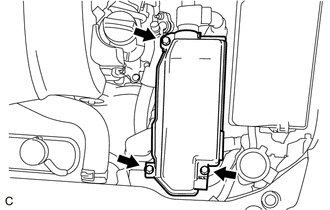
Remove the 3 bolts and engine room ECU cover.
-
-
REMOVE ECM
-
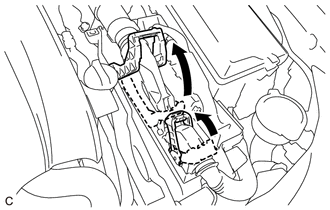
Rotate the 2 levers while pushing the locks, and disconnect the 2 ECM connectors.
Note
After disconnecting the ECM connectors, make sure that dirt, water or other foreign matter does not contact the connecting parts of the ECM connectors.
-
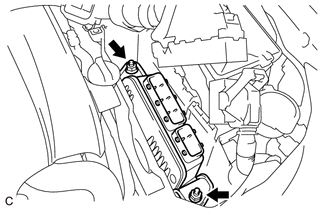
Remove the 2 nuts and ECM from the engine room ECU box.
Note
If the ECM has been struck or dropped, replace it.
-
-
REMOVE NO. 1 ECM BRACKET
-
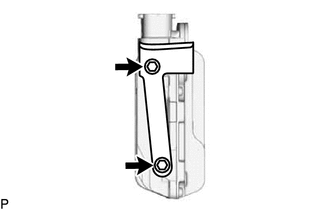
Remove the 2 screws and No. 1 ECM bracket from the ECM.
-
-
REMOVE NO. 2 ECM BRACKET
-
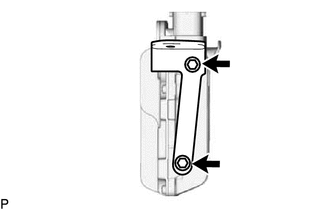
Remove the 2 screws and No. 2 ECM bracket from the ECM.
-