BACK DOOR GARNISH (for Upper Side) REMOVAL

-
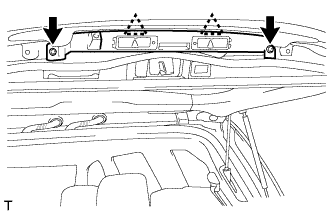
REMOVE LOWER BACK DOOR STOPPER CUSHION
-
Remove the 4 bolts and 2 lower back door stopper cushions.
-
-
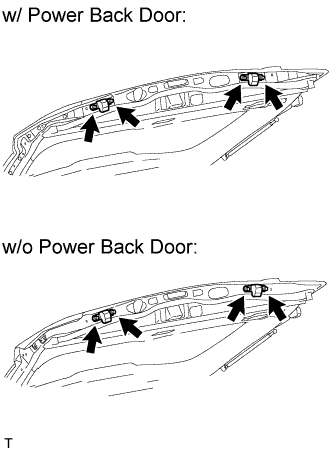
REMOVE POWER BACK DOOR SENSOR ASSEMBLY LH (w/ Power Back Door)
-
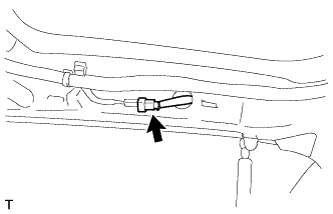
Disconnect the connector.
-
Using a T25 "TORX" wrench, remove the 6 screws.
-
Detach the 2 clips and remove the power back door sensor assembly LH.
-
-
REMOVE POWER BACK DOOR SENSOR ASSEMBLY RH (w/ Power Back Door)
Tech Tips
Use the same procedures described for the LH side.
-
REMOVE BACK DOOR GARNISH RETAINER SUB-ASSEMBLY
-
Using a T30 "TORX" socket wrench, detach the 2 clips and remove the 2 screws and garnish.
-
Disconnect the connector.
-
-
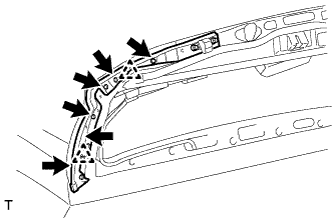
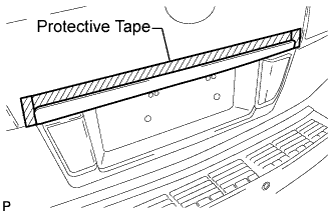
REMOVE BACK DOOR GARNISH SUB-ASSEMBLY OUTSIDE
-
Put protective tape around the back door garnish.
-
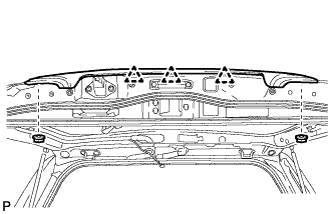
Remove the 2 nuts.
-
Detach the 3 clips and remove the garnish.
Tech Tips
Detach the clips from the backside of the garnish.
-