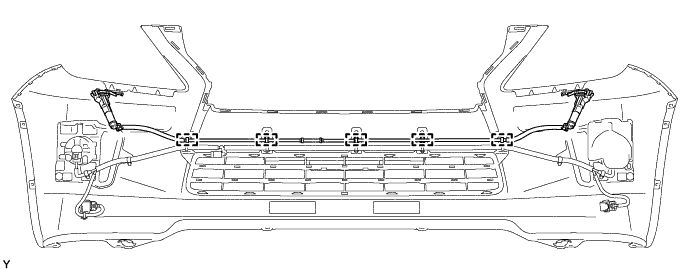
FRONT BUMPER DISASSEMBLY

-
REMOVE HEADLIGHT CLEANER HOSE (w/ Headlight Cleaner System)
-
Remove the 5 clamps and headlight cleaner hose.
-
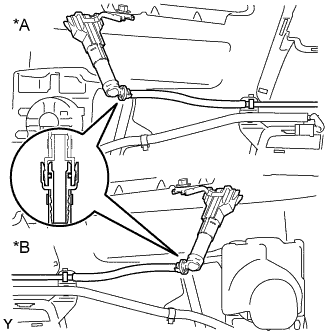
Text in Illustration *A for LH Side *B for RH Side Disconnect the headlight cleaner hose.
-
-
REMOVE TYPE 1 HEADLIGHT WASHER NOZZLE SUB-ASSEMBLY LH (w/ Headlight Cleaner System)
-
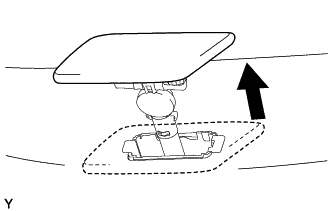
Extend the type 1 headlight washer nozzle sub-assembly LH.
-
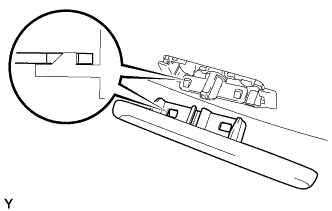
Detach the 2 claws and remove the type 1 headlight washer nozzle sub-assembly LH.
-
-
REMOVE TYPE 1 HEADLIGHT WASHER NOZZLE SUB-ASSEMBLY RH (w/ Headlight Cleaner System)
Tech Tips
Use the same procedure described for the LH side.
-
REMOVE HEADLIGHT WASHER ACTUATOR SUB-ASSEMBLY LH (w/ Headlight Cleaner System)
-
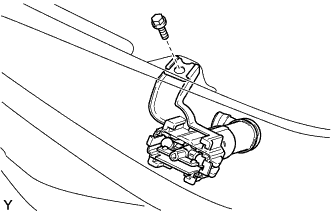
Remove the bolt.
-
Detach the 2 claws and remove the headlight washer actuator sub-assembly LH.
-
-
REMOVE HEADLIGHT WASHER ACTUATOR SUB-ASSEMBLY RH (w/ Headlight Cleaner System)
Tech Tips
Use the same procedure described for the LH side.
-
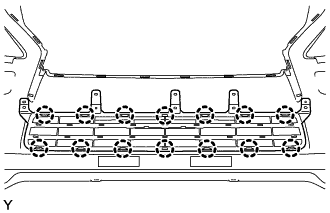
REMOVE NO. 4 ENGINE ROOM WIRE
-
Disconnect the 4 connectors.
-
Detach the 10 clamps and remove the No. 4 engine room wire.
-
-
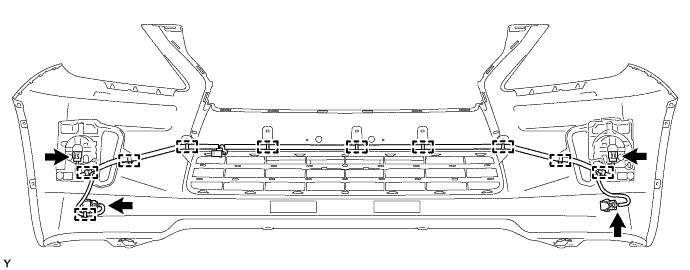
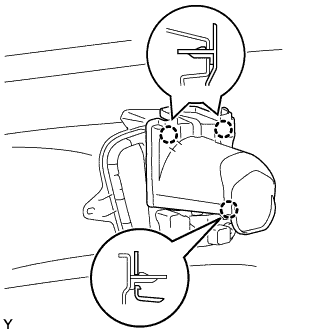
REMOVE ULTRASONIC SENSOR CLIP
-
Detach the 4 claws and remove the ultrasonic sensor clip.
-
-
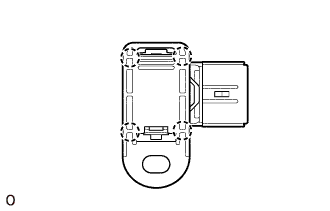
REMOVE NO. 1 ULTRASONIC SENSOR
Tech Tips
Use the same procedure to remove the No. 1 ultrasonic sensor on the other side.
-
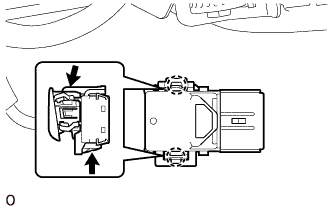
While pushing down on the lever with a finger to release the one claw, detach the claw on the other side to remove the No. 1 ultrasonic sensor.
Tech Tips
The type of claw on the top and bottom of the sensor are different. Observe the claws carefully before removing the No. 1 ultrasonic sensor.
-
-
REMOVE NO. 2 ULTRASONIC SENSOR RETAINER
-
Detach the 2 claws and remove the No. 2 ultrasonic sensor retainer from the front bumper cover.
Tech Tips
Use the same procedure to remove the No. 2 ultrasonic sensor retainer on the other side.
-
-
REMOVE FRONT BUMPER INNER BRACKET
-
Detach the 3 claws and remove the front bumper inner bracket.
-
-
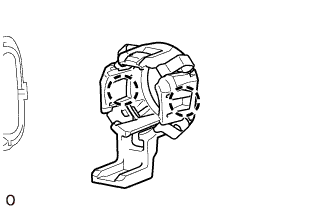
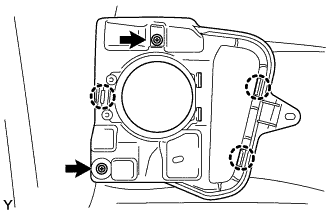
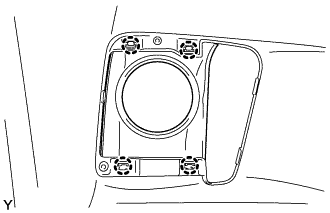
REMOVE FOG LIGHT ASSEMBLY LH
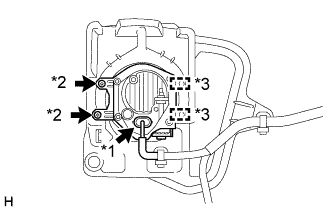
Text in Illustration *1 Connector *2 Screw *3 Guide
-
Disconnect the connector.
-
Remove the 2 screws.
-
Detach the 2 guides and remove the fog light assembly LH.
-
-
REMOVE FOG LIGHT ASSEMBLY RH
Tech Tips
Use the same procedure described for the LH side.
-
REMOVE FRONT BUMPER GARNISH LH
-
Remove the 2 screws.
-
Detach the 3 claws and remove the front bumper garnish LH.
-
-
REMOVE FRONT BUMPER GARNISH RH
Tech Tips
Use the same procedure described for the LH side.
-
REMOVE FRONT BUMPER HOLE COVER LH
-
Detach the 4 claws and remove the front bumper hole cover LH.
-
-
REMOVE FRONT BUMPER HOLE COVER RH
Tech Tips
Use the same procedure described for the LH side.
-
REMOVE LOWER RADIATOR GRILLE
-
Detach the 14 claws and remove the lower radiator grille.
-
-
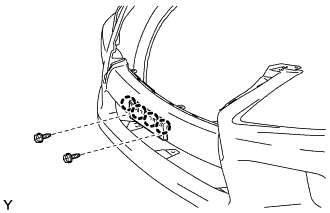
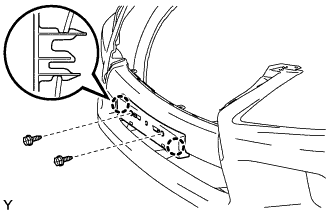
REMOVE FRONT BUMPER PROTECTOR
-
Remove the 2 front bumper protectors.
-
-
REMOVE FRONT BUMPER EXTENSION MOUNTING BRACKET
-
for Type A:
-
Remove the 2 screws.
-
Detach the 4 claws and remove the front bumper extension mounting bracket.
-
-
for Type B:
-
Remove the 2 screws.
-
Detach the 2 claws and remove the front bumper extension mounting bracket.
-
-