TELEVISION DISPLAY (for Seatback) REMOVAL

Tech Tips
-
Use the same procedure for the RH and LH sides.
-
The procedure listed below is for the LH side.
-
REMOVE TELEVISION BASE
-
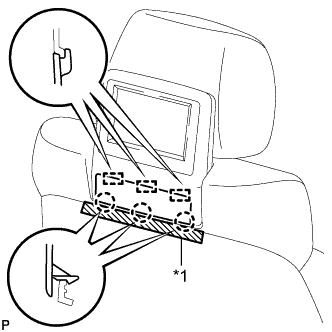
Text in Illustration *1 Protective tape Put protective tape around the No. 1 instrument panel garnish sub-assembly.
-
Using a moulding remover A, detach the 3 claws and 3 guides and remove the television base.
-
-
REMOVE TELEVISION DISPLAY ASSEMBLY
-
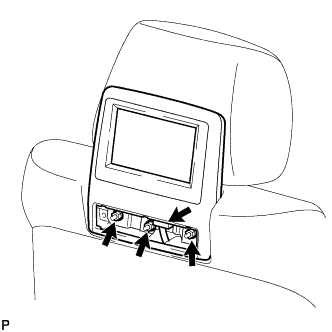
Disconnect the connector.
-
Remove the 3 nuts and television display assembly.
-
-
REMOVE NO. 3 TELEVISION BASE
-
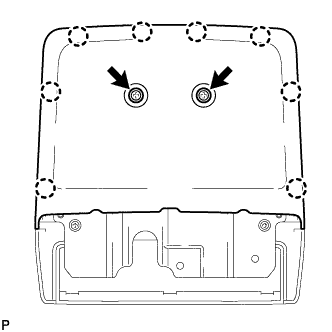
Remove the 2 screws.
-
Using a moulding remover A, detach the 8 claws and remove the No. 3 television base.
-
-
REMOVE NO. 2 TELEVISION BASE
-
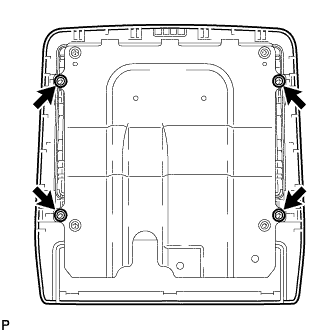
Remove 4 screws and No. 2 television base.
-
-
REMOVE NO. 3 MULTI-DISPLAY CONTROLLER BRACKET
-
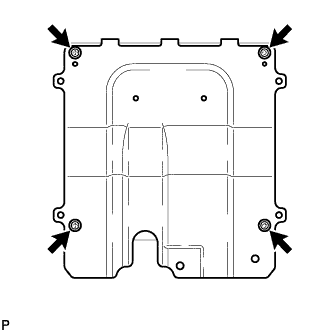
Remove the 4 screws and No. 3 multi-display controller bracket from the television display assembly.
-