- Click here
REMOVE NO. 1 ULTRASONIC SENSOR (for RH Side)
-
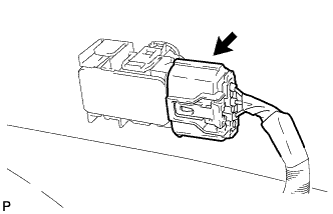
Disconnect the connector.
-
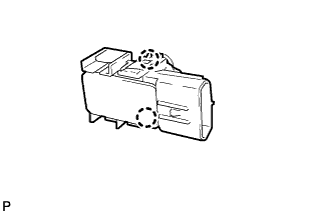
Disengage the 2 claws and remove the No. 1 ultrasonic sensor from the No. 1 ultrasonic sensor bezel.
-
- Click here
REMOVE NO. 1 ULTRASONIC SENSOR (for LH Side)
Tip:Use the same procedure as for the RH side.
- Click here
REMOVE NO. 1 ULTRASONIC SENSOR BEZEL (for RH Side)
-
Disengage the 4 claws and remove the No. 1 ultrasonic sensor bezel from the front bumper assembly.
-
- Click here
REMOVE NO. 1 ULTRASONIC SENSOR BEZEL (for LH Side)
Tip:Use the same procedure as for the RH side.
- Click here
REMOVE FOG LIGHT ASSEMBLY LH
-
Disconnect the connector.
-
Remove the screw.
-
Disengage the 3 guides and remove the fog light assembly.
-
- Click here
REMOVE FOG LIGHT ASSEMBLY RH
Tip:Use the same procedure as for the LH side.
- Click here
REMOVE NO. 4 ENGINE ROOM WIRE
-
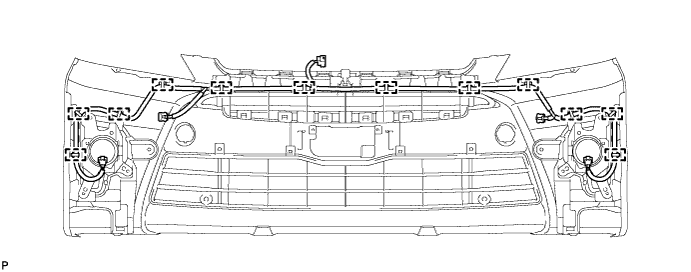
Disengage the 12 clamps and remove the No. 4 engine room wire.
-
- Click here
REMOVE INNER RADIATOR GRILLE
-
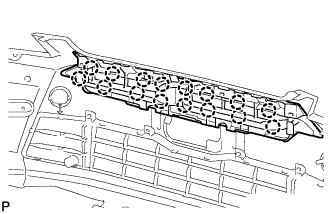
Disengage the 16 claws and remove the inner radiator grille.
-
- Click here
REMOVE LOWER NO. 1 RADIATOR GRILLE
-
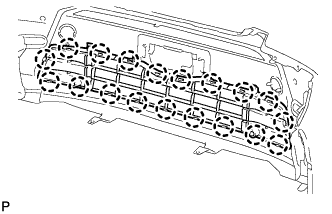
Disengage the 19 claws and remove the lower No. 1 radiator grille.
-
- Click here
REMOVE FRONT BUMPER HOLE COVER ASSEMBLY LH
-
Remove the screw and 2 clips.
-
Disengage the 3 claws and 2 guides, and remove the front bumper hole cover assembly LH.
-
- Click here
REMOVE FRONT BUMPER HOLE COVER ASSEMBLY RH
Tip:Use the same procedure as for the LH side.
- Click here
REMOVE FRONT BUMPER HOLE COVER
-
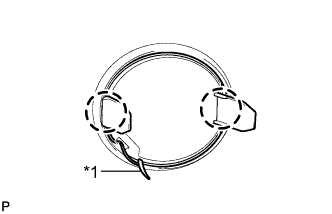
Disengage the 2 claws.
Table 1. Text in Illustration *1 Hook -
Disengage the hook and remove the front bumper hole cover from the front bumper cover.
Tip:Use the same procedure for the RH side and LH side.
-
- Click here
REMOVE FRONT BUMPER ENERGY ABSORBER
-
Disengage the 4 guides and remove the front bumper energy absorber.
-
- Click here
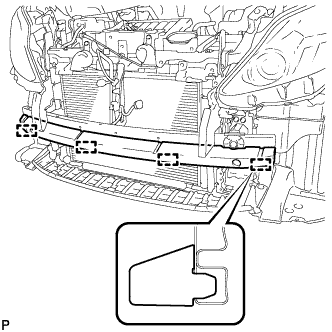
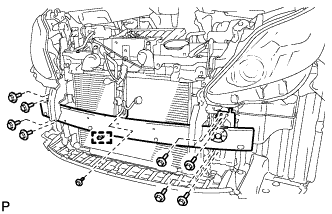
REMOVE FRONT BUMPER REINFORCEMENT SUB-ASSEMBLY
-
w/ Headlight Cleaner System:
-
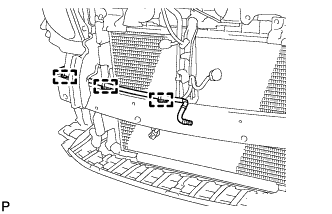
Disengage the 3 clamps and disconnect the No. 2 headlight cleaner washer hose.
-
-
Disengage the clamp and disconnect the ambient temperature sensor.
-
Remove the 9 bolts and front bumper reinforcement sub-assembly.
-
- Click here
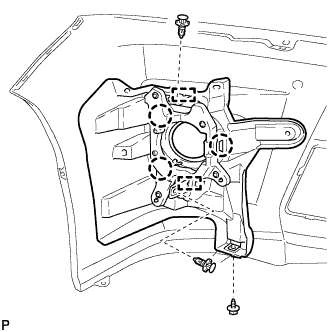
REMOVE FRONT BUMPER SIDE SUPPORT LH
-
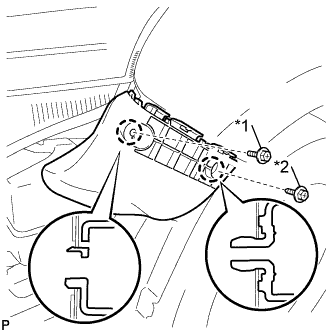
Remove the bolt and screw.
Table 2. Text in Illustration *1 Bolt *2 Screw -
Disengage the 2 claws and remove the front bumper side support LH.
-
- Click here
REMOVE FRONT BUMPER SIDE SUPPORT RH
Tip:Use the same procedure as for the LH side.