SLIDING ROOF HOUSING DISASSEMBLY

-
REMOVE SLIDING ROOF DRIVE GEAR ASSEMBLY
-
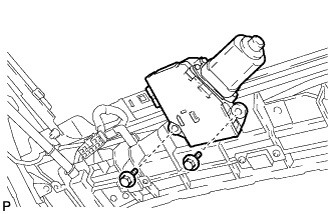
Remove the 2 bolts and sliding roof drive gear assembly.
-
-
REMOVE SUNSHADE TRIM SUB-ASSEMBLY
-
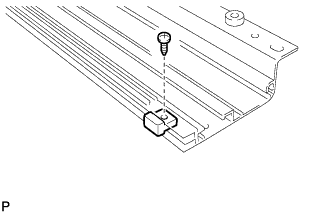
Remove the screw and sliding roof piece sub-assembly.
Tech Tips
Use the same procedure for the RH side and LH side.
-
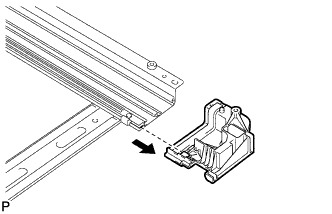
Slide and remove the sliding roof piece sub-assembly.
Tech Tips
Use the same procedure for the RH side and LH side.
-
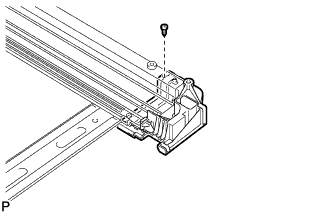
Remove the screw and sliding roof side stopper.
Tech Tips
Use the same procedure for the RH side and LH side.
-
Slide and remove the sunshade trim sub-assembly.
-
-
REMOVE SLIDING ROOF DRIVE CABLE SUB-ASSEMBLY
Note
Disassemble the sliding roof drive cable sub-assembly only when replacing it.
-
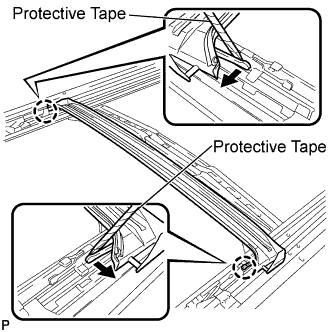
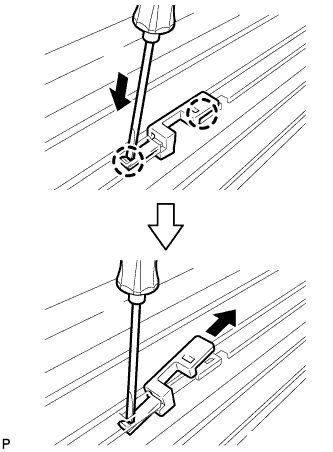
Using a screwdriver, disengage the 2 claws. Then slide the sliding roof drip channel rearward to remove it.
Tech Tips
Tape the screwdriver tip before use.
-
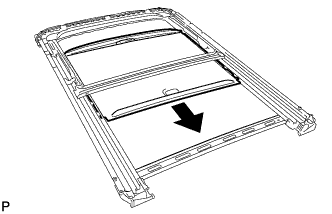
Slide the sliding roof drip channel in the direction indicated by the arrow in the illustration to remove it from the sliding roof housing.
-
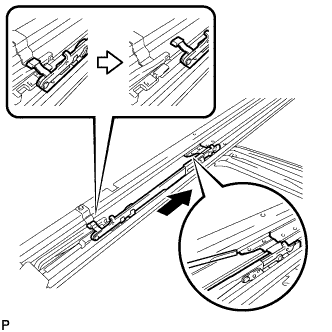
Using a screwdriver, slide the sliding roof drive cable sub-assembly in the direction indicated by the arrow until the part shown in the illustration comes off the sliding roof deflector.
Tech Tips
Use the same procedure for the RH side and LH side.
-
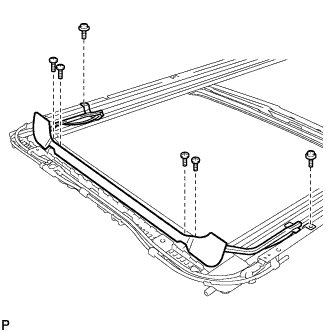
Remove the 6 screws and sliding roof deflector.
-
Using a screwdriver, disengage the 2 claws.
-
Remove the sliding roof guide block as shown in the illustration.
Tech Tips
Use the same procedure for the RH side and LH side.
-
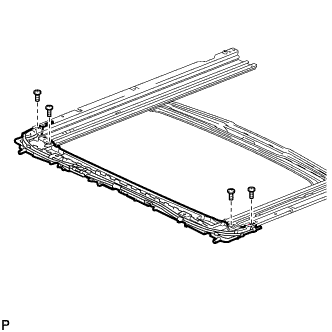
Remove the 4 screws and sliding roof housing panel.
-
Using a screwdriver, slide the sliding roof drive cable sub-assembly in the direction indicated by the arrow to remove it.
Tech Tips
Use the same procedure for the RH side and LH side.
-