INSTRUMENT PANEL SPEAKER INSTALLATION

-
INSTALL FRONT NO. 3 SPEAKER ASSEMBLY (w/ Front Center Speaker)
-
Install the front No. 3 speaker assembly with the 2 screws.
-
Connect the connector.
-
-
INSTALL UPPER INSTRUMENT PANEL SUB-ASSEMBLY (w/ Front Center Speaker)
-
INSTALL FRONT NO. 2 SPEAKER ASSEMBLY
-
Connect the connector.
-
Install the front No. 2 speaker assembly with the 2 bolts.
-
-
INSTALL NO. 1 INSTRUMENT PANEL SPEAKER PANEL SUB-ASSEMBLY
-
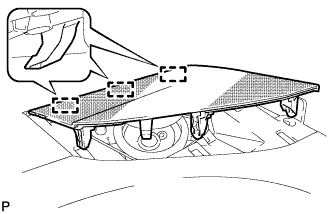
Engage the 3 guides.
-
Engage the 5 claws to install the No. 1 instrument panel speaker panel sub-assembly.
-
-
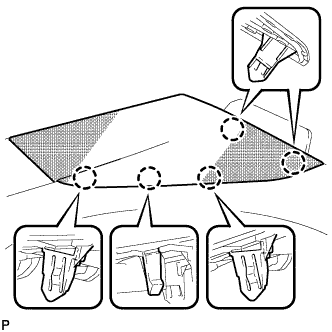
INSTALL FRONT PILLAR GARNISH
-
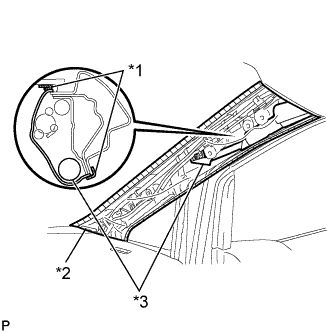
Text in Illustration *1 Protective Tape *2 Protective Cover *3 Curtain Shield Airbag Assembly Remove the protective cover.
-
Engage the 6 guides and 2 clips to install the front pillar garnish RH.
-
-
INSTALL NO. 1 ASSIST GRIP
-
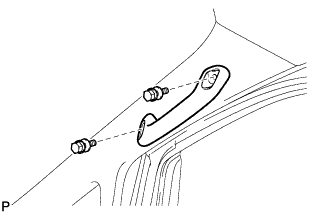
Install the No. 1 assist grip with the 2 bolts.
-
-
INSTALL ASSIST GRIP PLUG
-
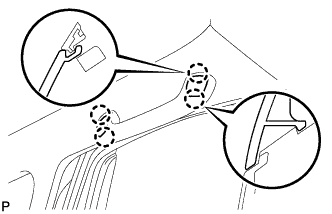
Engage the 4 claws to install the 2 assist grip plugs.
-
-
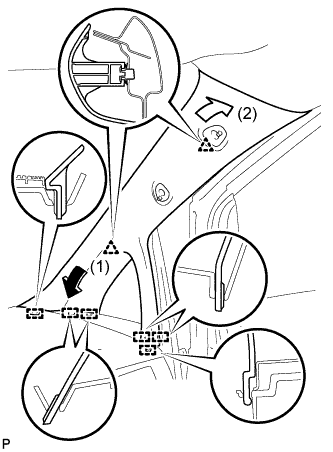
INSTALL FRONT DOOR OPENING TRIM WEATHERSTRIP
-
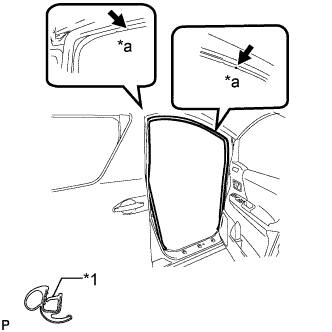
Text in Illustration *1 Alignment Mark *a White Align the alignment marks on the weatherstrip with the protruding portions on the body indicated by the arrows in the illustration, and install the front door opening trim weatherstrip RH.
Note
After installation, check that the corners fit correctly.
-