STEREO COMPONENT AMPLIFIER REMOVAL

-
DISCONNECT CABLE FROM NEGATIVE BATTERY TERMINAL
CAUTION:
Wait at least 90 seconds after disconnecting the cable from the negative (-) battery terminal to disable the SRS system.
Note
-
After turning the ignition switch off, waiting time may be required before disconnecting the cable from the battery terminal. Therefore, make sure to read the disconnecting the cable from the battery terminal notice before proceeding with work. Click here
-
When disconnecting the cable, some systems need to be initialized after the cable is reconnected Click here.
-
-
REMOVE FRONT SEAT ASSEMBLY RH
-
for Manual Seat Type:
Remove the front seat assembly RH Click here.
-
for Power Seat Type:
Remove the front seat assembly RH Click here.
-
for Walk in Seat Type:
Remove the front seat assembly RH Click here.
-
for Bench Seat Type:
Remove the front seat assembly RH Click here.
-
-
REMOVE STEREO COMPONENT AMPLIFIER ASSEMBLY WITH BRACKET
-
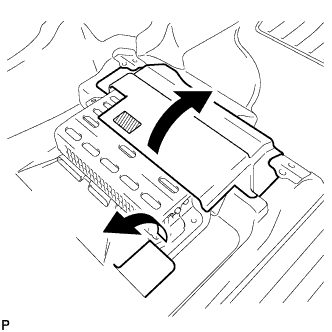
Detach the fastener and fold back the floor carpets in the directions of the arrows.
-
Disconnect the 4 connectors.
-
Remove the 3 bolts and amplifier with bracket.
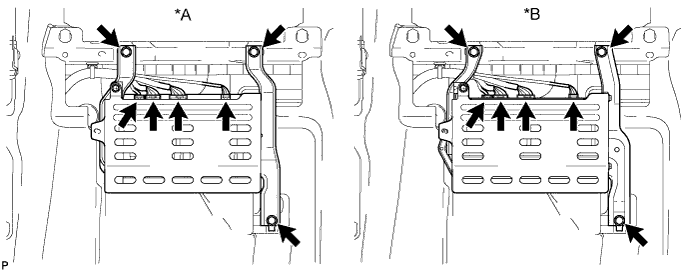
Text in Illustration *A for Pioneer Made *B for JBL Made
-
-
REMOVE AMPLIFIER COVER
-
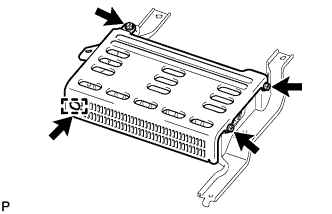
Remove the 3 bolts, clip and amplifier cover.
-
-
REMOVE NO. 2 AMPLIFIER COVER (for 14 Speakers)
-
Detach the 3 clips and remove the cover.
-
-
REMOVE NO. 1 AMPLIFIER BRACKET
-
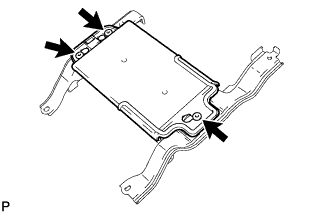
Remove the 2 screws and bracket.
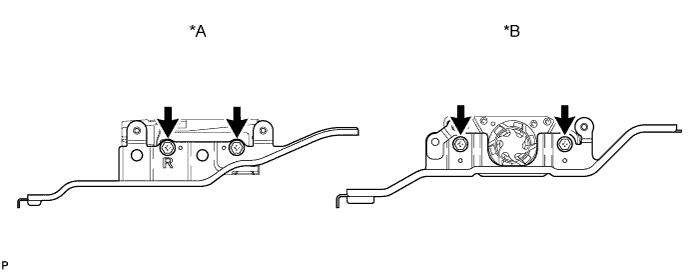
Text in Illustration *A for Pioneer Made *B for JBL Made
-
-
REMOVE NO. 2 AMPLIFIER BRACKET
-
Remove the 2 screws and bracket.
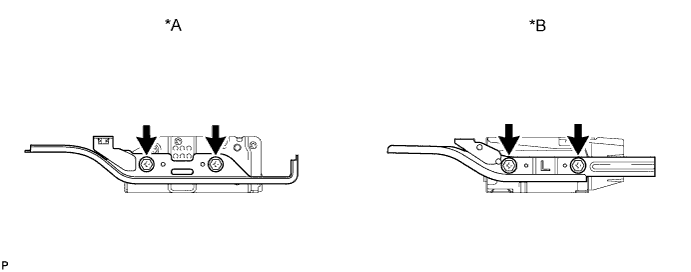
Text in Illustration *A for Pioneer Made *B for JBL Made
-