COMPRESSOR (for 5L-E) REMOVAL

-
REMOVE UPPER RADIATOR SUPPORT SEAL
-
Remove the 13 clips and upper radiator support seal.
-
-
RECOVER REFRIGERANT FROM REFRIGERATION SYSTEM
-
Start the engine.
-
Operate the cooler compressor under the conditions shown below:
Item Condition Engine Speed Idling Operating Time 3 minutes or more A/C Switch Status On Blower Switch Status HI Set Temperature MAX COOL This causes most of the compressor oil from the various components of the A/C system to collect in the A/C compressor.
Note
It is not necessary to operate the cooler compressor if the A/C does not operate because of compressor lock, etc.
-
Stop the engine.
-
Recover the refrigerant from the A/C system using a refrigerant recovery unit.
Tech Tips
Use the refrigerant recovery unit in accordance with the manufacturer's instruction manual.
-
-
REMOVE AIR CLEANER CAP SUB-ASSEMBLY
-
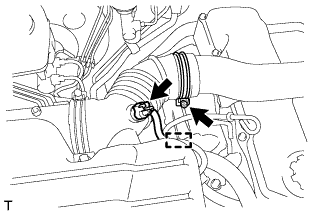
Disconnect the sensor connector.
-
Detach the wire harness clamp.
-
Loosen the hose clamp and remove the resonator with air cleaner cap.
-
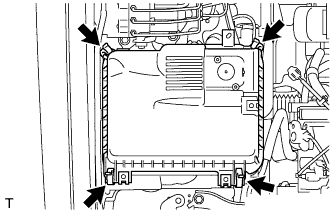
Detach the 4 hook clamps, and then remove the air cleaner cap and resonator with air cleaner cap.
-
-
REMOVE AIR CLEANER FILTER ELEMENT SUB-ASSEMBLY
-
REMOVE AIR CLEANER CASE SUB-ASSEMBLY
-
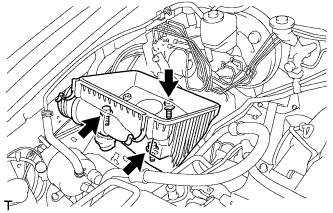
Remove the 3 bolts and air cleaner case.
-
-
REMOVE COOLER COMPRESSOR V BELT
-
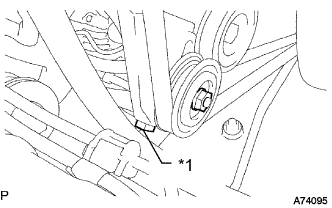
Text in Illustration *1 Adjusting Bolt Loosen nut and adjusting bolt, and remove the V belt.
-
-
DISCONNECT DISCHARGE HOSE SUB-ASSEMBLY
-
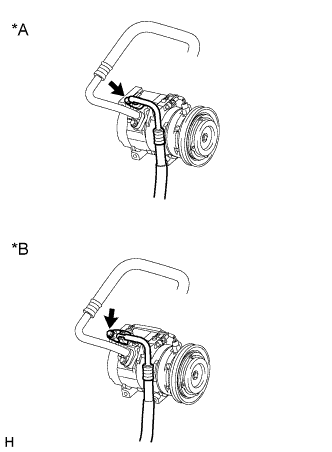
Text in Illustration *A for Type A *B for Type B Remove the bolt and disconnect the discharge hose from the compressor.
-
Remove the O-ring from the discharge hose.
Note
Seal the openings of the disconnected parts using vinyl tape to prevent moisture and foreign matter from entering them.
-
-
DISCONNECT SUCTION HOSE SUB-ASSEMBLY
-

Text in Illustration *A for Type A *B for Type B Remove the bolt and disconnect the suction hose from the compressor.
-
Remove the O-ring from the suction hose.
Note
Seal the openings of the disconnected parts using vinyl tape to prevent moisture and foreign matter from entering them.
-
-
REMOVE COOLER COMPRESSOR ASSEMBLY
-
Disconnect the connector.
-
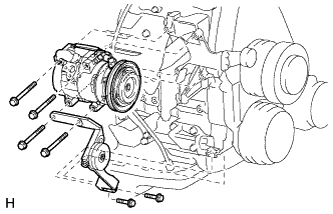
Remove the 6 bolts, idle pulley bracket and cooler compressor assembly.
-