- Click here
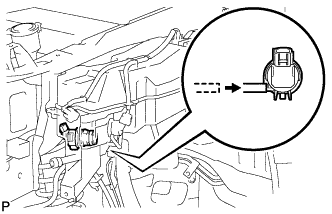
INSTALL HEADLIGHT CLEANER CONTROL RELAY
-
Install the headlight cleaner control relay in the direction shown in the illustration.
-
Connect the connector.
-
- Click here
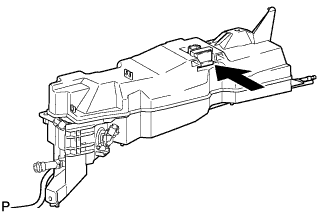
INSTALL WINDSHIELD WASHER JAR ASSEMBLY
-
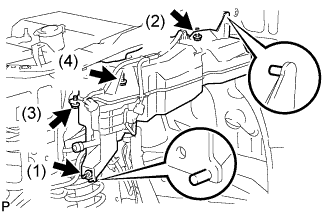
Temporarily install the windshield washer jar with the 4 bolts.
-
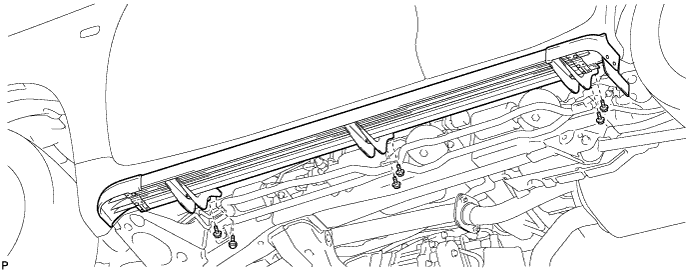
Tighten the 4 bolts in the order shown in the illustration to install the windshield washer jar.
8.0 N*m 82 kgf*cm 71 in.*lbf -
Connect the headlight cleaner hose to the windshield washer jar and pump.
-
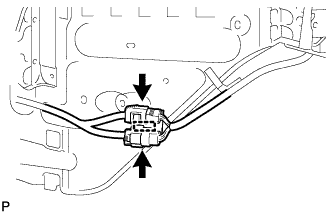
Connect the 2 connectors.
-
Attach the clamp.
-
- Click here
INSTALL WASHER INLET SUB-ASSEMBLY
-
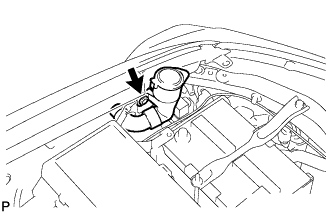
Install the washer inlet with the clip.
-
- Click here
FILL WINDSHIELD WASHER JAR AND PUMP ASSEMBLY WITH WASHER FLUID
-
Connect the washer hose to the windshield washer motor and pump, and fill the washer jar with washer fluid.
-
- Click here
INSTALL FRONT FENDER LINER LH
-
Install the fender liner with the 12 clips and 2 new grommets.
-
Using a T30 "TORX" socket, install the 2 screws.
-
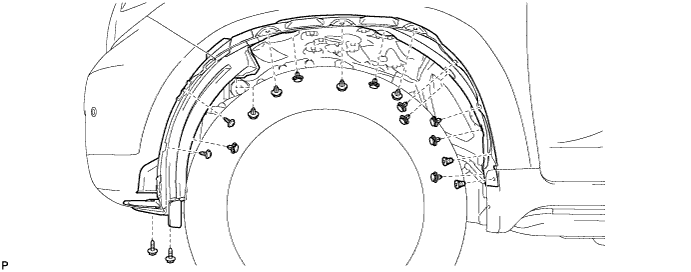
Install the 2 screws.
-
- Click here
INSTALL BODY ROCKER PANEL MOULDING ASSEMBLY LH
-
Clean the vehicle body surface.
-
Using a heat light, heat the vehicle body surface.
-
Remove the double-sided tape from the vehicle body.
-
Wipe off any tape adhesive residue with cleaner.
-
-
If reusing the rocker panel moulding:
Clean the rocker panel moulding.
-
Using a heat light, heat the rocker panel moulding.
-
Remove the double-sided tape from the rocker panel moulding.
-
Wipe off any tape adhesive residue with cleaner.
-
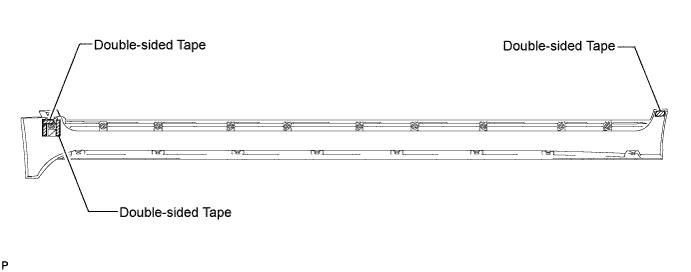
Apply new double-sided tape to the rocker panel moulding, as shown in the illustration.
-
-
Install the rocker panel moulding.
-
Using a heat light, heat the vehicle body and rocker panel moulding.
-
Remove the peeling paper from the face of the rocker panel moulding.
Tip:After removing the peeling paper, keep the exposed adhesive free from foreign matter.
-
Attach the 10 clips to install the rocker panel moulding.
-
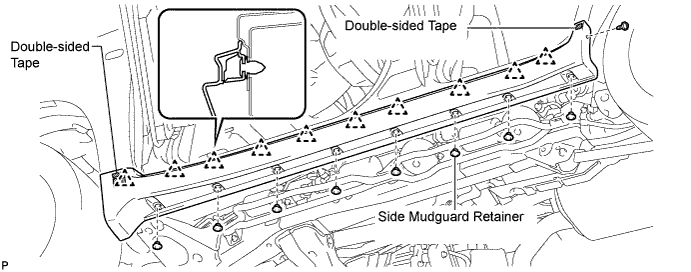
Install the 8 side mudguard retainers and screw.
-
-
- Click here
INSTALL SIDE STEP ASSEMBLY LH
-
Install the side step with the 6 bolts.
30 N*m 306 kgf*cm 22 ft.*lbf
-
-
Click here
INSTALL FRONT FENDER MUDGUARD LH
-
Install the mudguard with the clip.
-
Using a T30 "TORX" socket, install the 4 screws.
-