- Click here
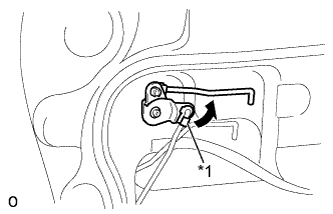
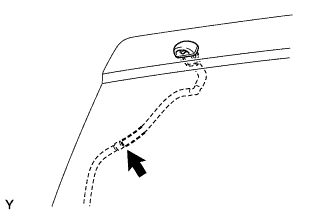
REMOVE ASSIST GRIP LH (for LH Side)
-
Using a screwdriver, detach the 2 claws and open the 2 covers.
Tip:Tape the screwdriver tip before use.
Table 1. Text in Illustration *1 Protective Tape -
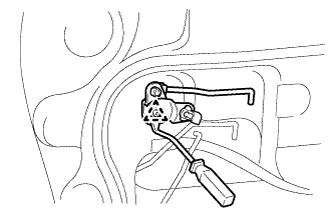
Remove the 2 bolts and assist grip.
-
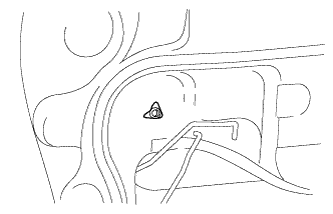
- Click here
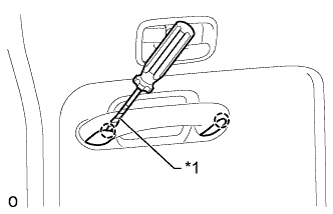
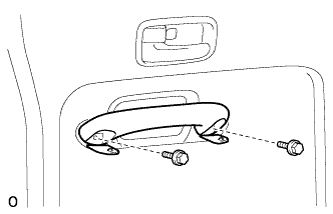
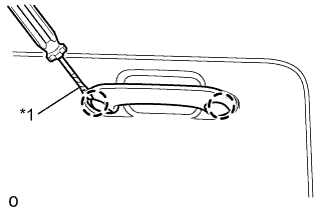
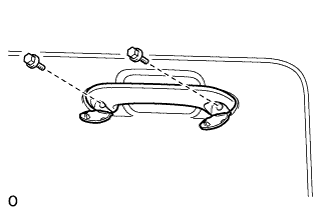
REMOVE DOOR INSIDE HANDLE BEZEL LH (for LH Side)
-
Detach the claw and open the cover.
-

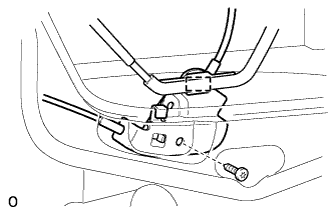
Remove the screw.
-
Using a screwdriver, detach the 2 claws.
Tip:Tape the screwdriver tip before use.
Table 2. Text in Illustration *1 Protective Tape -
Detach the guide and remove the door inside handle bezel in the direction indicated by the arrow in the illustration.
-
- Click here
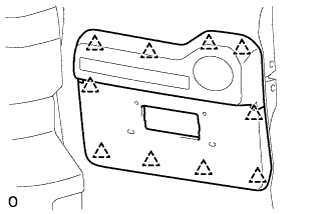
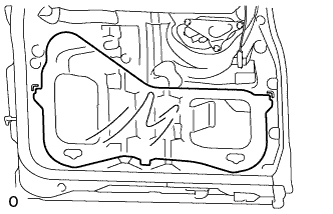
REMOVE BACK DOOR TRIM PANEL ASSEMBLY LH (for LH Side)
-
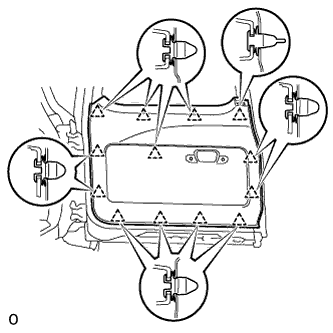
Detach the 10 clips and remove the back door trim panel.
-
- Click here
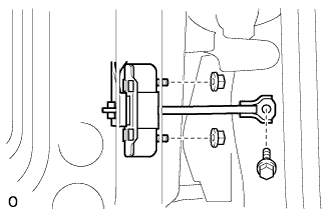
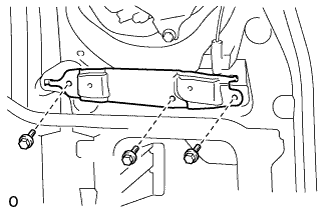
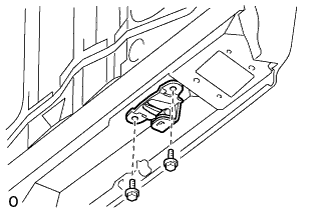
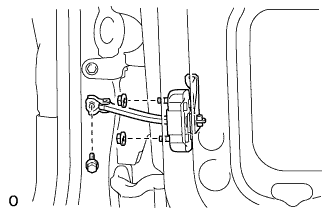
REMOVE REAR ASSIST GRIP REINFORCEMENT LH (for LH Side)
-

Remove the 3 bolts and rear assist grip reinforcement.
-
- Click here
REMOVE BACK DOOR INSIDE HANDLE ASSEMBLY LH (for LH Side)
-
Remove the screw.
-
Detach the guide and remove the back door inside handle in the direction indicated by the arrow in the illustration.
-
Disconnect the 2 links from the back door inside handle.
-
- Click here
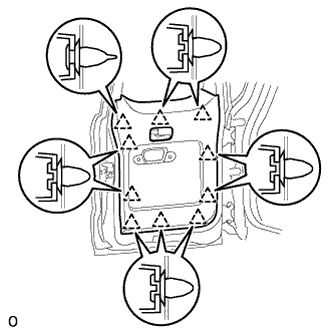
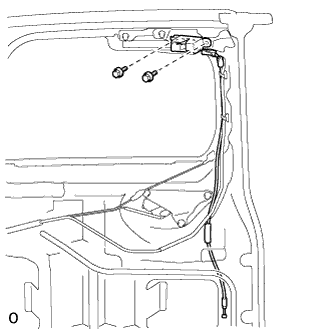
REMOVE BACK DOOR SERVICE HOLE COVER LH (for LH Side)
-
Disconnect the 2 connectors and detach the 3 clamps.
-
Pull out the 2 links and wire harness from the back door service hole cover, and then remove the back door service hole cover.
Tip:Remove any remaining butyl tape from the back door panel.
-
- Click here
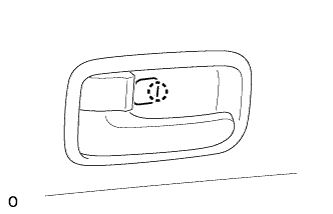
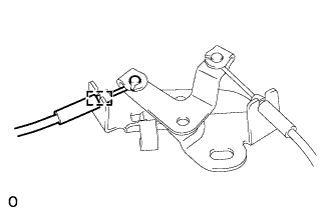
REMOVE BACK DOOR LOCK CONTROL ASSEMBLY (for LH Side)
-
Rotate the snap in the direction indicated by the arrow in the illustration to detach the snap from the link.
Table 3. Text in Illustration *1 Snap -
Disconnect the link from the back door lock control.
-
Using a clip remover, detach the clip and remove the back door lock control.
-
Detach the clip from the back door panel.
-
- Click here
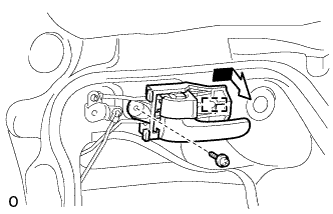
REMOVE BACK DOOR REMOTE CONTROL ASSEMBLY (for LH Side)
-

Detach the guide and disconnect the cable.
-
Detach the clamp.
-
Using a T30 "TORX" socket wrench, remove the bolt and back door remote control.
-
Detach the guide and disconnect the cable from the back door remote control.
-
- Click here
REMOVE BACK DOOR LOCK ASSEMBLY (for LH Side)
-
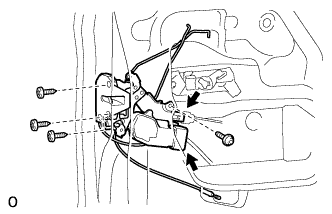
Disconnect the 2 connectors.
-
Using a T30 "TORX" socket wrench, remove the 4 bolts and back door lock.
-
- Click here
REMOVE BACK DOOR OUTSIDE HANDLE (for LH Side)
-
Remove the 2 bolts and back door outside handle.
-
- Click here
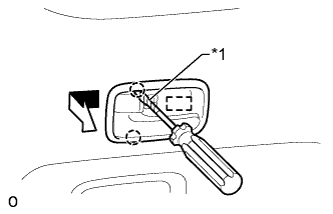
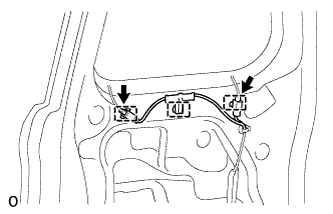
REMOVE BACK DOOR OUTSIDE GARNISH SUB-ASSEMBLY (for LH Side)
-
Detach the clamp and disconnect the connector.
-
Detach the grommet, and then pull out the wire harness from the back door panel.
Table 4. Text in Illustration *1 Grommet -
Detach the 10 clips and remove the back door outside garnish.
-
- Click here
REMOVE REAR DOOR CHILD LOCK PROTECTION COVER (for LH Side)
-
Remove the rear door child lock protection cover.
-
- Click here
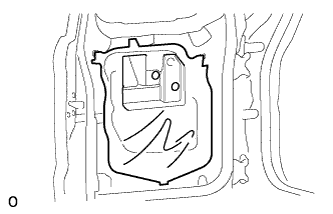
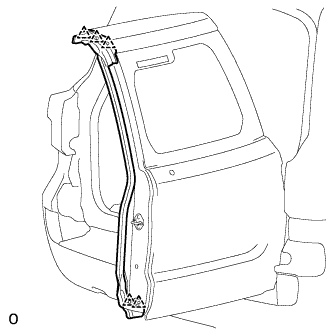
REMOVE BACK DOOR NO. 3 WEATHERSTRIP (for LH Side)
-
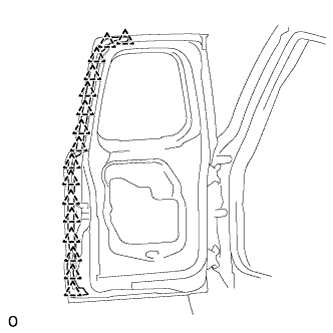
Detach the 16 clips and remove the back door No. 3 weatherstrip.
-
- Click here
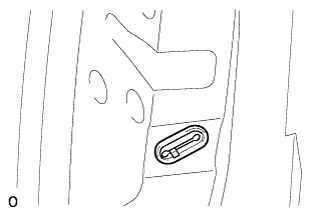
REMOVE BACK DOOR NO. 2 STOPPER CUSHION (for LH Side)
-
Remove the back door No. 2 stopper cushion.
-
-
Click here
REMOVE DOOR DUST PROOF SEAL LH (for LH Side)
Tip:Use the same procedure for both door dust proof seals.
-
Remove the door dust proof seal.
-
- Click here
REMOVE BACK DOOR CHECK ASSEMBLY LH (for LH Side)
-
Detach the clamp of the wire harness.
-
Remove the bolt, 2 nuts and back door check.
-
- Click here
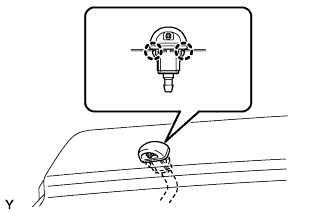
REMOVE ASSIST GRIP RH (for RH Side)
-
Using a screwdriver, detach the 2 claws and open the 2 covers.
Tip:Tape the screwdriver tip before use.
Table 5. Text in Illustration *1 Protective Tape -
Remove the 2 bolts and assist grip.
-
- Click here
REMOVE BACK DOOR TRIM COVER RH (for RH Side)
-

Detach the 5 clips and 2 claws.
-
Detach the clamp and 2 claws and remove the back door trim cover.
-
- Click here
REMOVE CENTER STOP LIGHT ASSEMBLY (for RH Side)
-
Remove the center stop light assembly from the center stop light cover.
-
Disconnect the connector.
-
- Click here
REMOVE BACK DOOR TRIM PANEL ASSEMBLY RH (for RH Side)
-
Detach the 13 clips and remove the back door trim panel.
-
- Click here
REMOVE REAR WIPER ARM AND BLADE ASSEMBLY (w/ Rear Wiper)
-
Open the wiper arm head cap.
-
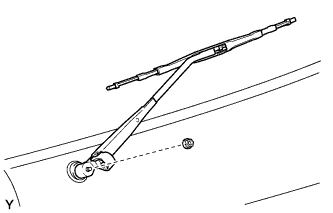
Remove the nut and remove the rear wiper arm and blade assembly.
-
- Click here
REMOVE REAR WIPER MOTOR ASSEMBLY (w/ Rear Wiper)
-
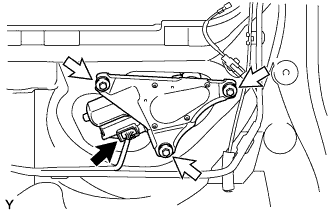
Disconnect the connector.
-
Remove the 3 bolts and rear wiper motor assembly.
-
- Click here
REMOVE REAR WIPER MOTOR GROMMET (w/ Rear Wiper)
-
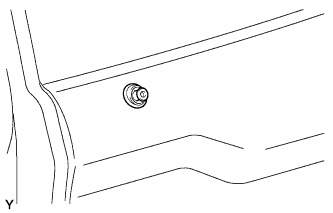
Remove the rear wiper motor grommet.
-
- Click here
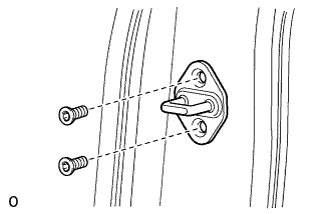
REMOVE REAR WASHER NOZZLE (w/ Rear Wiper)
-
Disconnect the washer hose.
-
Detach the 2 claws and remove the rear washer nozzle.
-
- Click here
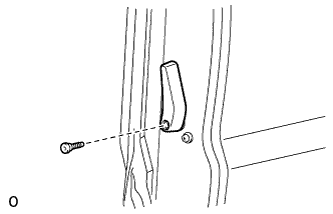
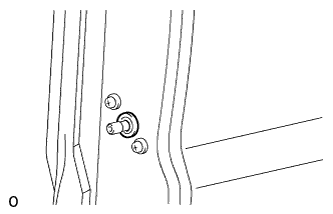
REMOVE REAR ASSIST GRIP REINFORCEMENT RH (for RH Side)
-
Remove the 3 bolts and rear assist grip reinforcement.
-
- Click here
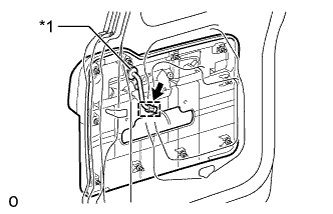
REMOVE BACK DOOR SERVICE HOLE COVER RH (for RH Side)
-
Remove the back door service hole cover.
Tip:Remove any remaining butyl tape from the back door panel.
-
- Click here
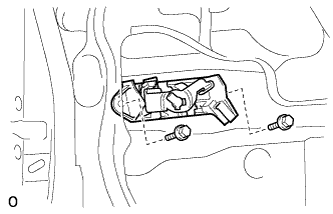
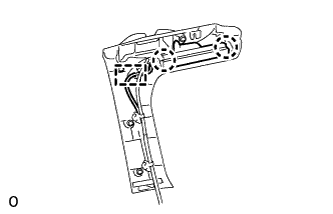
REMOVE BACK DOOR INSIDE HANDLE ASSEMBLY RH (for RH Side)
-
Using a T30 "TORX" socket wrench, remove the bolt and back door inside handle.
-
- Click here
REMOVE BACK DOOR HANDLE GROMMET (for RH Side)
-
Remove the back door handle grommet.
-
- Click here
REMOVE LOWER BACK DOOR LOCK ASSEMBLY (for RH Side)
-
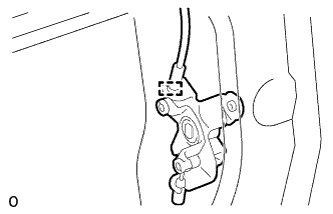
Detach the clamp and disconnect the cable.
-
Remove the 4 bolts, 2 screws and lower back door lock.
-
- Click here
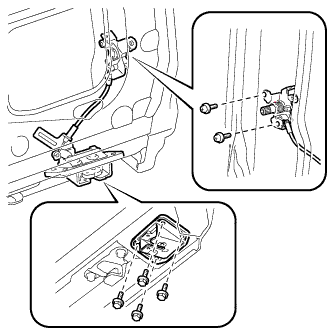
REMOVE UPPER BACK DOOR LOCK ASSEMBLY (for RH Side)
-
Remove the 2 bolts.
-
Pull out the cable from the back door panel, and then remove the upper back door lock.
-
- Click here
REMOVE BACK DOOR CENTER WEATHERSTRIP (for RH Side)
-
Detach the 5 clips and remove the back door center weatherstrip.
-
- Click here
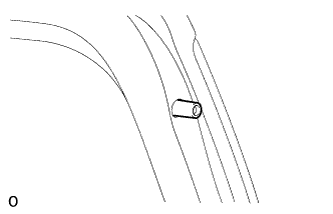
REMOVE BACK DOOR NO. 2 STOPPER SUB-ASSEMBLY (for RH Side)
-
Remove the 2 bolts and back door No. 2 stopper.
-
-
Click here
REMOVE DOOR DUST PROOF SEAL RH (for RH Side)
Tip:Use the same procedure for both door dust proof seals.
-
Remove the door dust proof seal.
-
- Click here
REMOVE BACK DOOR LOCK STRIKER PLATE ASSEMBLY (for RH Side)
-
Using a T40 "TORX" socket wrench, remove the 2 bolts and back door lock striker plate.
-
- Click here
REMOVE BACK DOOR CHECK ASSEMBLY RH (for RH Side)
-
Detach the clamp of the wire harness.
-
Remove the bolt, 2 nuts and back door check.
-