LUMBAR SWITCH (for Manual Seat) INSTALLATION

CAUTION:
Wear protective gloves. Sharp areas on the parts may injure your hands.
Tech Tips
-
Use the same procedure for RHD and LHD vehicles.
-
The procedure listed below is for LHD vehicles.
-
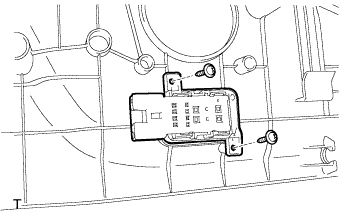
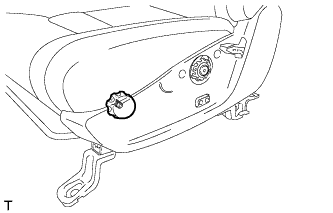
INSTALL LUMBAR SWITCH (w/ Lumbar Support)
-
Install the switch with the 2 screws.
-
-
INSTALL FRONT SEAT CUSHION SHIELD LH
-
w/ Lumbar Support:
Connect the lumbar switch connector.
-
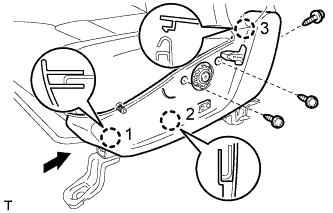
for 4 Way Seat Type:
-
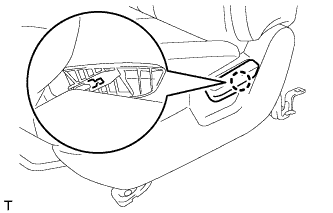
Attach the 3 claws in the order shown in the illustration to install the front seat cushion shield LH.
-
Install the 2 screws.
-
-
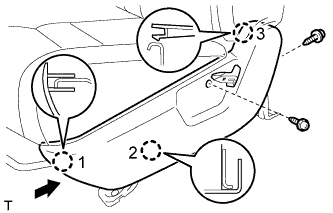
for 8 Way Seat Type:
-
Attach the 3 claws in the order shown in the illustration to install the front seat cushion shield LH.
-
Install the 3 screws.
-
-

w/ Seatback Board:
Connect the 2 rubber bands to the 2 hooks.
-
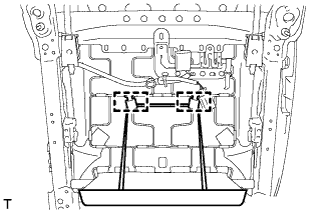
w/o Seatback Board:
Connect the rubber band to the 2 hooks.
-
-
INSTALL RECLINING ADJUSTER RELEASE HANDLE LH
-
Attach the claw to install the reclining adjuster release handle LH.
-
-
INSTALL VERTICAL SEAT ADJUSTER KNOB (for 8 Way Seat Type)
-
Install the snap ring to the vertical seat adjuster knob.
-
Install the vertical seat adjuster knob.
-
-
INSTALL VERTICAL ADJUSTING HANDLE LH (for 8 Way Seat Type)
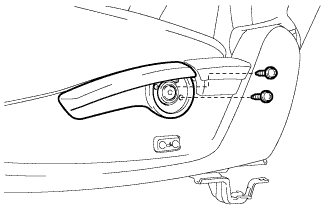
-
Install the vertical adjusting handle with the 2 screws.
-
-
INSTALL VERTICAL ADJUSTER COVER LH (for 8 Way Seat Type)
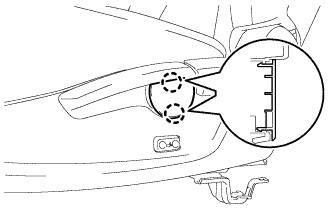
-
Attach the 2 claws to install the vertical adjuster cover LH.
-
-
INSTALL FRONT SEAT ASSEMBLY LH
-
Install the front seat assembly Click here.
-