REAR SEATBACK HEATER INSTALLATION

-
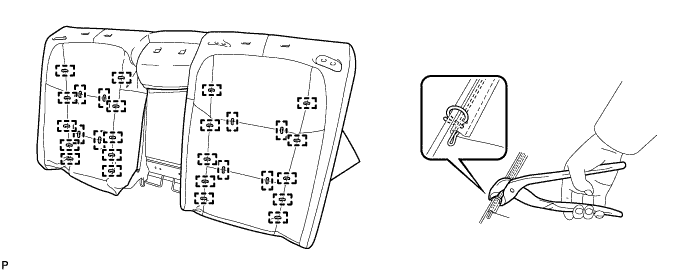
INSTALL REAR SEATBACK HEATER SUB-ASSEMBLY (BENCH TYPE REAR SEATBACK COVER)
-
Temporarily install the bench type rear seatback cover to the bench type rear seatback pad.
-
Using hog ring pliers, install 28 new hog rings.
Note
-
Be careful not to damage the bench type rear seatback cover.
-
When installing the hog rings, take care to minimize wrinkles as much as possible.
-
-
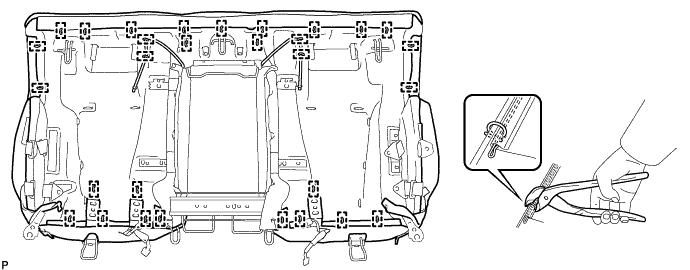
Using hog ring pliers, install the bench type rear seatback cover to the bench type rear seatback pad with 30 new hog rings.
Note
-
Be careful not to damage the bench type rear seatback cover.
-
When installing the hog rings, take care to minimize wrinkles as much as possible.
-
-
-
INSTALL REAR SEAT HEADREST SUPPORT (for LH Side)
-
Engage the 4 claws to install the 2 rear seat headrest supports.
-
-
INSTALL REAR SEAT HEADREST SUPPORT (for RH Side)
-
Engage the 4 claws to install the 2 rear seat headrest supports.
-
-
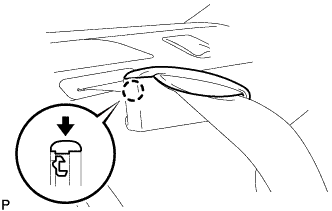
INSTALL REAR SEAT SHOULDER BELT GUIDE LH
-
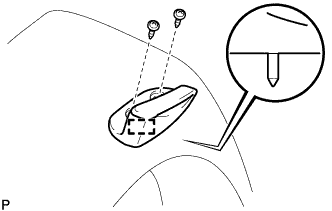
Engage the guide.
-
Install the rear seat shoulder belt guide LH with the 2 screws.
-
-
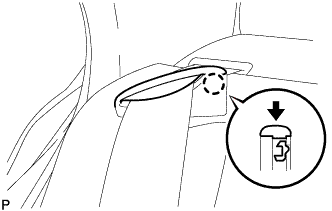
INSTALL REAR SEAT SHOULDER BELT GUIDE RH
-
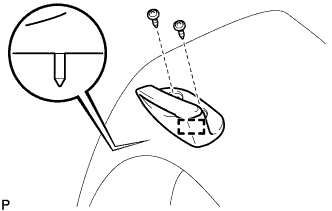
Engage the guide.
-
Install the rear seat shoulder belt guide RH with the 2 screws.
-
-
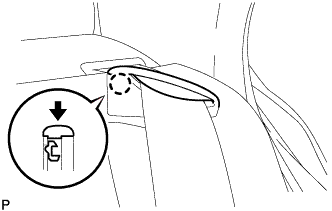
INSTALL REAR CENTER SEAT SHOULDER BELT GUIDE
-
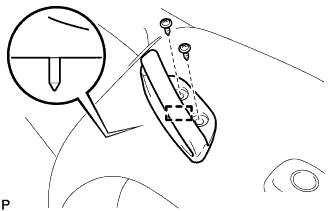
Engage the guide.
-
Install the rear center seat shoulder belt guide with the 2 screws.
-
-
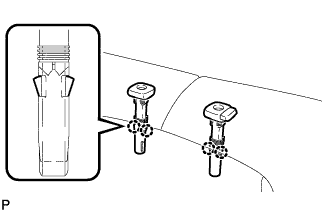
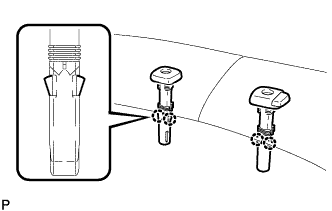
INSTALL REAR CENTER SEAT ARMREST ASSEMBLY WITH BOX
-
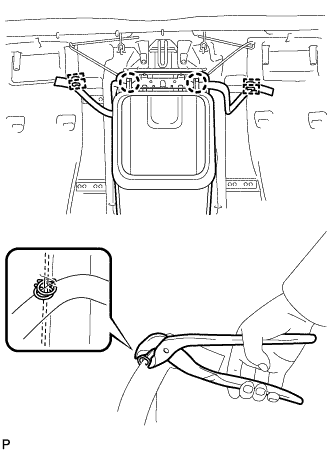
Engage the 2 claws.
-
Using hog ring pliers, install 4 new hog rings.
-
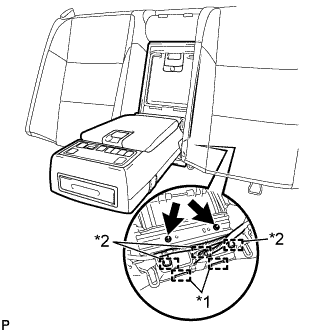
Text in Illustration *1 Hook *2 Clamp Install the rear center seat armrest assembly with box with the 2 nuts.
- Torque:
- 8.0 N*m { 82 kgf*cm, 71 in.*lbf }
-
w/ Climate Control Seat System:
-
Engage the 3 clamps.
-
-
Engage the 2 hooks.
-
-
INSTALL REAR SEATBACK ASSEMBLY
-
Place the rear seatback assembly in the cabin.
Note
Be careful not to damage the vehicle body.
-
Engage the 3 hooks.
-
Connect the rear seat 3 point type outer belt assembly LH, rear seat 3 point type outer belt assembly RH and rear seat inner with center belt assembly LH to the rear seatback assembly.
-
Install the rear seatback assembly with the 4 bolts.
- Torque:
- 18 N*m { 184 kgf*cm, 13 ft.*lbf }
-
Engage the 2 clamps to connect the 2 rear seat airbag assembly wire harnesses.
-
Connect the 2 rear seat airbag assembly connectors.
-
Engage the claw to connect the rear center seat shoulder belt guide.
-
Engage the claw to connect the rear seat shoulder belt guide RH.
-
Engage the claw to connect the rear seat shoulder belt guide LH.
-
-
INSTALL REAR SEAT CUSHION ASSEMBLY
-
Place the rear seat cushion assembly in the cabin.
Note
Be careful not to damage the vehicle body.
-
w/ Climate Control Seat System:
-
Connect the rear seat heater connector.
-
-
Pass the buckle of the rear seat inner with center belt assembly LH and buckle of the rear seat inner with center belt assembly RH through the rear seat cushion assembly.
-
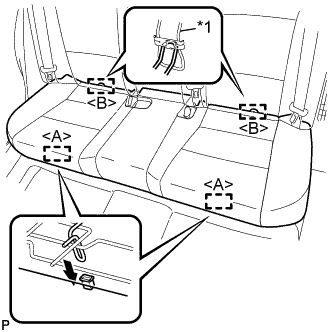
Text in Illustration *1 Rear Seatback Hinge Hook Engage the 2 hooks <B> on rear side of the rear seat cushion assembly to the rear seatback hinge hook.
-
Engage the 2 hooks <A> on the front side of the rear seat cushion assembly to the vehicle body as shown in the illustration.
-
Confirm that the rear seat cushion assembly is firmly installed.
Note
When installing the rear seat cushion assembly, make sure that the seat belt buckles are not under the rear seat cushion assembly.
-
-
INSTALL REAR SEAT HEADREST ASSEMBLY
-
INSTALL REAR CENTER SEAT HEADREST ASSEMBLY
-
CONNECT CABLE TO NEGATIVE BATTERY TERMINAL
Note
When disconnecting the cable, some systems need to be initialized after the cable is reconnected Click here.
-
INSPECT SRS WARNING LIGHT