LUGGAGE COMPARTMENT DOOR OUTSIDE GARNISH REMOVAL
Info Added 2017-08-02 ![]()
PROCEDURE
-
REMOVE REAR LIGHT ASSEMBLY LH
-
REMOVE REAR LIGHT ASSEMBLY RH
Tech Tips
Use the same procedure as for the LH side.
-
REMOVE LUGGAGE COMPARTMENT DOOR LOCK CYLINDER ASSEMBLY
-
REMOVE LUGGAGE ELECTRICAL KEY SWITCH
-
REMOVE LUGGAGE COMPARTMENT DOOR OUTSIDE GARNISH SUB-ASSEMBLY
-

Remove the 2 screws.
-
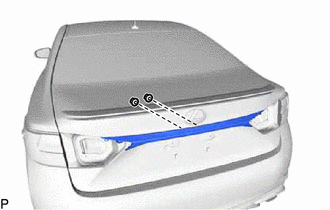
Remove the 2 nuts.
-
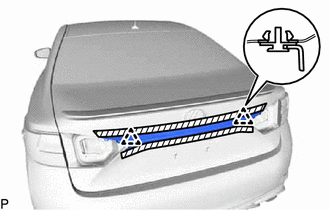
Put protective tape around the luggage compartment door outside garnish sub-assembly.
Text in Illustration 
Protective Tape -
Disengage the 2 clips and remove the luggage compartment door outside garnish sub-assembly.
-
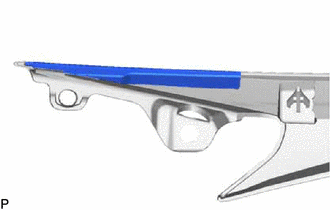
Remove the 2 clips from the luggage compartment door outside garnish sub-assembly.
-
-
REMOVE LUGGAGE COMPARTMENT DOOR OUTSIDE GARNISH PROTECTOR
-
Remove the luggage compartment door outside garnish protector.

-
-
REMOVE LUGGAGE COMPARTMENT DOOR OUTSIDE GARNISH PROTECTOR LH
-
Remove the luggage compartment door outside garnish protector LH.
-
-
REMOVE LUGGAGE COMPARTMENT DOOR OUTSIDE GARNISH PROTECTOR RH
Tech Tips
Use the same procedure as for the LH side.