ДАТЧИК ТЕМПЕРАТУРЫ ОТРАБОТАВШИХ ГАЗОВ (для DPF) СНЯТИЕ
-
REMOVE NO. 1 ENGINE COVER
-
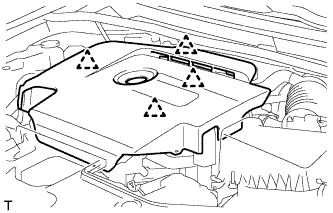
Возьмитесь сзади за крышку двигателя № 1 и медленно поднимите ее, чтобы разъединить задний фиксатор крышки двигателя № 1. Продолжайте поднимать крышку двигателя № 1, чтобы освободить 3 передних и боковых фиксатора крышки двигателя № 1, после чего снимите крышку двигателя № 1.
Note
Попытка освободить задний и передние фиксаторы за один прием может привести к поломке крышки.
-
-
REMOVE EXHAUST GAS TEMPERATURE SENSOR
Note
If the exhaust gas temperature sensor is dropped, replace it with a new one.
-
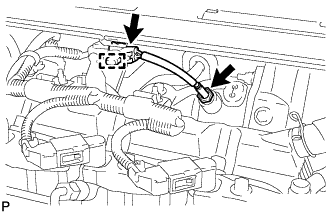
Detach the exhaust gas temperature sensor connector clamp.
-
Using a 14 mm union nut wrench, remove the exhaust gas temperature sensor.
-
-
REMOVE ENGINE ASSEMBLY
-
REMOVE NO. 4 MANIFOLD CONVERTER INSULATOR
-
Remove the 4 bolts and No. 4 manifold converter insulator.
-
-
REMOVE MANIFOLD STAY
-
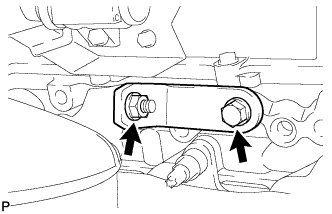
Remove the bolt, nut and manifold stay.
-
-
REMOVE NO. 2 MANIFOLD STAY
-
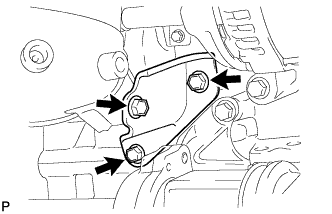
Remove the 3 bolts and No. 2 manifold stay.
-
-
REMOVE NO. 2 EXHAUST MANIFOLD STAY
-
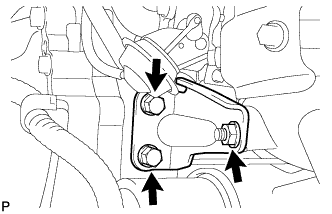
Remove the 2 bolts, nut and No. 2 exhaust manifold stay.
-
-
REMOVE EXHAUST MANIFOLD CONVERTER SUB-ASSEMBLY
-
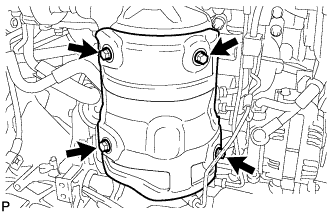
Disconnect the 2 connectors.
-
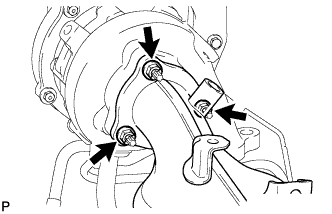
Remove the 3 nuts, exhaust manifold converter sub-assembly and gasket.
-
-
REMOVE NO. 2 EXHAUST GAS TEMPERATURE SENSOR
Note
If the No. 2 exhaust gas temperature sensor is dropped, replace it with a new one.
-
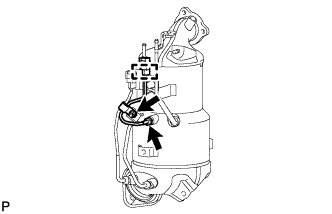
Detach the No. 2 exhaust gas temperature sensor connector clamp.
-
Remove the nut and clamp.
-
Using a 14 mm union nut wrench, remove the No. 2 exhaust gas temperature sensor.
-
-
REMOVE NO. 3 EXHAUST GAS TEMPERATURE SENSOR
Note
If the No. 3 exhaust gas temperature sensor is dropped, replace it with a new one.
-

Detach the No. 3 exhaust gas temperature sensor connector clamp.
-
Using a 14 mm union nut wrench, remove the No. 3 exhaust gas temperature sensor.
-