ECM REMOVAL
CAUTION / NOTICE / HINT
Note
Perform the Vehicle Identification Number (VIN) registration when replacing the ECM Click here.
PROCEDURE
-
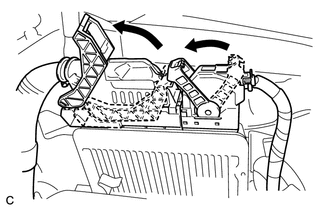
REMOVE LUGGAGE TRIM SERVICE HOLE COVER
-
DISCONNECT CABLE FROM NEGATIVE AUXILIARY BATTERY TERMINAL
Note
When disconnecting the cable, some systems need to be initialized after the cable is reconnected Click here.
-
REMOVE ECM
-
Disconnect the 2 ECM connectors.
-
Push in the locks on the 2 levers, raise the levers, and disconnect the 2 ECM connectors.
Note
After disconnecting the connectors, make sure that dirt, water or other foreign matter does not contact the connecting part of the connectors.
-
-
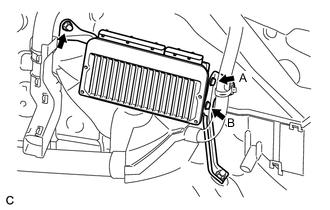
Remove the nut.
-
Remove the screw (A).
-
Loosen the screw (B) and remove the ECM.
-
Remove the screw (B).
-
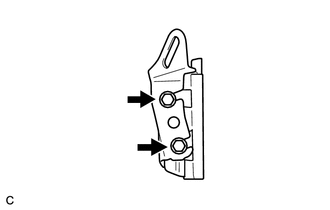
Remove the 2 screws and No. 2 ECM bracket.
-
-
REMOVE NO. 1 RELAY BLOCK COVER
-
REMOVE NO. 1 ECM BRACKET
-
Remove the nut.
-
Release the 2 clamps and disconnect the wire harness.
-
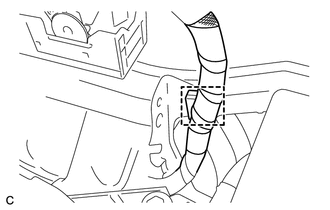
Disconnect the wire harness clamp.
-
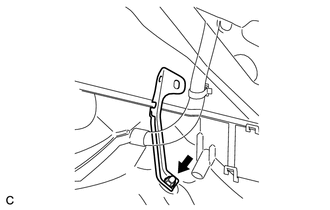
Remove the nut and No. 1 ECM bracket.
-