ROOF DRIP SIDE FINISH MOULDING REMOVAL
CAUTION / NOTICE / HINT
Tech Tips
-
Use the same procedure for the RH side and LH side.
-
The following procedure is for the LH side.
PROCEDURE
-
REMOVE CENTER ROOF DRIP SIDE FINISH MOULDING (w/o Solar Charging System)
-
Apply protective tape around the center roof drip side finish moulding as shown in the illustration.
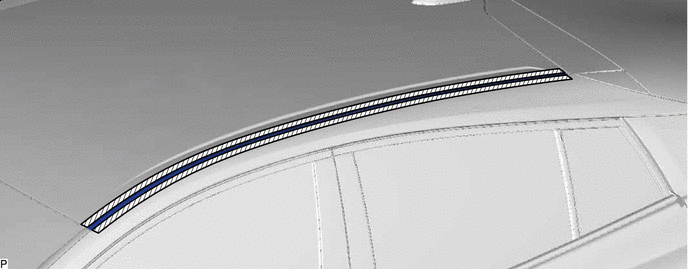

Protective Tape - - -
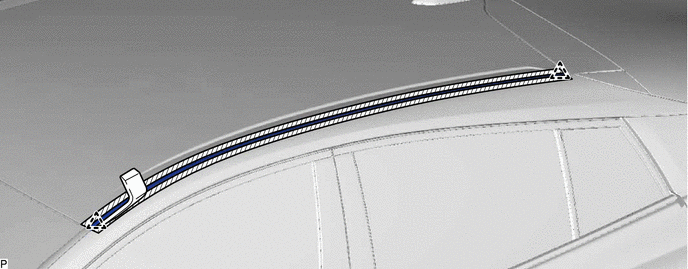
Using a moulding remover, disengage the 2 clips and remove the center roof drip side finish moulding.
Note
-
Do not remove the roof drip side finish moulding clips.
-
If a roof drip side finish moulding clip is damaged or falls off, replace it with a new one.
-
-
-
REMOVE CENTER ROOF DRIP SIDE FINISH MOULDING (w/ Solar Charging System)
-
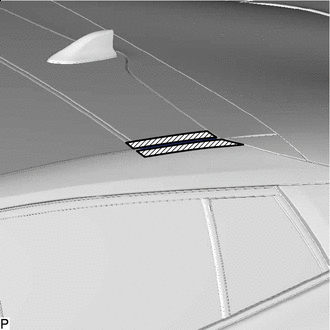
Protective Tape Apply protective tape around the center roof drip side finish moulding as shown in the illustration.
-
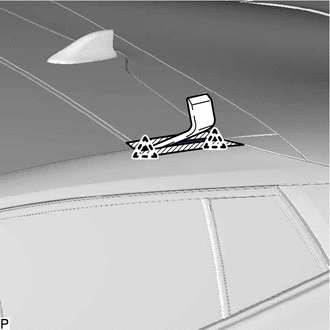
Using a moulding remover, disengage the 2 clips and remove the center roof drip side finish moulding.
Note
-
Do not remove the roof drip side finish moulding clips.
-
If a roof drip side finish moulding clip is damaged or falls off, replace it with a new one.
-
-