FRONT BUMPER REMOVAL
PROCEDURE
-
REMOVE COOL AIR INTAKE DUCT SEAL
-
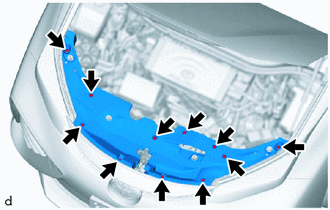
Remove the 11 clips and cool air intake duct seal.
-
-
REMOVE FRONT BUMPER ASSEMBLY
-

Protective Tape Apply protective tape around the front bumper assembly.
Tech Tips
Use the same procedure for the RH.
-
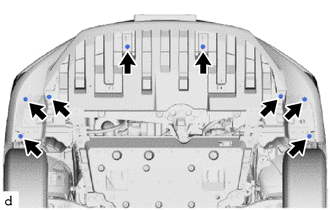
Remove the 6 bolts.
-
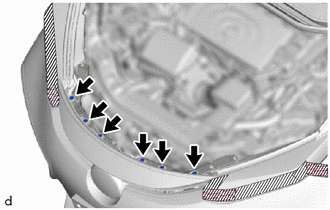
Remove the 8 screws.
-
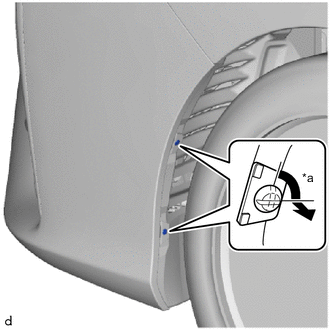
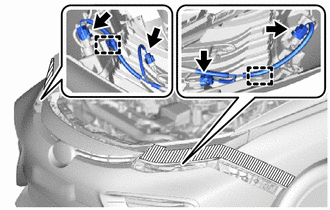
*a 90° Using a screwdriver, turn the pins 90 degrees and remove the 2 pin hold clips.
Tech Tips
-
When removing the pin hold clips, turn the steering wheel right and left to ensure enough space to work.
-
Use the same procedure for the RH.
-
-
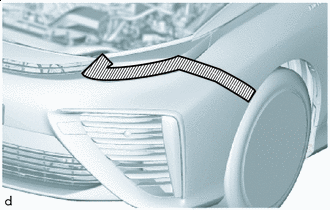
Fold back a part of edge of the front fender liner as shown in the illustration, and remove the screw and clip.
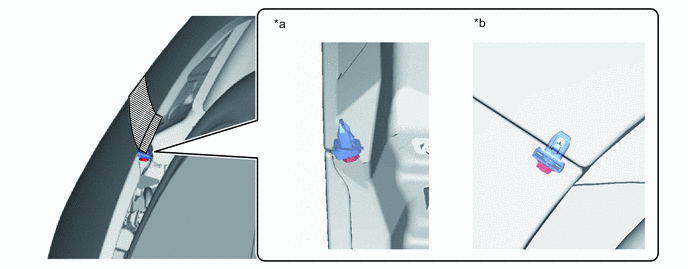
*a Back view of the vehicle *b Side view of the vehicle Tech Tips
Use the same procedure for the RH side.
-
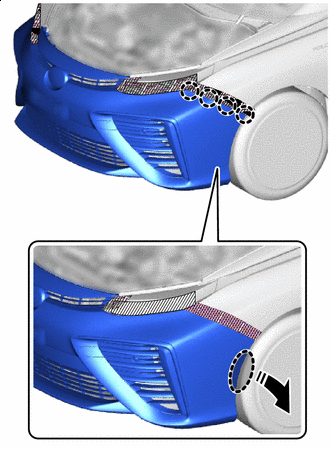

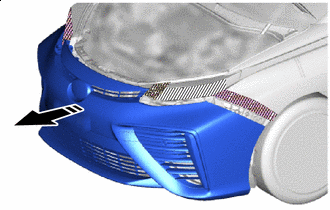
Place Hands Here 
Remove in this Direction Disengage the claws as shown in the illustration.
Tech Tips
Use the same procedure for the RH side.
-
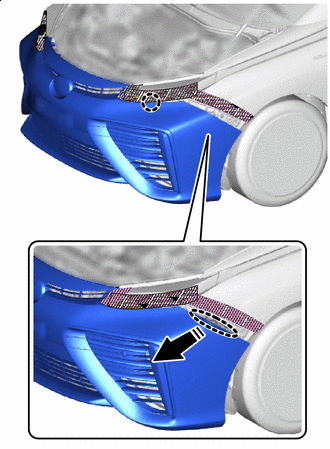
Place Hands Here Remove in this Direction Disengage the claw as shown in the illustration.
Note
Because the vehicle wire harness is connected to the front bumper assembly, hold the front bumper assembly in a position where the connectors and clamps can be disconnected.
Tech Tips
Use the same procedure for the RH side.
-
Using a clip remover, disengage the clamps.
Note
Be careful not to damage the clamps, such as by prying them with excessive force using a clip remover.
-
Disconnect the 4 connectors.
-
Remove in this Direction Remove the front bumper assembly as shown in the illustration.
-