MOTOR COMPARTMENT CROSS MEMBER REMOVAL
PROCEDURE
-
REMOVE FC AIR COMPRESSOR WITH MOTOR ASSEMBLY
-
REMOVE INVERTER WITH CONVERTER ASSEMBLY
-
REMOVE FC WATER AND HYDROGEN PUMP INVERTER ASSEMBLY
-
REMOVE ELECTRIC HEATER SUB-ASSEMBLY
-
REMOVE 3 WAY VALVE
-
REMOVE FC COOLING WATER ION EXCHANGER ASSEMBLY
-
REMOVE WINDSHIELD WASHER MOTOR AND PUMP ASSEMBLY
-
REMOVE EV WATER PUMP WITH MOTOR ASSEMBLY
-
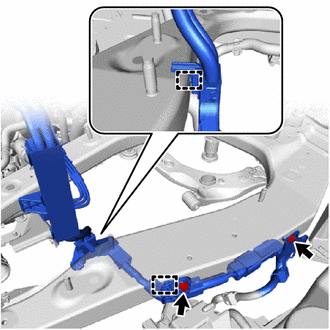
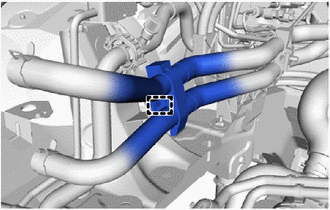
REMOVE CENTER FRAME CROSSMEMBER SUB-ASSEMBLY
-
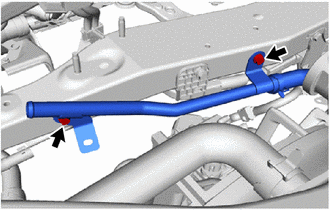
Remove the 2 bolts and EV water pump outlet pipe from the center frame crossmember sub-assembly.
-
Remove the 2 bolts.
-
Disengage the 2 clamps to separate the No. 3 motor wire from the center frame crossmember sub-assembly.
-
Remove the bolt.
-
Disengage the clamp to separate the hydrogen pump inverter cable from the center frame crossmember sub-assembly.
-
Remove the bolt.
-
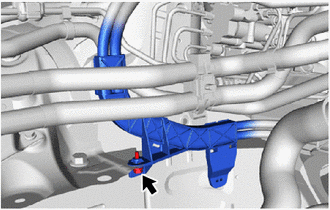
Disengage the hook to remove the motor cable bracket from the center frame crossmember sub-assembly.
-

Remove the bolt.
-
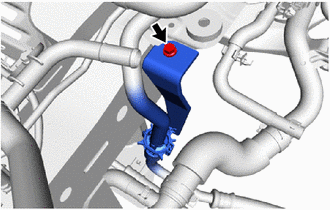
Disengage the hook to remove the FC converter power outlet bracket from the center frame crossmember sub-assembly.
-
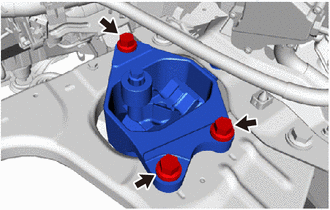
Remove the 3 bolts and motor mounting insulator LH from the center frame crossmember sub-assembly.
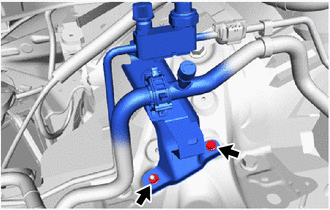
-
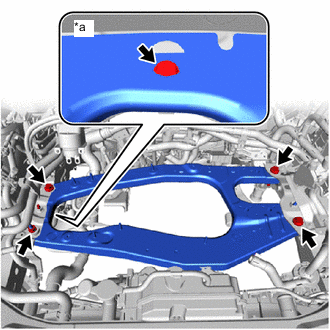
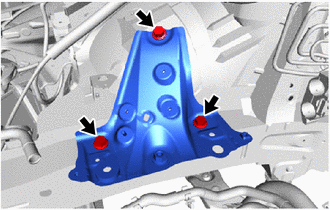
*a Bottom View Remove the 4 bolts, nut and center frame crossmember sub-assembly from the frame center crossmember plate No. 3 frame crossmember bracket sub-assembly RH.
-
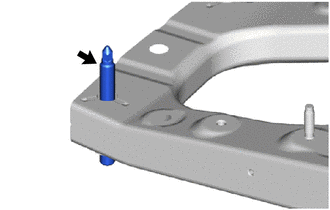
Using "TORX" socket wrench E8, remove the stud bolt from the center frame crossmember sub-assembly.
Tech Tips
This procedure is only performed when the stud bolt is being replaced with a new one.
-
-
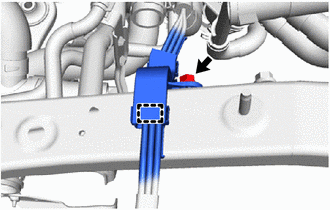
REMOVE FRAME CENTER CROSSMEMBER PLATE
-

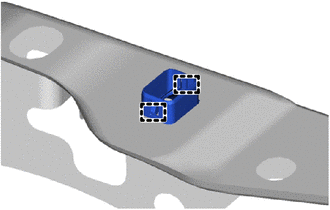
Remove the 4 bolts.
-
Disengage the hook to remove the frame center crossmember plate from the vehicle.
-
Disengage the 2 clamps to remove the front frame rod support outer LH from the frame center crossmember plate.
-
-
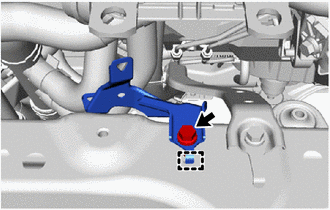
REMOVE NO. 3 FRAME CROSS MEMBER BRACKET SUB-ASSEMBLY RH
-
Disengage the claw and open the clamp to remove the hose clamp with the FC cooling ion exchanger outlet hose and FC cooling ion exchanger inlet hose from the No. 3 frame crossmember bracket sub-assembly RH.
-
Remove the bolt to separate the frame wire from the No. 3 frame crossmember bracket sub-assembly bracket RH.
-
Remove the bolt and separate the cooler bracket from the No. 3 frame crossmember bracket sub-assembly RH.
-
Remove the bolt and nut and separate the cooler bracket from the No. 3 frame crossmember bracket sub-assembly RH.
-
Remove the 3 bolts and No. 3 frame crossmember bracket sub-assembly RH from the vehicle.
-