EXHAUST MANIFOLD REMOVAL
CAUTION / NOTICE / HINT
The necessary procedures (adjustment, calibration, initialization, or registration) that must be performed after parts are removed, installed, or replaced during the exhaust manifold removal/installation are shown below.
| Replacement Part or Procedure | Necessary Procedures | Effect/Inoperative when not Performed | Link |
|---|---|---|---|
| Gas leaks from exhaust system | Inspection After Repair | Poor idle, engine start, etc. |
CAUTION:
-
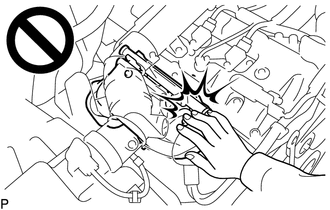
To prevent burns, do not touch the engine, exhaust manifold or other high temperature components while the engine is hot.
-
To prevent burns, do not touch the engine, exhaust pipe or other high temperature components while the engine is hot.
PROCEDURE
-
REMOVE FRONT FENDER SEAL RH
-
REMOVE AIR CLEANER CAP SUB-ASSEMBLY WITH NO. 1 AIR CLEANER HOSE
-
REMOVE AIR CLEANER FILTER ELEMENT SUB-ASSEMBLY
-
REMOVE AIR CLEANER CASE SUB-ASSEMBLY
-
REMOVE FRONT EXHAUST PIPE ASSEMBLY
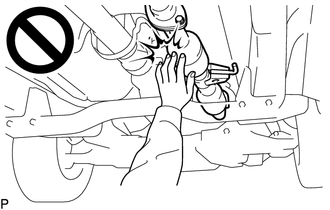
CAUTION:
To prevent burns, do not touch the engine, exhaust pipe or other high temperature components while the engine is hot.
-
Disconnect the air fuel ratio sensor connector and detach the 3 wire harness clamps.
-
Disconnect the heated oxygen sensor connector and detach the 4 wire harness clamps.
-
Remove the 4 bolts, 2 nuts and 2 compression springs.
-
Remove the front exhaust pipe assembly from the No. 1 exhaust pipe support.
-
Remove the 2 gaskets.
-
-
REMOVE NO. 1 EXHAUST MANIFOLD HEAT INSULATOR
CAUTION:
To prevent burns, do not touch the engine, exhaust manifold or other high temperature components while the engine is hot.
-
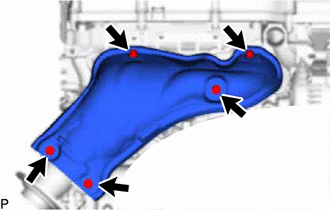
Remove the 5 bolts and No. 1 exhaust manifold heat insulator.
-
-
REMOVE MANIFOLD STAY
CAUTION:
To prevent burns, do not touch the engine, exhaust manifold or other high temperature components while the engine is hot.
-
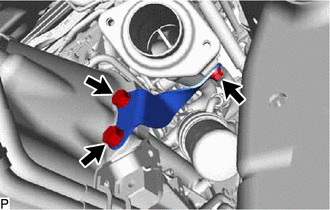
Remove the 3 bolts and manifold stay.
-
-
REMOVE EXHAUST MANIFOLD
CAUTION:
To prevent burns, do not touch the engine, exhaust manifold or other high temperature components while the engine is hot.
-
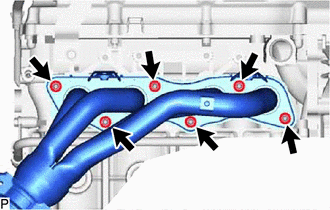
Remove the 6 nuts and exhaust manifold.
-
Remove the gasket.
-