ION EXCHANGER ELEMENT REMOVAL
CAUTION / NOTICE / HINT
The necessary procedures (adjustment, calibration, initialization, or registration) that must be performed after parts are removed, installed, or replaced during the FC cooling water ion exchanger element removal/installation are shown below.
| Replacement Part or Procedure | Necessary Procedure | Effects/Inoperative when not Performed | Link |
|---|---|---|---|
| FC COOLING WATER ION EXCHANGER ELEMENT | Initialization | When the message "Ion filter replacement interval reached. Please replace ion filter at dealership.) is displayed on the multi-information display, the warning buzzer will also sound. |
PROCEDURE
-
REMOVE FC COOLING WATER ION EXCHANGER ELEMENT
-
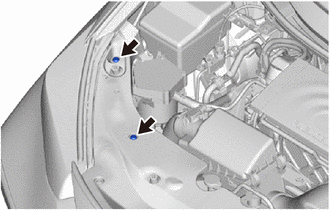
Remove the 2 clips.
-
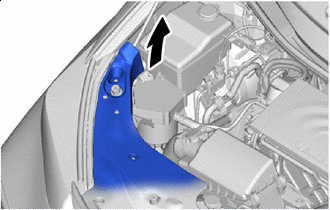

Peel Back Peel back the cool air intake duct seal as shown in the illustration.
-
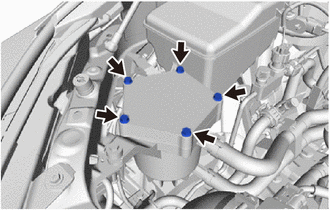
Remove the 5 bolts.
-
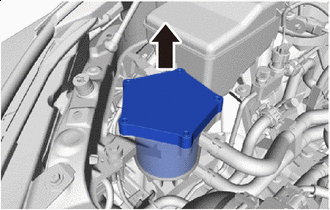
Pull Up Slowly Slowly pull up the FC cooling water ion exchanger cap sub-assembly, and remove it from the FC cooling water ion exchanger case sub-assembly.
-

Rotate the FC cooling water ion exchanger element as shown in the illustration, and remove it from the FC cooling water ion exchanger cap sub-assembly.
-
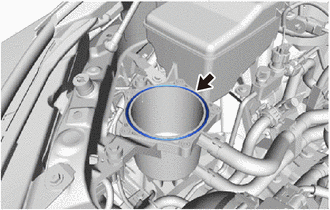
Remove the FC cooling water ion exchanger gasket from the FC cooling water ion exchanger case sub-assembly.
-