REAR NO. 1 SEAT ASSEMBLY(for 60/40 Split Seat Type RH Side) REMOVAL
CAUTION / NOTICE / HINT
CAUTION:
-
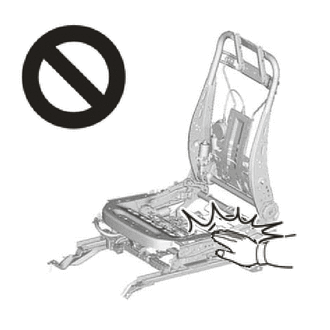
Wear protective gloves. Sharp areas on the parts may injure your hands.
-
There is risk of injury.
-
Replace any other damaged parts as necessary.
PROCEDURE
-
REMOVE REAR SEAT CUSHION HINGE COVER RH
-
Detach the claw and guide and remove the rear seat cushion hinge cover RH.
-
-
REMOVE REAR SEAT CUSHION HINGE COVER RH
-
Detach the claw and guide and remove the rear seat cushion hinge cover RH.
-
Remove the 2 bolts.
-
-
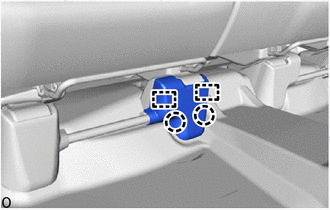
REMOVE REAR SEAT INNER CUSHION HINGE COVER RH
-
Operate the reclining adjuster release handle RH as shown in the illustration and fold down the seatback of the rear No. 1 seat assembly RH in the removal direction (1).
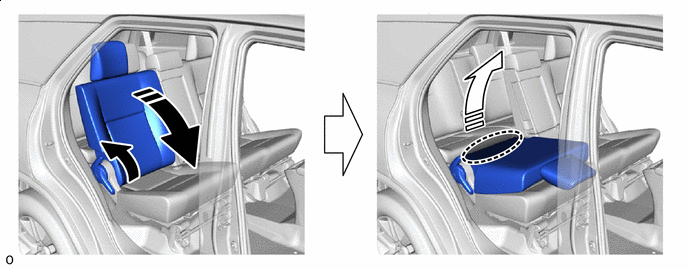

Place Hand Here - - 
Remove in this Direction (1) 
Remove in this Direction (2) -
Place your hands at the position shown in the illustration and lift up the rear end of the seat in the removal direction (2) to set the rear No. 1 seat assembly RH in the tumble condition.
-
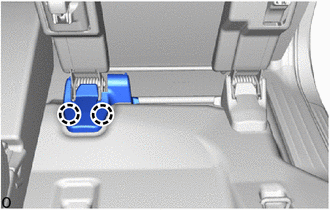
Detach the claw and remove the rear seat inner cushion hinge cover RH.
-
-
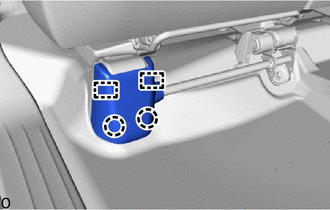
REMOVE REAR SEAT OUTER CUSHION HINGE COVER RH
-
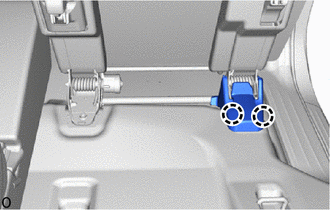
Detach the claw and remove the rear seat outer cushion hinge cover RH.
-
-
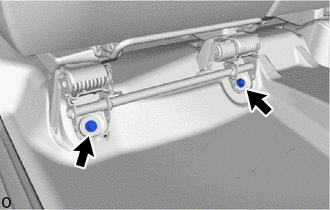
REMOVE REAR NO. 1 SEAT ASSEMBLY RH
-
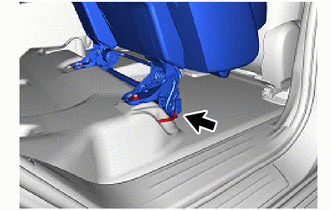
Disconnect the connector.
-

Remove the 2 nuts and rear No. 1 seat assembly RH.
-
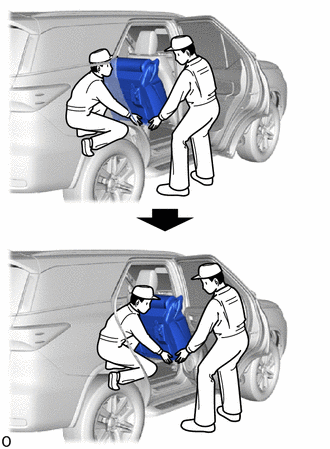
Remove the rear No. 1 seat assembly RH as shown in the illustration.
Note
-
Protect the front seat legs.
-
Do not damage the rear No. 1 seat assembly RH, body exterior or interior parts.
-
-