ROOF HEADLINING REASSEMBLY
PROCEDURE
-
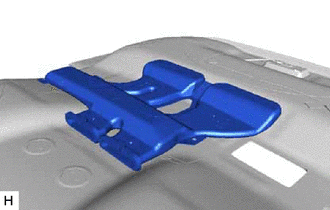
INSTALL NO. 2 ANTENNA CORD SUB-ASSEMBLY
-
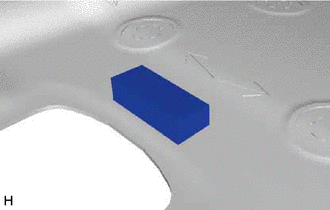
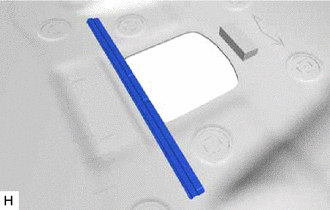
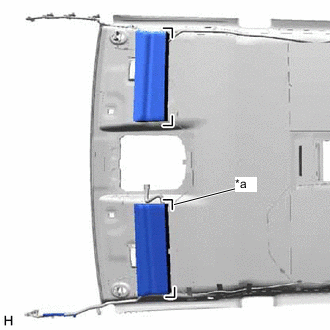
INSTALL NO. 1 ROOF WIRE
-
Fix the No. 1 roof wire in place with tape as shown in the illustration.
Tech Tips
Align the tape with the markings when attaching it.
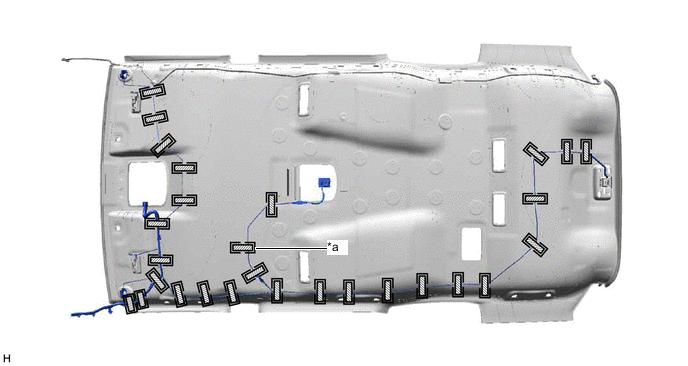
*a Marking 
Tape -
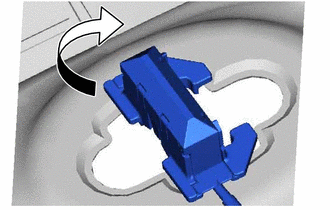
w/ Vanity Light:
Turn the visor connectors approximately 90° clockwise to install them to the roof headlining assembly.
-
-
INSTALL VANITY LIGHT ASSEMBLY (w/ Vanity Light)
Tech Tips
Use the same procedure for both vanity light assemblies.
-
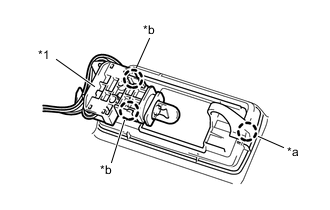
*1 Bulb Holder *a Claw A *b Claw B Attach claw A of the vanity light assembly to temporarily install the vanity light assembly to the roof headlining assembly.
-
Attach claw B of the bulb holder to install the vanity light assembly.
-
-
INSTALL NO. 1 AIR OUTLET REGISTER ASSEMBLY
Tech Tips
Use the same procedure for all No. 1 air outlet register assemblies.
-

Attach the claw to install the No. 1 air outlet register assembly.
-
-
INSTALL NO. 3 AIR DUCT SUB-ASSEMBLY
-
Install the No. 3 air duct sub-assembly with adhesive or double-sided tape.
-
-
INSTALL NO. 2 AIR DUCT SUB-ASSEMBLY
-
Install the No. 2 air duct sub-assembly with adhesive or double-sided tape.
-
Attach the clamp.
-
-
INSTALL NO. 1 AIR DUCT SUB-ASSEMBLY
-
Install the No. 1 air duct sub-assembly with adhesive or double-sided tape.
-
-
INSTALL ROOF HEADLINING PACKING
-
Install a new roof headlining packing with double-sided tape.
-
-
INSTALL FRONT HEADLINING RETAINER
-
Install a new front headlining retainer with adhesive or double-sided tape.
-
-
INSTALL NO. 6 ROOF SILENCER PAD
-
*a Silencer Marking Align the No. 6 roof silencer pad with the silencer markings on the roof headlining and install the No. 6 roof silencer pad using double-sided tape or adhesive as shown in the illustration.
-
-
INSTALL NO. 5 ROOF SILENCER PAD
-
*a Silencer Marking Align the No. 5 roof silencer pad with the silencer markings on the roof headlining and install the No. 5 roof silencer pad using double-sided tape or adhesive as shown in the illustration.
-
-
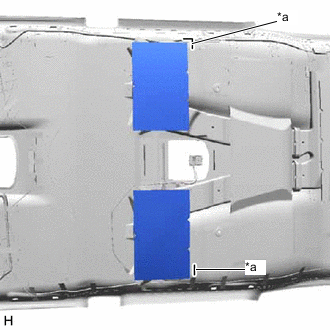
INSTALL NO. 4 ROOF SILENCER PAD
-
*a Silencer Marking Align the No. 4 roof silencer pad with the silencer markings on the roof headlining and install the No. 4 roof silencer pad using double-sided tape or adhesive as shown in the illustration.
-
-
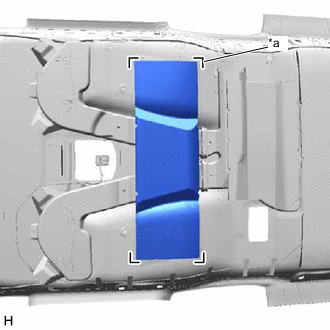
INSTALL NO. 3 ROOF SILENCER PAD
-
*a Silencer Marking Align the 2 No. 3 roof silencer pads with the silencer markings on the roof headlining and install the 2 No. 3 roof silencer pads using double-sided tape or adhesive as shown in the illustration.
-
-
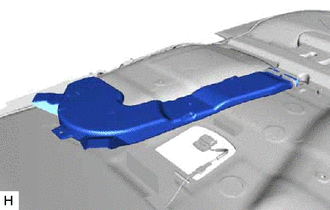
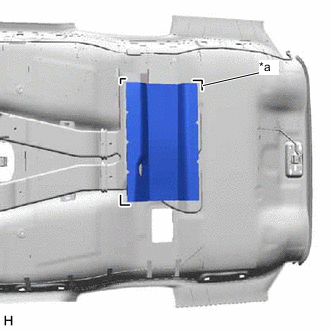
INSTALL NO. 2 ROOF SILENCER PAD
-

*a Silencer Marking Align the No. 2 roof silencer pad with the silencer markings on the roof headlining and install the No. 2 roof silencer pad using double-sided tape or adhesive as shown in the illustration.
-
-
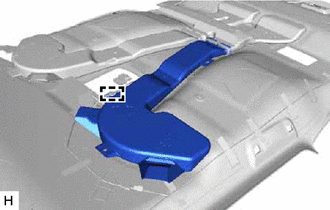
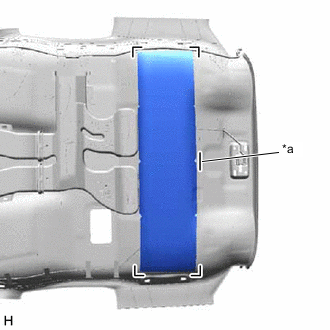
INSTALL NO. 1 ROOF SILENCER PAD
-
*a Silencer Marking Align the 2 No. 1 roof silencer pads with the silencer markings on the roof headlining and install the 2 No. 1 roof silencer pads using double-sided tape or adhesive as shown in the illustration.
-