VACUUM PUMP(for 1KD-FTV, 2KD-FTV) REMOVAL

CAUTION / NOTICE / HINT
Tech Tips
The vacuum pump assembly is listed as one of the 200000 km (124000 mile) maintenance parts. Make sure to disassemble and inspect it every 200000 km (124000 miles) and replace parts as necessary.
PROCEDURE
-
REMOVE NO. 1 ENGINE UNDER COVER ASSEMBLY
-
REMOVE NO. 2 ENGINE UNDER COVER
-
REMOVE RADIATOR ASSEMBLY
-
for 1KD-FTV:
-
for 2KD-FTV:
-
-
REMOVE NO. 1 TIMING BELT COVER (for 1KD-FTV)
-
REMOVE NO. 1 TIMING BELT COVER (for 2KD-FTV)
-
REMOVE VACUUM PUMP ASSEMBLY
-
Disconnect the 2 vacuum hoses from the vacuum pump assembly.
-
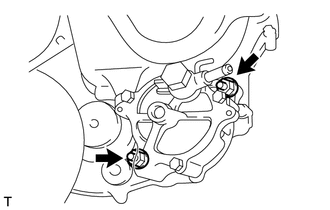
Remove the 2 nuts and pull out the vacuum pump assembly from the engine.
-
Remove the 2 O-rings.
-
-
REMOVE CHECK VALVE SUB-ASSEMBLY
-

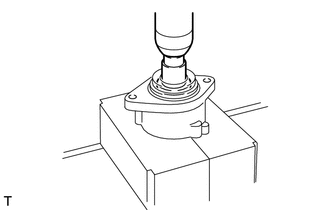
Mount the vacuum pump assembly in a vise
Note
Place aluminum plates on the vise to prevent damage to the vacuum pump assembly.
-
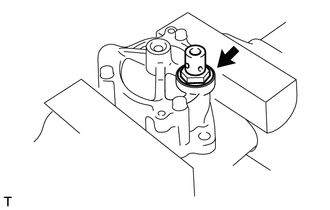
Remove the union bolt, union and 2 gaskets.
-
Remove the check valve sub-assembly and gasket.
-
-
REMOVE VACUUM PUMP END COVER
-
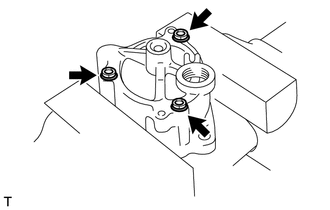
Remove the 3 bolts.
-
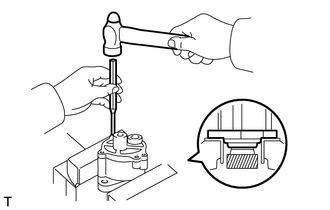
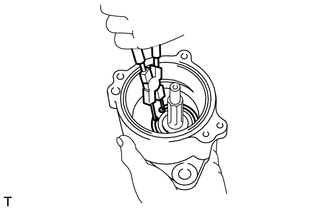
Using a 5 mm pin punch and hammer, tap out the 2 straight pins.
-
Remove the vacuum pump end cover and 2 O-rings.
-
-
REMOVE VACUUM PUMP BLADE
-
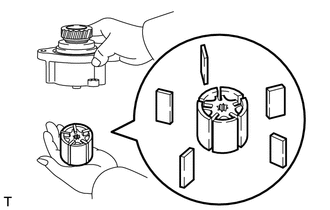
Remove the rotor together with the 5 vacuum pump blades.
Note
Be careful not to drop the blades.
-
Remove the 5 vacuum pump blades from the vacuum pump rotor sub-assembly.
-
-
REMOVE VACUUM PUMP GEAR
-
Mount the vacuum pump gear in a vise.
Note
Place aluminum plates on the vise to prevent damage to the vacuum pump gear.
-
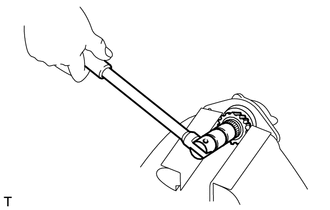
Remove the gear lock nut.
-
Remove the vacuum pump gear and woodruff key.
-
-
REMOVE VACUUM PUMP SHAFT
-
Using snap ring pliers, remove the snap ring.
-
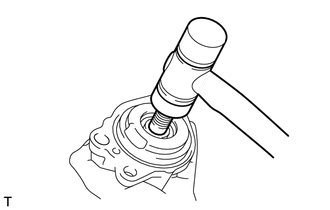
Using a plastic-faced hammer, tap out the vacuum pump shaft.
-
-
REMOVE VACUUM PUMP BEARING
-
Using a 17 mm socket wrench and press, press out the vacuum pump bearing.
-