FRONT CRANKSHAFT OIL SEAL REMOVAL

CAUTION / NOTICE / HINT
The necessary procedures (adjustment, calibration, initialization or registration) that must be performed after parts are removed, installed or replaced during the timing belt removal/installation are shown below.
| Replacement Part or Procedure | Necessary Procedures | Effects/Inoperative when not Performed | Link |
|---|---|---|---|
| Replacement of timing belt | Mode reset operation |
|
CAUTION:
To prevent burns, do not touch the engine, exhaust manifold or other high temperature components while the engine is hot.
PROCEDURE
-
REMOVE TIMING BELT
-
REMOVE CRANKSHAFT TIMING PULLEY
-
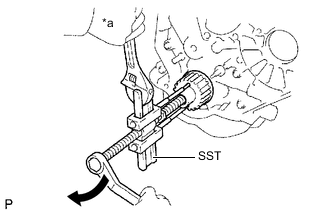
*a Hold 
Turn Using SST, remove the crankshaft timing pulley from the crankshaft.
- SST
- 09950-50013 ( 09951-05010, 09952-05010, 09953-05010, 09953-05020, 09954-05010 )
Tech Tips
If the crankshaft timing pulley cannot be removed by using a screwdriver, remove it with SST.
-
-
REMOVE FRONT CRANKSHAFT OIL SEAL
-
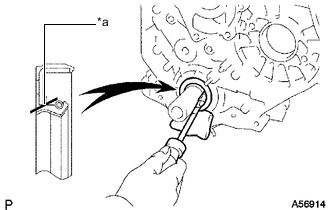
*a Cut Position Using a knife, cut off the lip of the front crankshaft oil seal.
-
Using a screwdriver, pry out the front crankshaft oil seal.
Note
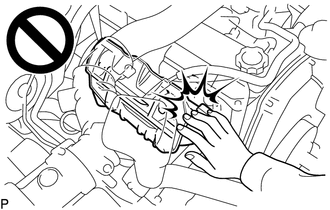
Be careful not to damage the crankshaft and timing belt case sub-assembly.
Tech Tips
-
After removal, check the crankshaft for damage. If damaged, smooth the surface with #400 sandpaper.
-
Tape the screwdriver tip before use.
-
-