ВЫПУСКНАЯ ТРУБА СНЯТИЕ
CAUTION / NOTICE / HINT
The necessary procedures (adjustment, calibration, initialization, or registration) that must be performed after parts are removed, installed, or replaced during the air fuel ratio sensor, front exhaust pipe assembly and tail exhaust pipe assembly removal/installation are shown below.
| Replacement Part or Procedure | Necessary Procedures | Effects/Inoperative when not Performed | Link |
|---|---|---|---|
|
Inspection After Repair | Poor idle, engine start, etc. |
CAUTION:
-
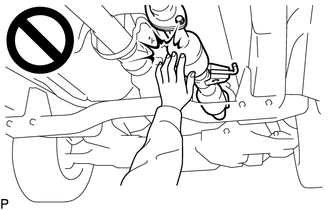
To prevent burns, do not touch the engine, exhaust pipe or other high temperature components while the engine is hot.
-
Wear protective gloves when removing the exhaust pipe assembly.
-
The exhaust pipe assembly is extremely hot immediately after the engine has stopped.
-
Confirm that the exhaust pipe assembly has cooled down before removing it.
PROCEDURE
-
REMOVE FRONT FENDER SEAL RH
-
REMOVE TAIL EXHAUST PIPE ASSEMBLY
CAUTION:
To prevent burns, do not touch the engine, exhaust pipe or other high temperature components while the engine is hot.
-
Remove the 2 bolts and 2 nuts.
-
Disconnect the 3 No. 1 exhaust pipe supports and No. 2 exhaust pipe support and remove the tail exhaust pipe assembly.
-
Remove the gasket from the front exhaust pipe assembly.
-
-
REMOVE AIR FUEL RATIO SENSOR
-
REMOVE HEATED OXYGEN SENSOR
-
REMOVE FRONT EXHAUST PIPE ASSEMBLY
CAUTION:
To prevent burns, do not touch the engine, exhaust pipe or other high temperature components while the engine is hot.
-
Remove the 2 bolts and 2 compression springs.
-
Disconnect the No. 1 exhaust pipe support and remove the front exhaust pipe assembly.
-
Remove the gasket from the exhaust manifold.
-