ROOM LIGHT(for Bulb Type) REMOVAL
CAUTION / NOTICE / HINT
The necessary procedures (adjustment, calibration, initialization or registration) that must be performed after parts are removed, installed or replaced during the spot light assembly removal/installation are shown below.
| Replacement Part or Procedure | Necessary Procedures | Effects/Inoperative when not Performed | Link |
|---|---|---|---|
| Disconnect cable from negative battery terminal | Drive the vehicle until stop and start control is permitted (approximately 5 to 60 minutes) | Stop and Start System (for 2AR-FE) | |
| Stop and Start System (for 2GR-FKS) | |||
| Memorize steering angle neutral point | Panoramic View Monitor System | ||
| Initialize back door lock | Power Door Lock Control System | ||
| Initialize servo motor | Air Conditioning System | ||
| Reset slide door close position | Power Slide Door System | ||
| Reset back door close position | Power Back Door System |
Tech Tips
-
Use the same procedure for the RH and LH sides.
-
The procedure listed below is for the RH side.
PROCEDURE
-
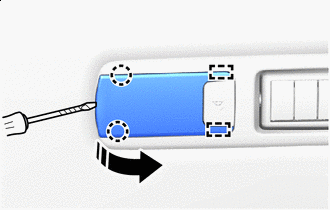
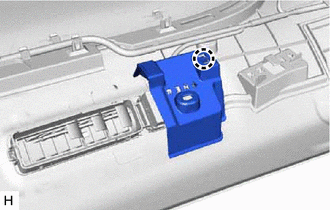
REMOVE SPOT LIGHT LENS
-

Protective Tape 
Remove in this Direction Using a thin-bladed screwdriver, detach the claw.
Tech Tips
Tape the thin-bladed screwdriver tip before use.
-
Detach the guide and remove the spot light lens.
-
-
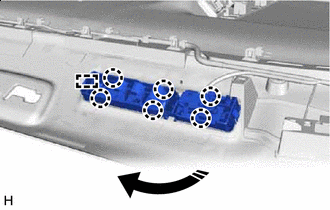
REMOVE SPOT LIGHT BULB
-
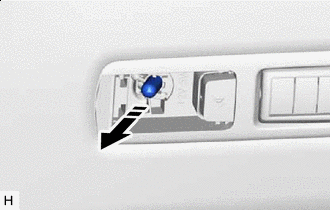
Remove in this Direction Remove the spot light bulb.
-
-
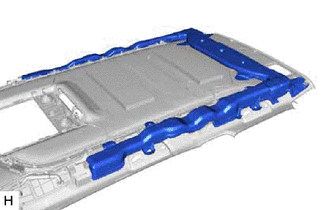
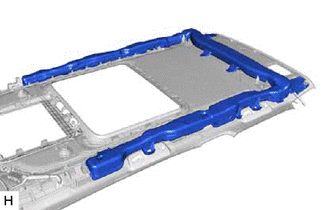
REMOVE ROOF HEADLINING ASSEMBLY
-
REMOVE SPOT LIGHT ASSEMBLY RH
-
for Normal Roof:
-
Remove the duct.
-
-
for Sliding Roof:
-
Remove the duct.
-
-
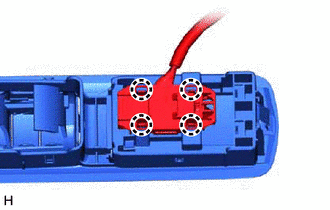
for Front Side:
-
Detach the claw and remove the cover.
-
-

Detach the claw.
-
Remove in this Direction Detach the claw and guide and remove the spot light assembly RH.
-
Detach the claw and disconnect the map light sub-assembly.
-
-
REMOVE ROOM LIGHT SWITCH
-
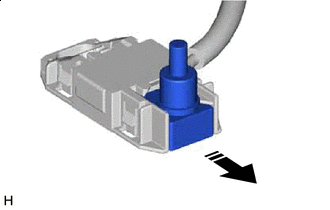
Remove in this Direction Remove the room light switch from the map light sub-assembly.
-