PROCEDURE
- Click here
PRECAUTION
Note:Make sure to perform initialization after replacing the No. 1 blower damper servo sub-assembly. If initialization is not performed, the air conditioning unit assembly will not perform properly as the air conditioning amplifier assembly will not be able to recognize the position of the No. 1 blower damper servo sub-assembly.
- Click here
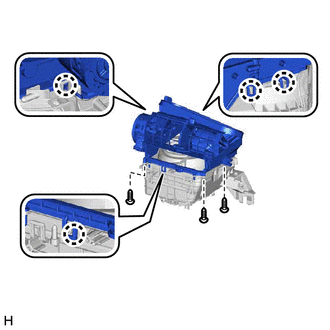
REMOVE WIRING HARNESS CLAMP BRACKET
-
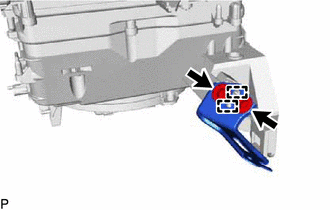
Remove the 2 screws.
-
Disengage the 2 guides to remove the wiring harness clamp bracket.
-
- Click here
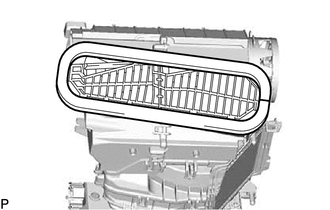
REMOVE AIR REFINER ELEMENT
-
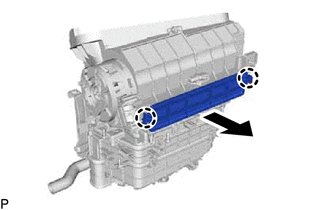
Disengage the 2 claws and remove the air filter sub-assembly as shown in the illustration.
-
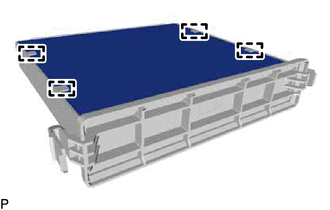
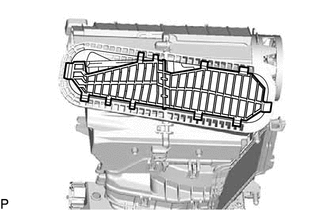
Disengage the 4 guides to remove the air refiner element from the cover plate.
-
- Click here
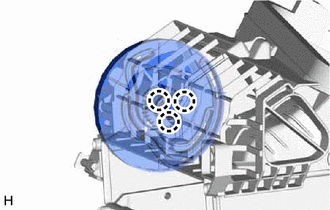
REMOVE BLOWER MOTOR WITH FAN SUB-ASSEMBLY
-
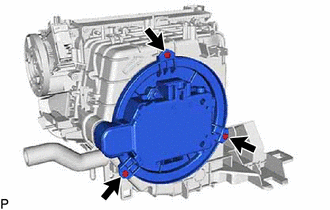
Remove the 3 screws and blower motor with fan sub-assembly.
-
When reusing the blower motor with fan sub-assembly:
-
Remove the heater packing from the blower motor with fan sub-assembly.
-
-
- Click here
REMOVE DRAIN COOLER HOSE
-
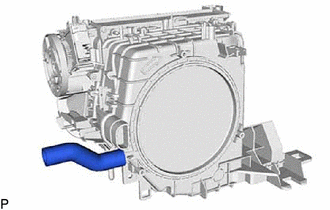
Remove the drain cooler hose.
-
- Click here
REMOVE HEATER CASE PACKING
-
Remove the heater case packing.
-
- Click here
REMOVE HEATER PROTECTOR
-
Remove the heater protector.
-
- Click here
REMOVE NO. 1 BLOWER DAMPER SERVO SUB-ASSEMBLY
-
Remove the 3 screws.
-
Disengage the 4 claws to remove the upper blower case.
-
Disengage the 3 claws to remove the plate.
-
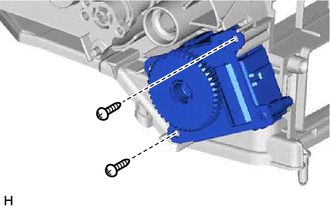
Remove the 2 screws and No. 1 blower damper servo sub-assembly.
-