ROOF HEADLINING DISASSEMBLY
PROCEDURE
-
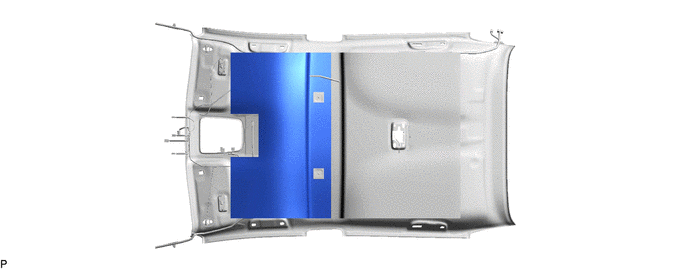
REMOVE NO. 1 ROOF SILENCER PAD (w/o Sliding Roof)
-
Remove the No. 1 roof silencer pad.
-
-
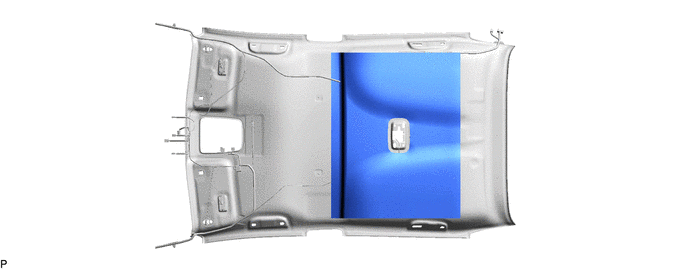
REMOVE NO. 2 ROOF SILENCER PAD (w/o Sliding Roof)
-
Remove the No. 2 roof silencer pad.
-
-
REMOVE NO. 2 ANTENNA CORD SUB-ASSEMBLY
-
REMOVE VANITY LIGHT ASSEMBLY
Tech Tips
Use the same procedure for the RH side and LH side.
-
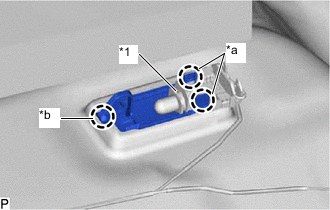
*1 Bulb Holder *a Claw (A) *b Claw (B) Disengage the 2 claws (A) and separate the bulb holder from the vanity light assembly as shown in the illustration.
-
Disengage the claw (B) to remove the vanity light assembly.
-
-
REMOVE THEFT WARNING ULTRASONIC SENSOR (w/ Intrusion Sensor)
-
REMOVE NO. 1 ROOF WIRE
-
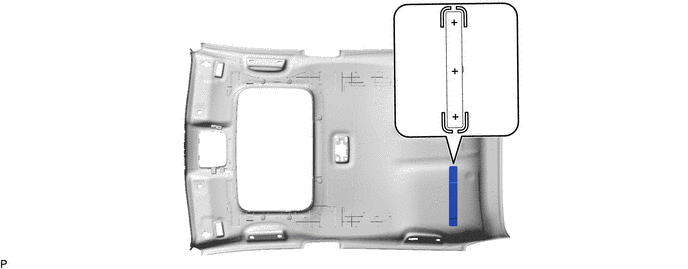
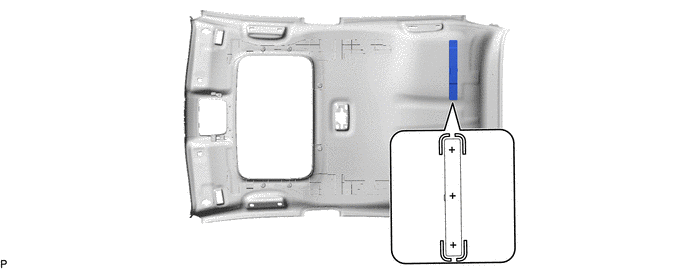
Remove the adhesive tape from the roof headlining assembly.
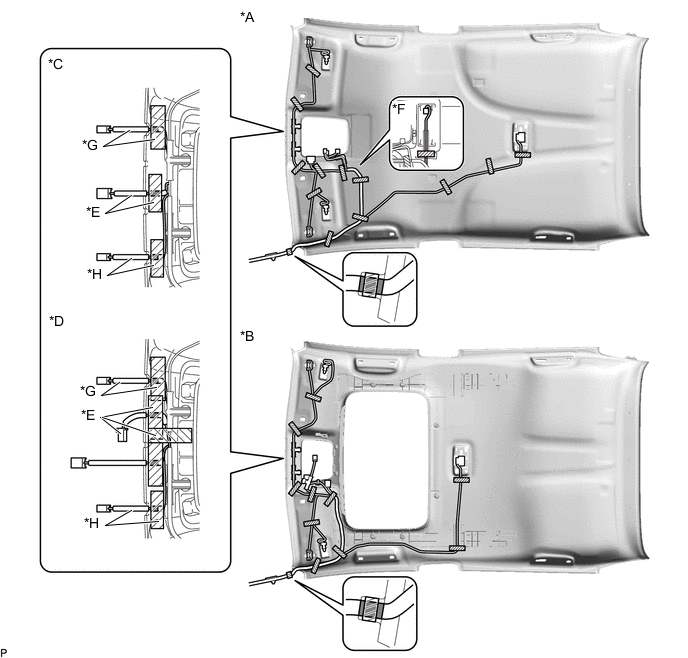
*A w/o Sliding Roof *B w/ Sliding Roof *C w/o Toyota Safety Sense *D w/ Toyota Safety Sense *E w/ EC Mirror *F w/ Intrusion Sensor *G for LHD with Humidity Sensor or Rain Sensor *H for RHD with Humidity Sensor or Rain Sensor 
Adhesive Tape - - -
Turn the 2 visor connectors counterclockwise approximately 90° and remove them from the roof headlining assembly.
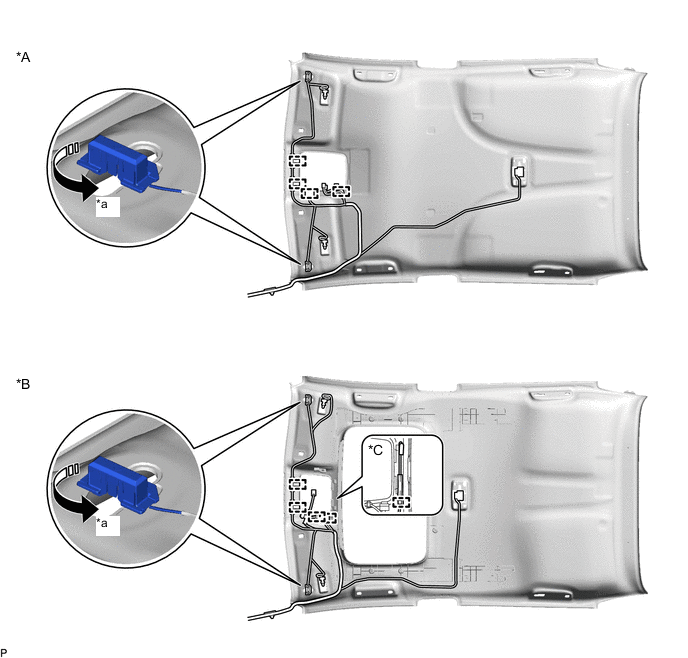
*A w/o Sliding Roof *B w/ Sliding Roof *C w/ Intrusion Sensor - - *a 90° - - 
Rotation Direction - - -
Disengage each clamp and remove the No. 1 roof wire from the roof headlining assembly.
-
-
REMOVE NO. 2 ROOF HEADLINING PAD (w/ Roof Headlining Pad)
-
Remove the No. 2 roof headlining pad.
-
-
REMOVE ROOF HEADLINING PAD (w/ Roof Headlining Pad)
-
Remove the roof headlining pad.
-